ASSEMBLY INSTRUCTIONS
TO MOUNT THE ENGINE
1.IMPORTANT: If you have any doubts about your ability to perform the following assembly procedures, you should have a qualified service technician perform the assembly for you.
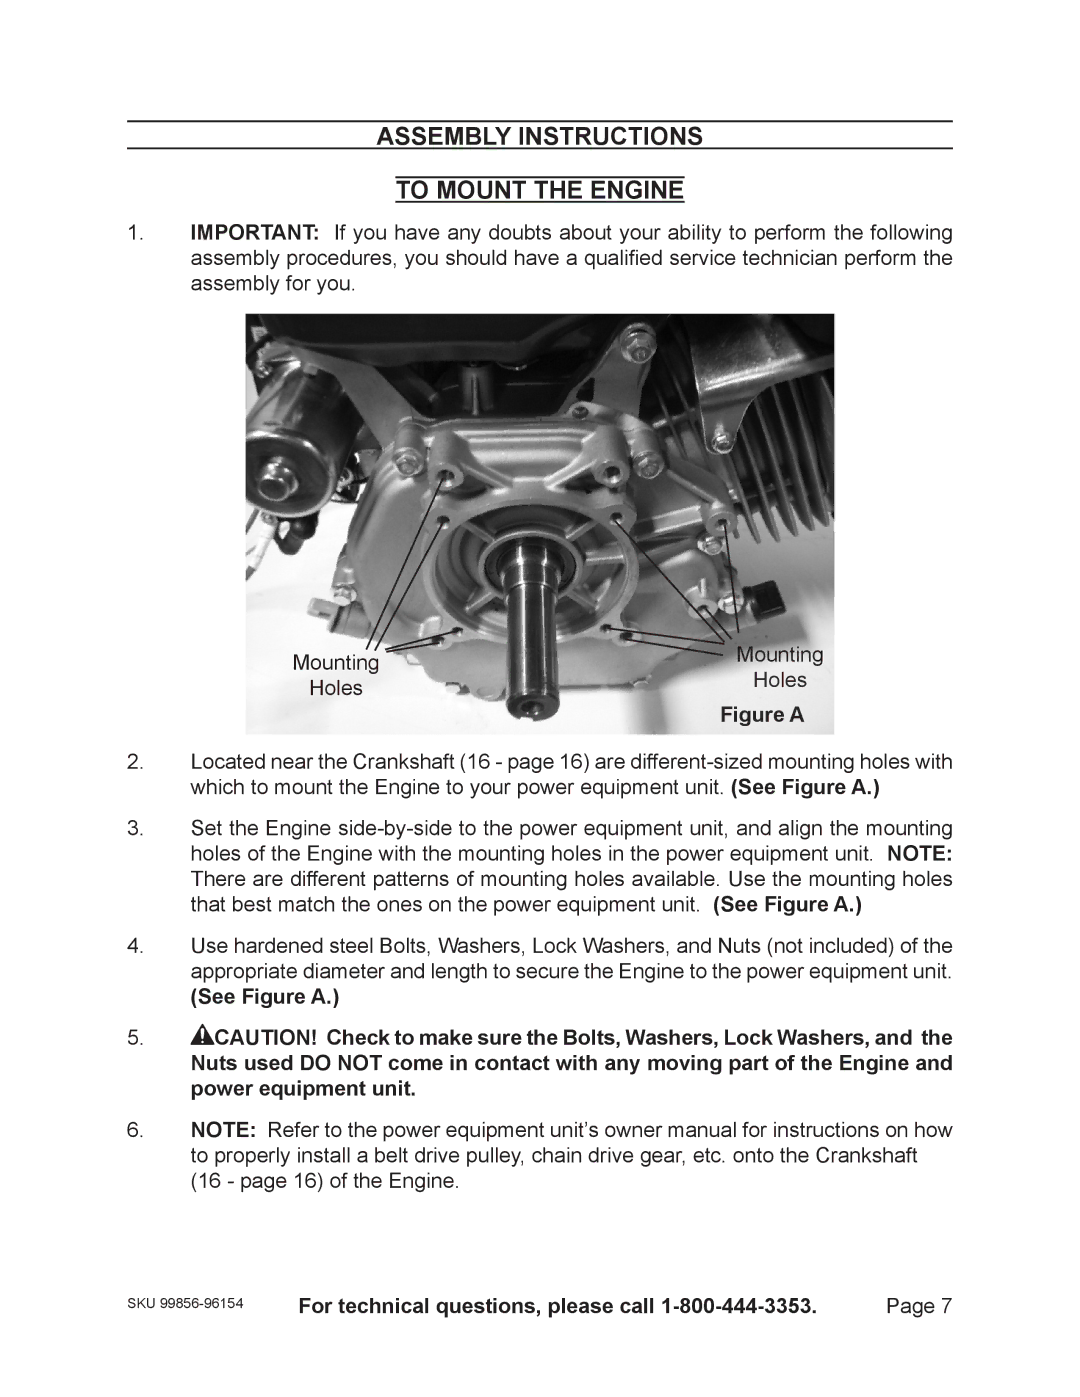
Mounting | Mounting | |
Holes | ||
Holes | ||
Figure A | ||
|
2.Located near the Crankshaft (16 - page 16) are
3.Set the Engine
There are different patterns of mounting holes available. Use the mounting holes that best match the ones on the power equipment unit. (See Figure A.)
4.Use hardened steel Bolts, Washers, Lock Washers, and Nuts (not included) of the appropriate diameter and length to secure the Engine to the power equipment unit.
(See Figure A.)
5.![]() CAUTION! Check to make sure the Bolts, Washers, Lock Washers, and the Nuts used DO NOT come in contact with any moving part of the Engine and power equipment unit.
CAUTION! Check to make sure the Bolts, Washers, Lock Washers, and the Nuts used DO NOT come in contact with any moving part of the Engine and power equipment unit.
6.NOTE: Refer to the power equipment unit’s owner manual for instructions on how to properly install a belt drive pulley, chain drive gear, etc. onto the Crankshaft (16 - page 16) of the Engine.
SKU | For technical questions, please call | Page |
