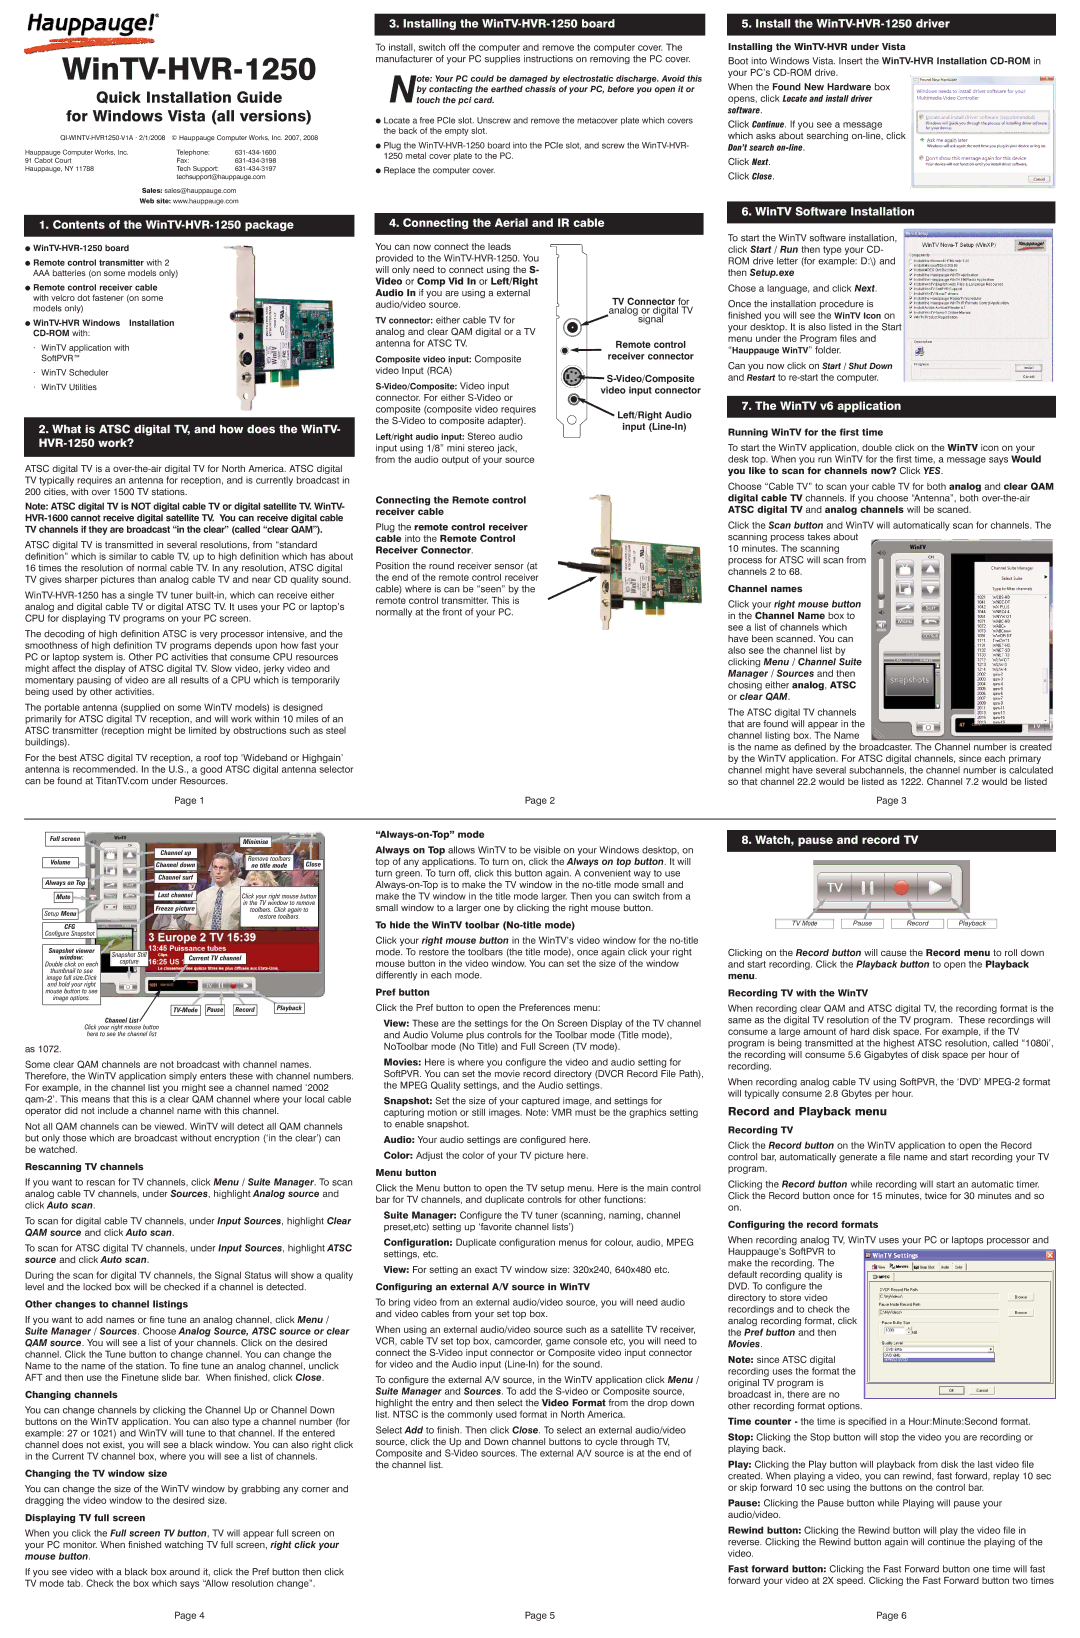
WinTV-HVR-1250
Quick Installation Guide
for Windows Vista (all versions)
Hauppauge Computer Works, Inc. | Telephone: | |
91 Cabot Court | Fax: | |
Hauppauge, NY 11788 | Tech Support: |
techsupport@hauppauge.com
Sales: sales@hauppauge.com
Web site: www.hauppauge.com
1. Contents of the |
3. Installing the WinTV-HVR-1250 board
To install, switch off the computer and remove the computer cover. The manufacturer of your PC supplies instructions on removing the PC cover.
ote: Your PC could be damaged by electrostatic discharge. Avoid this Nby contacting the earthed chassis of your PC, before you open it or
touch the pci card.
●Locate a free PCIe slot. Unscrew and remove the metacover plate which covers the back of the empty slot.
●Plug the
●Replace the computer cover.
4.Connecting the Aerial and IR cable
5. Install the
Installing the WinTV-HVR under Vista
Boot into Windows Vista. Insert the
When the Found New Hardware box opens, click
software.
Click Continue. If you see a message which asks about searching
Click Next.
Click Close.
6. WinTV Software Installation
● | |
● Remote control transmitter with 2 | |
AAA batteries (on some models only) | |
● Remote control receiver cable | |
with velcro dot fastener (on some | |
models only) | |
● | |
· | WinTV application with |
| SoftPVR™ |
· | WinTV Scheduler |
· | WinTV Utilities |
|
|
| 2. What is ATSC digital TV, and how does the WinTV- |
|
|
|
|
ATSC digital TV is a
Note: ATSC digital TV is NOT digital cable TV or digital satellite TV. WinTV-
ATSC digital TV is transmitted in several resolutions, from “standard definition” which is similar to cable TV, up to high definition which has about 16 times the resolution of normal cable TV. In any resolution, ATSC digital TV gives sharper pictures than analog cable TV and near CD quality sound.
The decoding of high definition ATSC is very processor intensive, and the smoothness of high definition TV programs depends upon how fast your PC or laptop system is. Other PC activities that consume CPU resources might affect the display of ATSC digital TV. Slow video, jerky video and momentary pausing of video are all results of a CPU which is temporarily being used by other activities.
The portable antenna (supplied on some WinTV models) is designed primarily for ATSC digital TV reception, and will work within 10 miles of an ATSC transmitter (reception might be limited by obstructions such as steel buildings).
For the best ATSC digital TV reception, a roof top ‘Wideband or Highgain’ antenna is recommended. In the U.S., a good ATSC digital antenna selector can be found at TitanTV.com under Resources.
You can now connect the leads provided to the
TV connector: either cable TV for analog and clear QAM digital or a TV antenna for ATSC TV.
Composite video input: Composite video Input (RCA)
Left/right audio input: Stereo audio input using 1/8” mini stereo jack, from the audio output of your source
Connecting the Remote control receiver cable
Plug the remote control receiver cable into the Remote Control Receiver Connector.
Position the round receiver sensor (at the end of the remote control receiver cable) where is can be “seen” by the remote control transmitter. This is normally at the front of your PC.
TV Connector for analog or digital TV signal
Remote control
receiver connector
![]()
video input connector
![]() Left/Right Audio
Left/Right Audio
input
To start the WinTV software installation, click Start / Run then type your CD- ROM drive letter (for example: D:\) and then Setup.exe
Chose a language, and click Next.
Once the installation procedure is finished you will see the WinTV Icon on your desktop. It is also listed in the Start menu under the Program files and “Hauppauge WinTV” folder.
Can you now click on Start / Shut Down and Restart to
7. The WinTV v6 application
Running WinTV for the first time
To start the WinTV application, double click on the WinTV icon on your desk top. When you run WinTV for the first time, a message says Would you like to scan for channels now? Click YES.
Choose “Cable TV” to scan your cable TV for both analog and clear QAM digital cable TV channels. If you choose “Antenna”, both
Click the Scan button and WinTV will automatically scan for channels. The scanning process takes about
10 minutes. The scanning process for ATSC will scan from channels 2 to 68.
Channel names
Click your right mouse button in the Channel Name box to see a list of channels which have been scanned. You can also see the channel list by clicking Menu / Channel Suite Manager / Sources and then chosing either analog, ATSC or clear QAM.
The ATSC digital TV channels that are found will appear in the channel listing box. The Name
is the name as defined by the broadcaster. The Channel number is created by the WinTV application. For ATSC digital channels, since each primary channel might have several subchannels, the channel number is calculated so that channel 22.2 would be listed as 1222. Channel 7.2 would be listed
Page 1 | Page 2 | Page 3 |
Full screen
Volume
Always on Top![]()
Mute![]()
Setup Menu
CFG
Configure Snapshot
Snapshot viewer
window:
Double click on each
thumbnail to see
image full size.Click and hold your right mouse button to see image options.
|
| Minimise |
|
|
| ||
|
|
|
|
|
|
|
|
Channel up |
|
|
|
|
|
|
|
|
|
| Remove toolbars |
| Close | ||
Channel down |
|
| no title mode |
| |||
|
|
|
|
|
|
|
|
|
|
|
|
|
|
|
|
Channel surf |
|
|
|
|
|
|
|
|
|
|
| ||||
|
|
|
| ||||
|
|
|
|
|
|
|
|
Last channel |
| Click your right mouse button |
| ||||
|
| in the TV window to remove |
| ||||
|
| ||||||
Freeze picture |
|
| toolbars. Click again to |
| |||
|
|
| restore toolbars. |
|
| ||
|
|
| |||||
|
|
|
|
|
|
|
|
Snapshot Still |
| Current TV channel |
capture |
| |
|
| |
|
|
|
|
|
|
|
|
| Playback |
| Pause |
| Record |
| ||
|
|
|
|
|
|
|
“Always-on-Top” mode
Always on Top allows WinTV to be visible on your Windows desktop, on top of any applications. To turn on, click the Always on top button. It will turn green. To turn off, click this button again. A convenient way to use
To hide the WinTV toolbar (No-title mode)
Click your right mouse button in the WinTV’s video window for the
Pref button
Click the Pref button to open the Preferences menu:
8. Watch, pause and record TV
TV Mode |
| Pause |
| Record |
| Playback |
Clicking on the Record button will cause the Record menu to roll down and start recording. Click the Playback button to open the Playback menu.
Recording TV with the WinTV
When recording clear QAM and ATSC digital TV, the recording format is the
Channel List
Click your right mouse button here to see the channel list
as 1072.
Some clear QAM channels are not broadcast with channel names. Therefore, the WinTV application simply enters these with channel numbers. For example, in the channel list you might see a channel named ‘2002
Not all QAM channels can be viewed. WinTV will detect all QAM channels but only those which are broadcast without encryption (‘in the clear’) can be watched.
Rescanning TV channels
View: These are the settings for the On Screen Display of the TV channel and Audio Volume plus controls for the Toolbar mode (Title mode), NoToolbar mode (No Title) and Full Screen (TV mode).
Movies: Here is where you configure the video and audio setting for SoftPVR. You can set the movie record directory (DVCR Record File Path), the MPEG Quality settings, and the Audio settings.
Snapshot: Set the size of your captured image, and settings for
capturing motion or still images. Note: VMR must be the graphics setting to enable snapshot.
Audio: Your audio settings are configured here.
Color: Adjust the color of your TV picture here.
Menu button
same as the digital TV resolution of the TV program. These recordings will consume a large amount of hard disk space. For example, if the TV program is being transmitted at the highest ATSC resolution, called “1080i’, the recording will consume 5.6 Gigabytes of disk space per hour of recording.
When recording analog cable TV using SoftPVR, the ‘DVD’
Record and Playback menu
Recording TV
Click the Record button on the WinTV application to open the Record control bar, automatically generate a file name and start recording your TV program.
If you want to rescan for TV channels, click Menu / Suite Manager. To scan analog cable TV channels, under Sources, highlight Analog source and click Auto scan.
To scan for digital cable TV channels, under Input Sources, highlight Clear QAM source and click Auto scan.
To scan for ATSC digital TV channels, under Input Sources, highlight ATSC source and click Auto scan.
During the scan for digital TV channels, the Signal Status will show a quality level and the locked box will be checked if a channel is detected.
Other changes to channel listings
If you want to add names or fine tune an analog channel, click Menu / Suite Manager / Sources. Choose Analog Source, ATSC source or clear QAM source. You will see a list of your channels. Click on the desired channel. Click the Tune button to change channel. You can change the Name to the name of the station. To fine tune an analog channel, unclick AFT and then use the Finetune slide bar. When finished, click Close.
Changing channels
You can change channels by clicking the Channel Up or Channel Down buttons on the WinTV application. You can also type a channel number (for example: 27 or 1021) and WinTV will tune to that channel. If the entered channel does not exist, you will see a black window. You can also right click in the Current TV channel box, where you will see a list of channels.
Changing the TV window size
You can change the size of the WinTV window by grabbing any corner and dragging the video window to the desired size.
Displaying TV full screen
When you click the Full screen TV button, TV will appear full screen on your PC monitor. When finished watching TV full screen, right click your mouse button.
If you see video with a black box around it, click the Pref button then click TV mode tab. Check the box which says “Allow resolution change”.
Click the Menu button to open the TV setup menu. Here is the main control bar for TV channels, and duplicate controls for other functions:
Suite Manager: Configure the TV tuner (scanning, naming, channel preset,etc) setting up ‘favorite channel lists’)
Configuration: Duplicate configuration menus for colour, audio, MPEG settings, etc.
View: For setting an exact TV window size: 320x240, 640x480 etc.
Configuring an external A/V source in WinTV
To bring video from an external audio/video source, you will need audio and video cables from your set top box.
When using an external audio/video source such as a satellite TV receiver, VCR, cable TV set top box, camcorder, game console etc, you will need to connect the
To configure the external A/V source, in the WinTV application click Menu / Suite Manager and Sources. To add the
Select Add to finish. Then click Close. To select an external audio/video source, click the Up and Down channel buttons to cycle through TV, Composite and
Clicking the Record button while recording will start an automatic timer. Click the Record button once for 15 minutes, twice for 30 minutes and so on.
Configuring the record formats
When recording analog TV, WinTV uses your PC or laptops processor and Hauppauge’s SoftPVR to
make the recording. The default recording quality is DVD. To configure the directory to store video recordings and to check the analog recording format, click the Pref button and then Movies.
Note: since ATSC digital recording uses the format the original TV program is broadcast in, there are no other recording format options.
Time counter - the time is specified in a Hour:Minute:Second format.
Stop: Clicking the Stop button will stop the video you are recording or playing back.
Play: Clicking the Play button will playback from disk the last video file created. When playing a video, you can rewind, fast forward, replay 10 sec or skip forward 10 sec using the buttons on the control bar.
Pause: Clicking the Pause button while Playing will pause your audio/video.
Rewind button: Clicking the Rewind button will play the video file in reverse. Clicking the Rewind button again will continue the playing of the video.
Fast forward button: Clicking the Fast Forward button one time will fast forward your video at 2X speed. Clicking the Fast Forward button two times
Page 4 | Page 5 | Page 6 |