4.Attach rear support plate to bottom of rear floor lip using ¼” x ¾” hex head bolts. (Photo 3)
5.Attach top of K9 mounting legs to floor using ¼” x ¾” carriage bolts and serrated nuts. Holes in floor will line up with holes in mounting feet.
6.Loosely attach side tunnels to main housing using ¼” x ¾” and ¼” x ½” carriage bolts.
Note: Use ½”long bolts on double skin and ¾”long on triple skin.
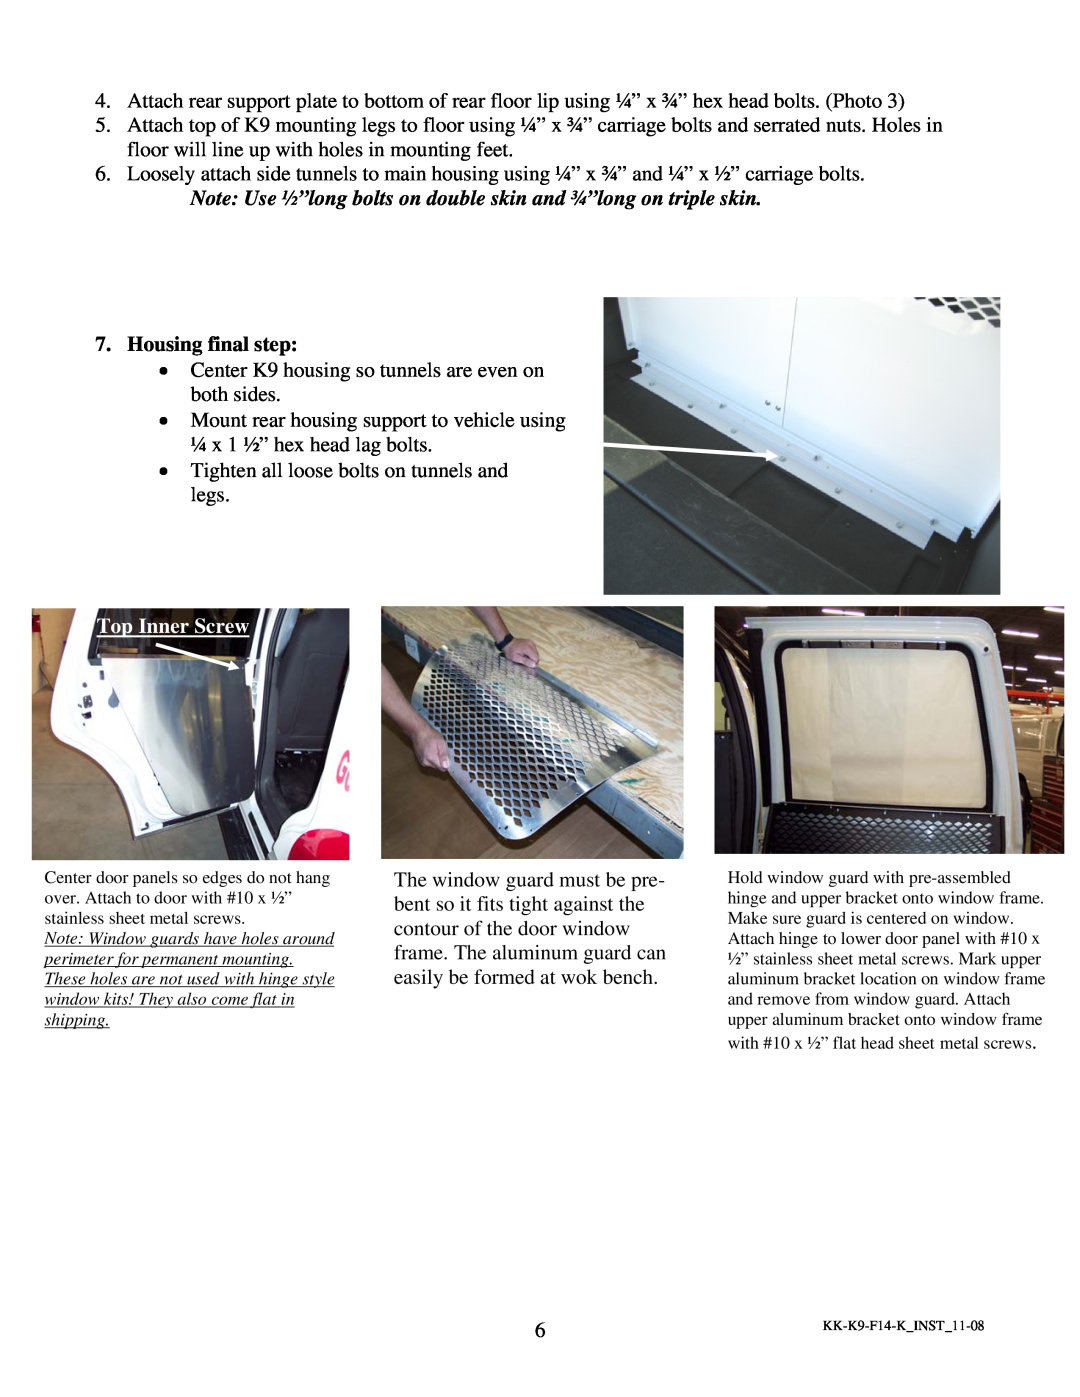
7.Housing final step:
•Center K9 housing so tunnels are even on both sides.
•Mount rear housing support to vehicle using ¼ x 1 ½” hex head lag bolts.
•Tighten all loose bolts on tunnels and legs.
Top Inner Screw
Center door panels so edges do not hang over. Attach to door with #10 x ½” stainless sheet metal screws.
Note: Window guards have holes around perimeter for permanent mounting. These holes are not used with hinge style window kits! They also come flat in shipping.
The window guard must be pre- bent so it fits tight against the contour of the door window frame. The aluminum guard can easily be formed at wok bench.
Hold window guard with
with #10 x ½” flat head sheet metal screws.
6 |