Installation of Remote Control Housing
CAUTION! Risk of Fire! DO NOT install damaged or modified components. Warranty will be voided if damaged or modified components are installed.
Kit components: One remote control, two #6 screws, two wall anchors, one A23 battery and one AUX200 module (if purchased retail).
1.Remove remote control components from packaging.
2.Remove battery cover from the back of the remote by sliding it down and install A23 battery.
To prevent unintended operation when not using your fire- place for an extended period of time (summer months, vacation, trips, etc):
•Remove battery from remote control.
•Unplug switching adapter and remove
3.Secure the remote control housing on a flat wall sur- face using the two screws and wall anchors provided. See Figure 1.
Figure 1. Mounting Remote Control Housing
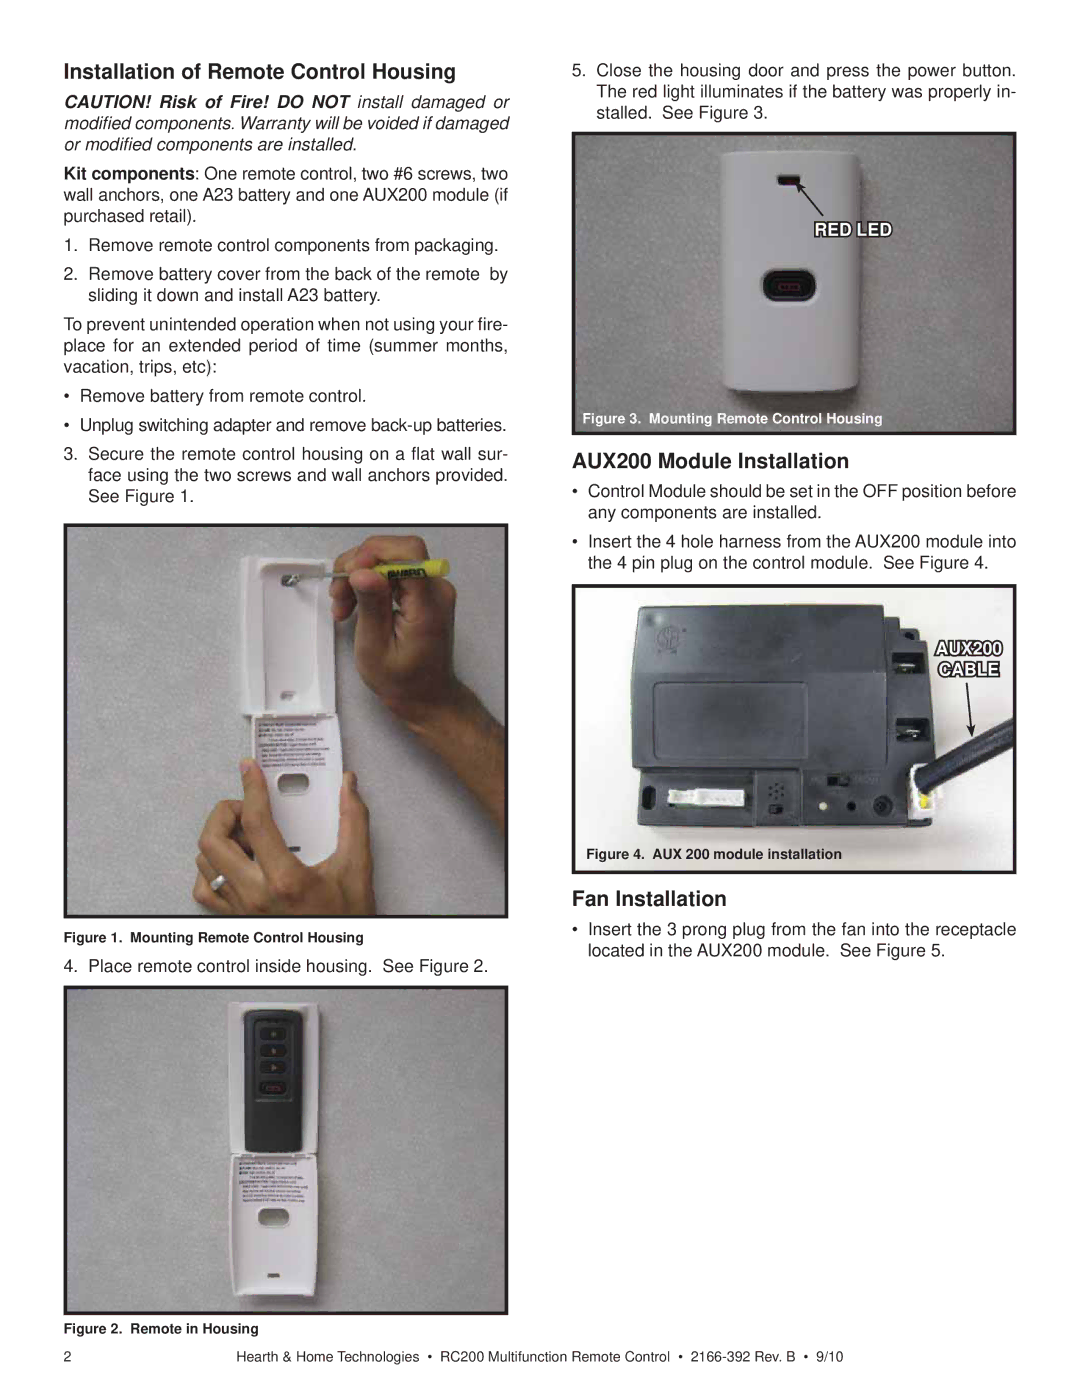
4. Place remote control inside housing. See Figure 2.
5.Close the housing door and press the power button. The red light illuminates if the battery was properly in- stalled. See Figure 3.
RED LED
Figure 3. Mounting Remote Control Housing
AUX200 Module Installation
•Control Module should be set in the OFF position before any components are installed.
•Insert the 4 hole harness from the AUX200 module into the 4 pin plug on the control module. See Figure 4.
AUX200
CABLE
Figure 4. AUX 200 module installation
Fan Installation
•Insert the 3 prong plug from the fan into the receptacle located in the AUX200 module. See Figure 5.
Figure 2. Remote in Housing
2 | Hearth & Home Technologies • RC200 Multifunction Remote Control • |
