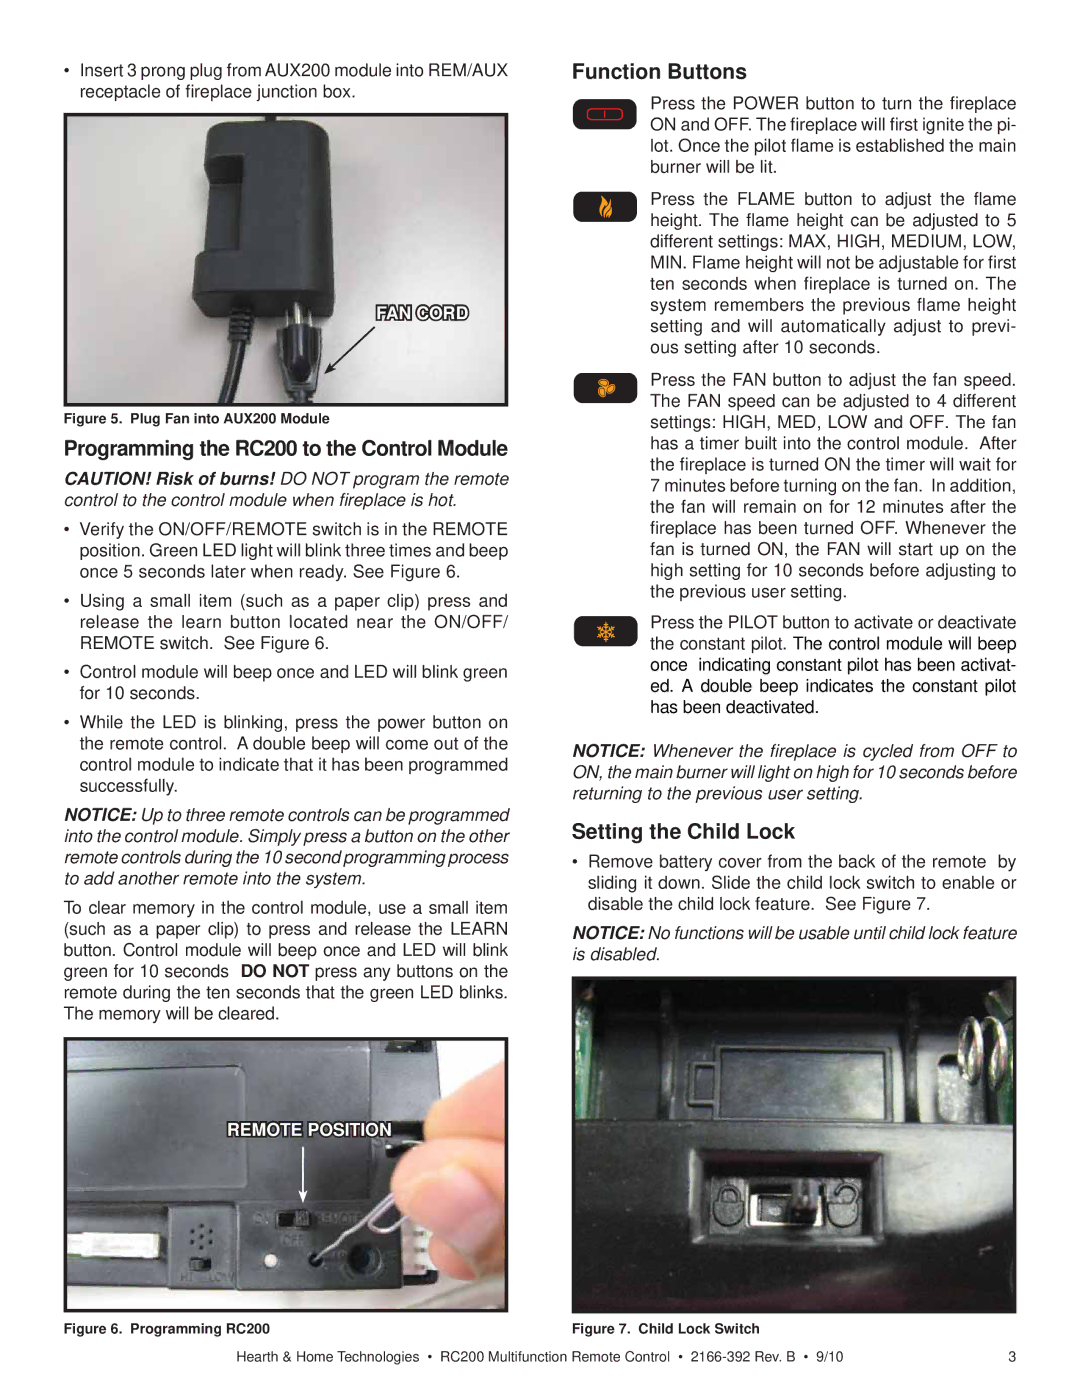
•Insert 3 prong plug from AUX200 module into REM/AUX receptacle of fireplace junction box.
FAN CORD
Figure 5. Plug Fan into AUX200 Module
Programming the RC200 to the Control Module
CAUTION! Risk of burns! DO NOT program the remote control to the control module when fireplace is hot.
•Verify the ON/OFF/REMOTE switch is in the REMOTE position. Green LED light will blink three times and beep once 5 seconds later when ready. See Figure 6.
•Using a small item (such as a paper clip) press and release the learn button located near the ON/OFF/ REMOTE switch. See Figure 6.
•Control module will beep once and LED will blink green for 10 seconds.
•While the LED is blinking, press the power button on the remote control. A double beep will come out of the control module to indicate that it has been programmed successfully.
NOTICE: Up to three remote controls can be programmed into the control module. Simply press a button on the other remote controls during the 10 second programming process to add another remote into the system.
To clear memory in the control module, use a small item (such as a paper clip) to press and release the LEARN button. Control module will beep once and LED will blink green for 10 seconds DO NOT press any buttons on the remote during the ten seconds that the green LED blinks. The memory will be cleared.
REMOTE POSITION
Function Buttons
Press the POWER button to turn the fireplace ON and OFF. The fireplace will first ignite the pi- lot. Once the pilot flame is established the main burner will be lit.
Press the FLAME button to adjust the flame height. The flame height can be adjusted to 5 different settings: MAX, HIGH, MEDIUM, LOW, MIN. Flame height will not be adjustable for first ten seconds when fireplace is turned on. The system remembers the previous flame height setting and will automatically adjust to previ- ous setting after 10 seconds.
Press the FAN button to adjust the fan speed. The FAN speed can be adjusted to 4 different settings: HIGH, MED, LOW and OFF. The fan has a timer built into the control module. After the fireplace is turned ON the timer will wait for 7 minutes before turning on the fan. In addition, the fan will remain on for 12 minutes after the fireplace has been turned OFF. Whenever the fan is turned ON, the FAN will start up on the high setting for 10 seconds before adjusting to the previous user setting.
Press the PILOT button to activate or deactivate the constant pilot. The control module will beep once indicating constant pilot has been activat- ed. A double beep indicates the constant pilot has been deactivated.
NOTICE: Whenever the fireplace is cycled from OFF to ON, the main burner will light on high for 10 seconds before returning to the previous user setting.
Setting the Child Lock
•Remove battery cover from the back of the remote by sliding it down. Slide the child lock switch to enable or disable the child lock feature. See Figure 7.
NOTICE: No functions will be usable until child lock feature is disabled.
Figure 6. Programming RC200 | Figure 7. Child Lock Switch |
|
Hearth & Home Technologies • RC200 Multifunction Remote Control • | 3 | |