
SMH24SC, SMA24SC specifications
The Heat Controller SMA24SC and SMH24SC are part of a premium range of air conditioning units designed to offer efficient cooling and heating solutions for residential and light commercial applications. These models are noted for their robust performance, energy efficiency, and advanced technology features.One of the most prominent features of the SMA24SC and SMH24SC is their high Seasonal Energy Efficiency Ratio (SEER) ratings, making them ideal for energy-conscious consumers. The units are equipped with advanced inverter technology, which allows for variable speed operation of the compressor. This means that these air conditioners can adjust their cooling or heating capacity according to the fluctuating temperature demands in the environment. This not only enhances comfort levels but also significantly reduces energy consumption.
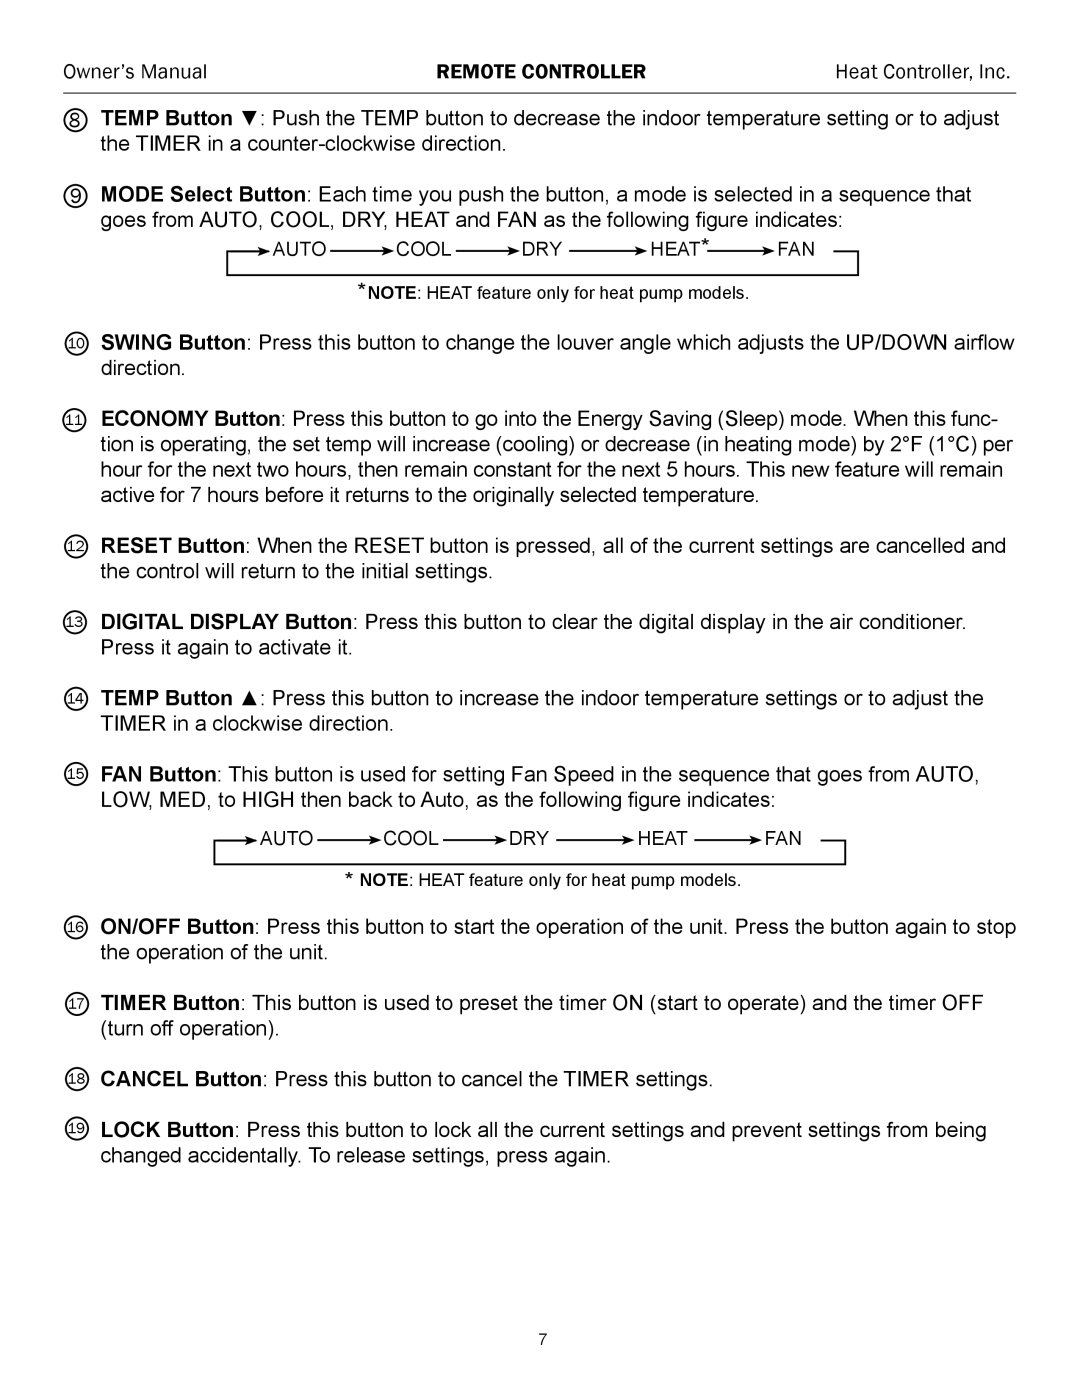
The SMA24SC and SMH24SC models come with a variety of user-friendly controls, including a remote controller for convenient operation from anywhere in the room. Moreover, they support programmable settings, enabling users to set their desired temperature and operation mode in advance. This feature ensures that the spaces remain comfortable without unnecessary energy expenditure.
In terms of installation, both models are designed with a compact exterior and optimally engineered components that facilitate straightforward installation. Their quiet operation is particularly appreciated in residential settings, ensuring minimal disruption whether cooling during the summer or heating in the winter.
The indoor units are equipped with advanced filters that not only ensure clean air circulation but also help in the reduction of allergens and airborne particles, promoting a healthier indoor environment. Paired with smart features such as self-diagnosis and auto-restart, these units ensure reliable performance and ease of maintenance.
Durability is another critical aspect of the SMA24SC and SMH24SC models. They are built to withstand harsh weather conditions, with a robust chassis and corrosion-resistant materials, ensuring longevity and sustained performance.
In summary, the Heat Controller SMA24SC and SMH24SC air conditioning units stand out for their energy efficiency, user-friendly features, quiet operation, and durable design, making them an excellent choice for anyone seeking reliable and effective temperature control solutions in their living or working spaces.