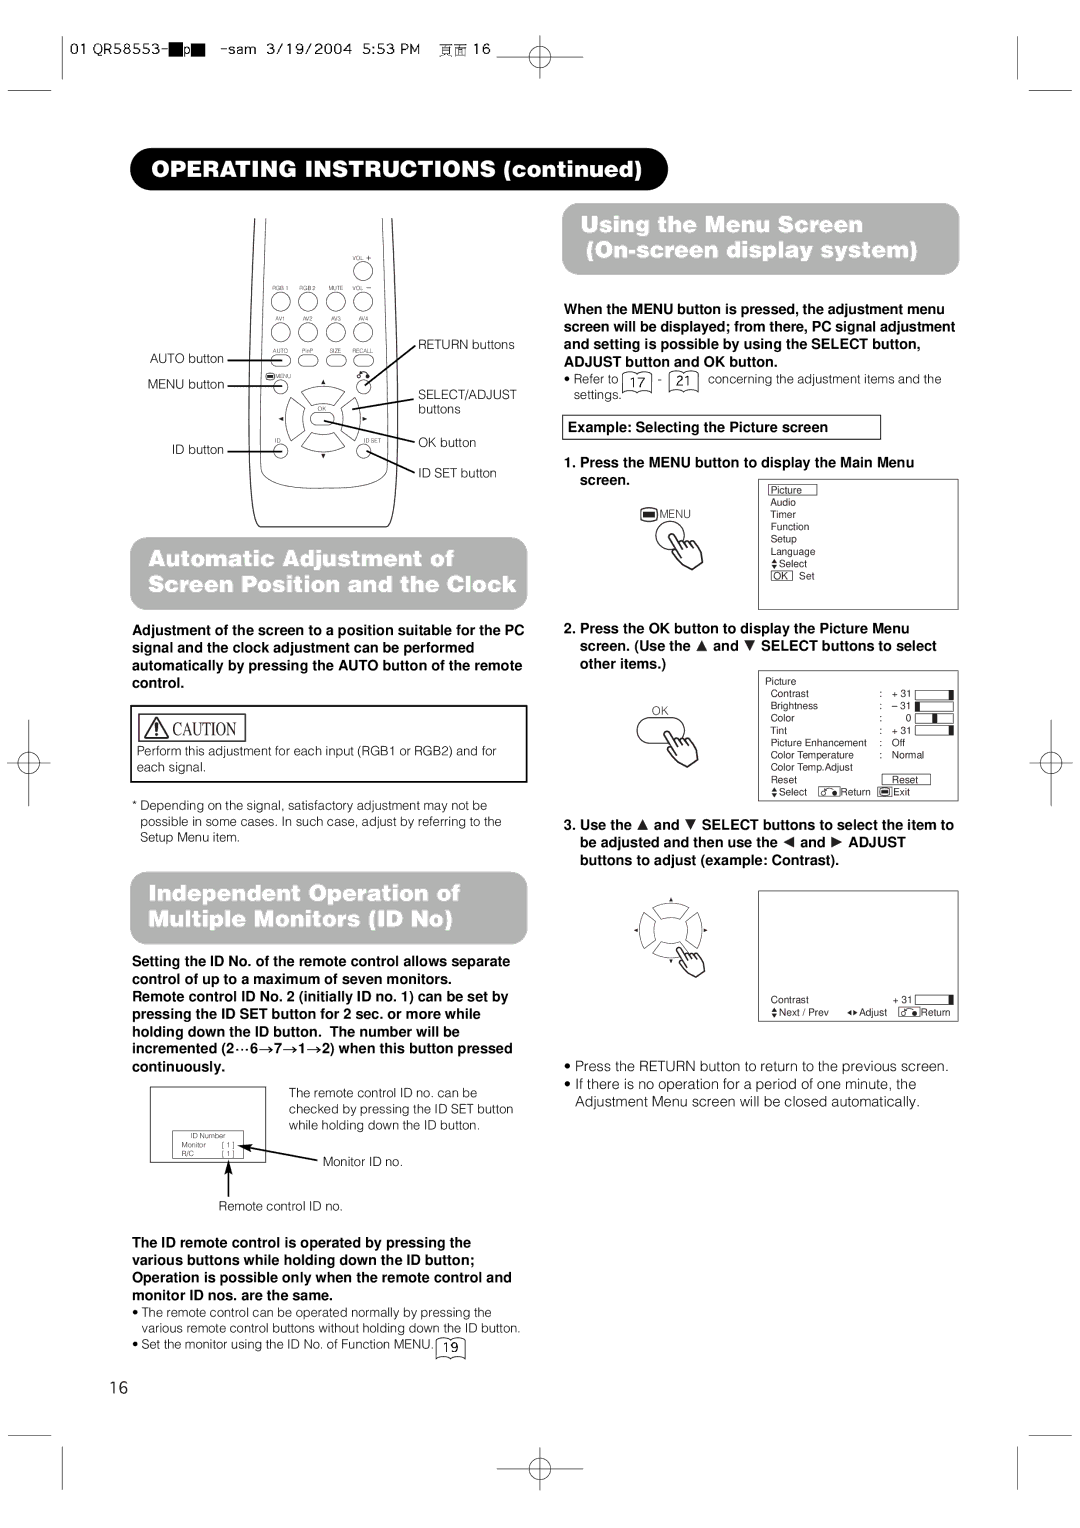
42PMA300A specifications
The Hitachi 42PMA300A is a high-performance plasma television that was designed to deliver an exceptional viewing experience. Launched in the early 2000s, this model quickly gained popularity due to its impressive picture quality, advanced technology, and user-friendly features. One of the key attractions of the Hitachi 42PMA300A is its 42-inch screen, which offers a generous viewing area, making it suitable for various home entertainment settings.One of the standout features of the 42PMA300A is its plasma display technology. Plasma screens are known for their deep blacks, vibrant colors, and wide viewing angles, making them ideal for watching movies and sports. The resolution of the display is 852 x 480 pixels, which, while not as high as modern standards, delivers a satisfying picture quality, particularly for standard-definition content.
The 42PMA300A also incorporates Hitachi’s proprietary Image Enhancement technology, which optimizes the displayed image for more accurate color reproduction and improved clarity. This technology works to reduce motion blur and enhances the overall contrast, resulting in a more immersive viewing experience. Additionally, the television supports various aspect ratios, allowing users to enjoy content in both widescreen and standard formats without sacrificing picture quality.
Connectivity is another area where the Hitachi 42PMA300A shines. The television is equipped with multiple input options, including HDMI, component, and composite video inputs. This flexibility makes it easy to connect various devices, such as DVD players, gaming consoles, and cable boxes. The inclusion of a built-in tuner means that users can enjoy over-the-air broadcasts without the need for additional equipment.
In terms of design, the Hitachi 42PMA300A sports a sleek and modern appearance, with a thin bezel that maximizes the screen size while minimizing the footprint. The television can be mounted on a wall or placed on a stand, offering versatility in installation.
Overall, the Hitachi 42PMA300A is a well-rounded plasma television that offers a blend of quality and convenience. With its impressive features, user-friendly design, and advanced technologies, it remains a notable choice for those looking to enhance their home entertainment setup.