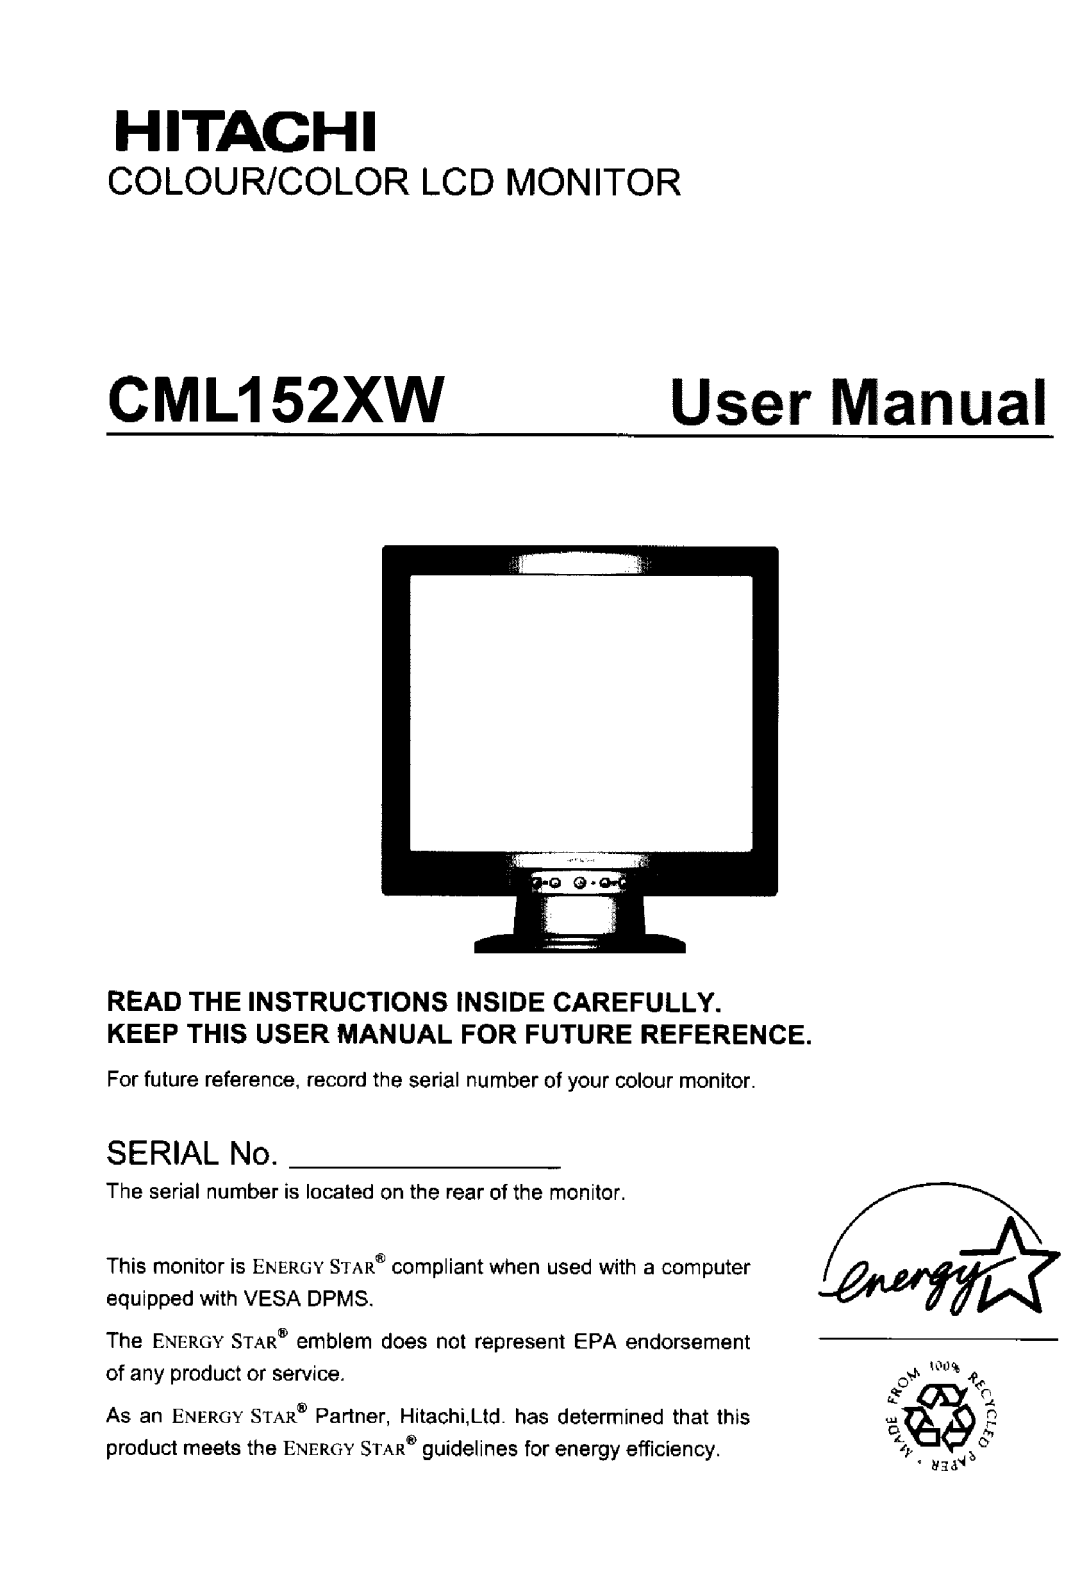
CML152XW specifications
The Hitachi CML152XW is a state-of-the-art LCD monitor designed for professional environments, providing users with an impressive combination of performance, reliability, and advanced display technology. This model is particularly tailored for business applications, making it a popular choice in offices, control rooms, and other professional settings.One of the standout features of the CML152XW is its 15-inch LCD screen, which delivers excellent image clarity and vibrant colors. The monitor supports a resolution of 1024 x 768 (XGA), providing sharp and detailed visuals that enhance productivity. With a brightness level of 250 cd/m² and a contrast ratio of 500:1, images appear crisp and well-defined, ensuring that text and graphics are easily readable from various viewing angles.
In terms of connectivity, the Hitachi CML152XW offers versatile options, featuring both analog VGA and digital DVI inputs. This flexibility allows users to connect the monitor to a variety of computing devices, making it suitable for diverse applications. Additionally, the monitor also includes a built-in speaker system, providing audio output that complements the visual experience.
The design of the CML152XW is both functional and stylish, with a slim profile that saves valuable desk space without compromising on performance. The adjustable stand also enables users to tilt the screen for the most comfortable viewing angle, which is particularly beneficial during long hours of use.
One of the more advanced characteristics of the Hitachi CML152XW is its energy-efficient technology. This monitor has been designed with sustainability in mind, complying with various environmental standards. The implementation of an eco-friendly mode helps reduce power consumption, making it a responsible choice for organizations concerned with energy efficiency.
In summary, the Hitachi CML152XW is a cutting-edge monitor that combines high performance with functional design. Its impressive display quality, versatile connectivity options, and energy-efficient technology make it an ideal solution for any professional setting, ensuring users can work effectively and comfortably. Whether for office use, digital signage, or other business purposes, the CML152XW stands out as a reliable and sophisticated monitor choice.