English
PRIOR TO OPERATION
1. Power source
Ensure that the power source to be utilized conforms to the power source requirements specified on the product nameplate.
2. Power switch
Ensure that the knob of the pressure switch is in the “OFF” position. If the plug is connected to a receptacle while the knob is in the “AUTO” position, the compressor will start operating immediately and can cause serious injury.
3. Extension cord
When the work area is far away from the power source, use an extension cord of sufficient thickness and rated capacity (refer page 6). The extension cord should be kept as short as practicable.
![]() WARNING: Damaged cord must be replaced or repaired.
WARNING: Damaged cord must be replaced or repaired.
Dipstick
MAX.
MIN.
(EC6BEC12 ) (EC16)
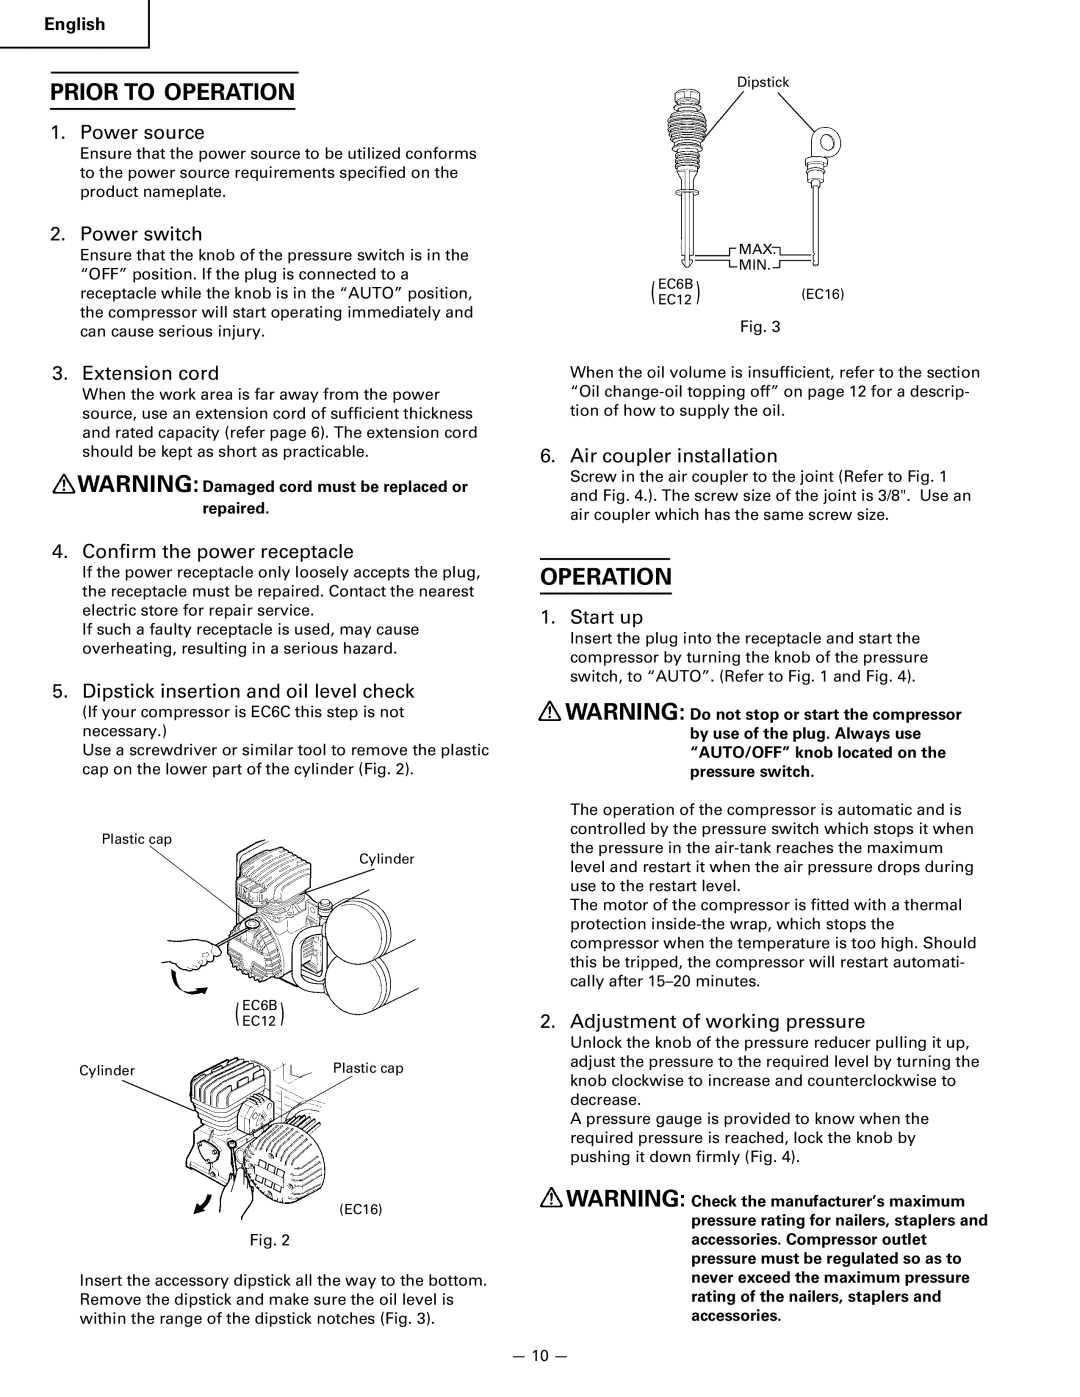
Fig. 3
When the oil volume is insufficient, refer to the section “Oil
6. Air coupler installation
Screw in the air coupler to the joint (Refer to Fig. 1 and Fig. 4.). The screw size of the joint is 3/8". Use an air coupler which has the same screw size.
4. Confirm the power receptacle
If the power receptacle only loosely accepts the plug, the receptacle must be repaired. Contact the nearest electric store for repair service.
If such a faulty receptacle is used, may cause overheating, resulting in a serious hazard.
5. Dipstick insertion and oil level check
(If your compressor is EC6C this step is not necessary.)
Use a screwdriver or similar tool to remove the plastic cap on the lower part of the cylinder (Fig. 2).
Plastic cap
Cylinder
(EC6BEC12 )
Cylinder | Plastic cap |
(EC16)
Fig. 2
Insert the accessory dipstick all the way to the bottom. Remove the dipstick and make sure the oil level is within the range of the dipstick notches (Fig. 3).
OPERATION
1. Start up
Insert the plug into the receptacle and start the compressor by turning the knob of the pressure switch, to “AUTO”. (Refer to Fig. 1 and Fig. 4).
![]() WARNING: Do not stop or start the compressor by use of the plug. Always use “AUTO/OFF” knob located on the pressure switch.
WARNING: Do not stop or start the compressor by use of the plug. Always use “AUTO/OFF” knob located on the pressure switch.
The operation of the compressor is automatic and is controlled by the pressure switch which stops it when the pressure in the
The motor of the compressor is fitted with a thermal protection
2. Adjustment of working pressure
Unlock the knob of the pressure reducer pulling it up, adjust the pressure to the required level by turning the knob clockwise to increase and counterclockwise to decrease.
A pressure gauge is provided to know when the required pressure is reached, lock the knob by pushing it down firmly (Fig. 4).
![]() WARNING: Check the manufacturer’s maximum pressure rating for nailers, staplers and accessories. Compressor outlet pressure must be regulated so as to never exceed the maximum pressure rating of the nailers, staplers and accessories.
WARNING: Check the manufacturer’s maximum pressure rating for nailers, staplers and accessories. Compressor outlet pressure must be regulated so as to never exceed the maximum pressure rating of the nailers, staplers and accessories.
— 10 —
