1 Select “Setup”, then press ▶ or ENTER.
2 Press ▲ or ▼ to select “Closed Captions”, then press ▶ or
ENTER.
The Closed Captions menu will appear.
3 Press ◀ or ▶ to set “CC Display” to “On”.
4 Press ▲ or ▼ to select “Digital CC Preset”, then press ◀ or ▶ to select “Custom”.
5 Press ▲ or ▼ to select “CC Advanced”, then press ▶ or
ENTER.
The CC Advanced menu will appear.
Press ▲ or ▼ to select the desired item, then press ◀ or ▶ to | ||||||
6 change the setting. | ||||||
|
| CC Advanced |
|
|
| |
|
| Text Size |
| Auto |
|
|
|
| Text Type |
| Auto |
|
|
|
| Text Edge |
| Auto |
| |
|
| Text Color |
| Auto |
| |
|
| Text Opacity |
| Auto |
| |
|
| Background Color | Auto |
| ||
|
| Background Opacity | Auto |
| ||
|
| :Move | :Adjust |
|
|
|
You can select from among the following items and parameters.
Text Size: Auto, Small, Standard, Large
Text Type: Auto, Style1, Style2, Style3, Style4, Style5, Style6, Style7
Text Edge: Auto, None, Raised, Depressed, Uniform, Left Shadow, Right Shadow
Text Color: Auto, Black, White, Red, Green, Blue, Yellow, Magenta, Cyan
Text Opacity: Auto, Solid, Transparent, Translucent, Flashing
Background Auto, Black, White, Red, Green, Blue, Yellow,
Color: Magenta, Cyan
Background Auto, Solid, Transparent, Translucent,
Opacity: Flashing
NOTE:
• You cannot set both “Text Color” and “Background Color” as a same color.
• You cannot set both “Text Opacity” and “Background Opacity” to “Transparent”.
Aspect Switching
You can display the image at its optimum condition by selecting display aspect.
Selecting the picture format aspect ratio 1 Select “Video”, then press ▶ or ENTER.
2 Press ▲ or ▼ to select “Aspect”, then press ▶ or ENTER to display Aspect. Press ▲ or ▼ or corresponding Number buttons
![]() Aspect
Aspect
0.Natural
1.Cinema Wide1
2.Cinema Wide2
3.Cinema Wide3
4.Full
NOTE:
• Selectable picture format aspect ratios may vary depending on the input source or broadcast signal.
• Aspect menu also can be displayed by pressing ASPECT on the remote control.
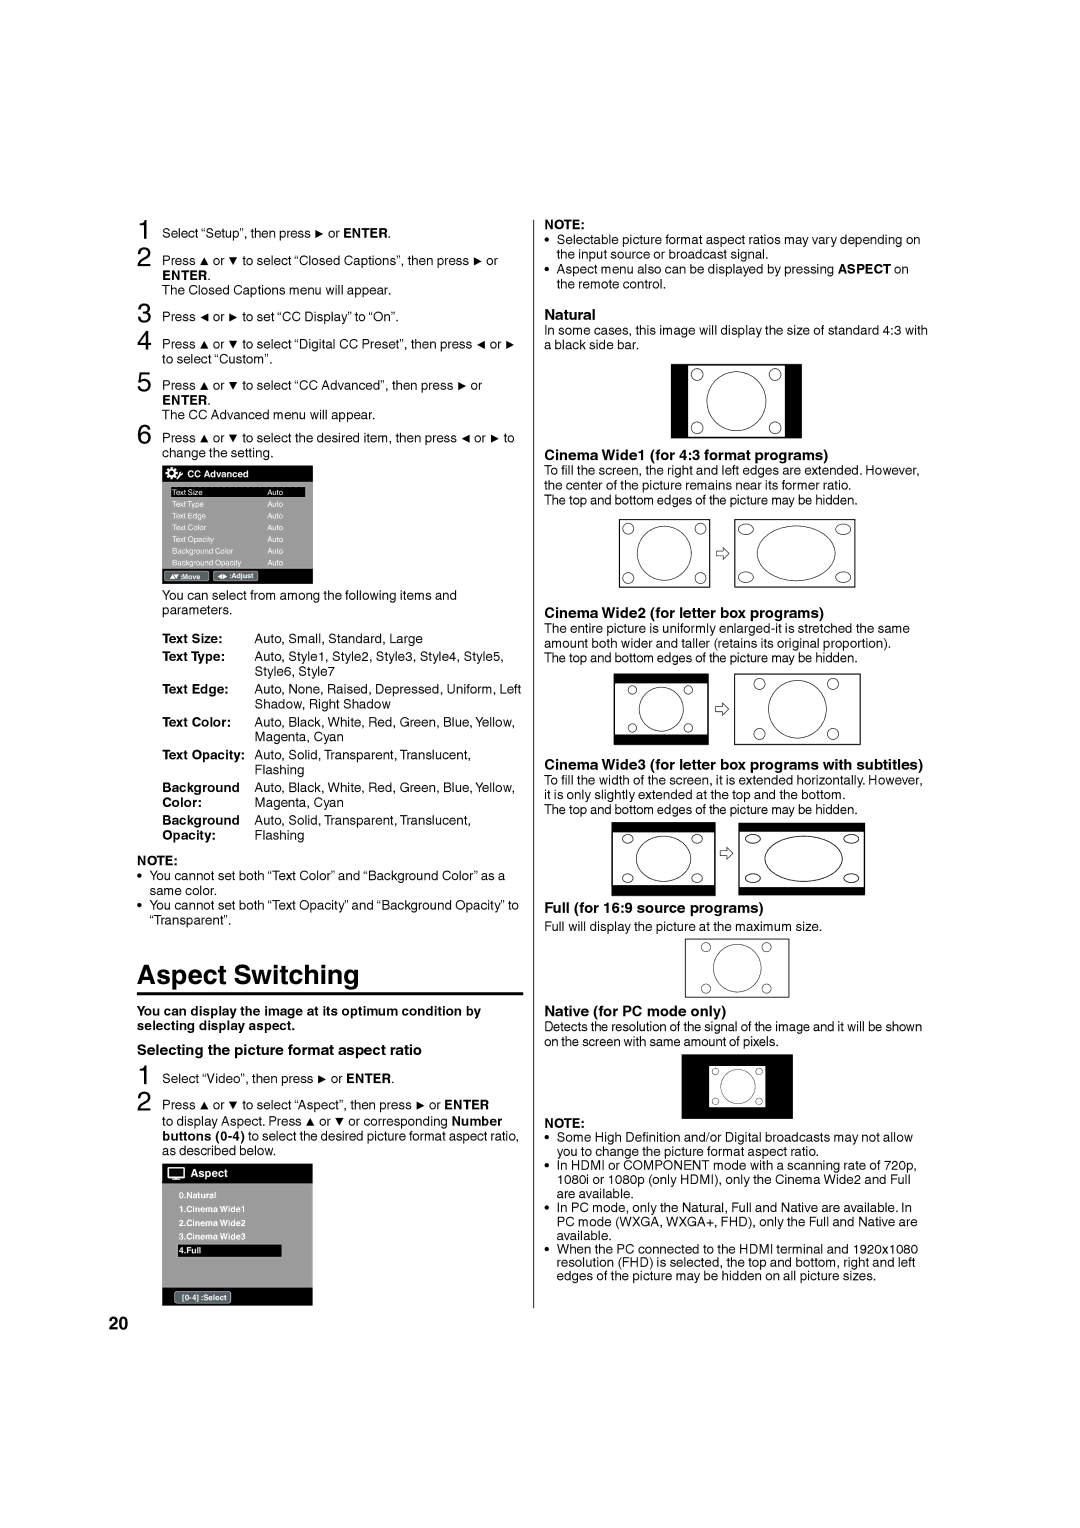
Natural
In some cases, this image will display the size of standard 4:3 with a black side bar.
Cinema Wide1 (for 4:3 format programs)
To fill the screen, the right and left edges are extended. However, the center of the picture remains near its former ratio.
The top and bottom edges of the picture may be hidden.
Cinema Wide2 (for letter box programs)
The entire picture is uniformly
Cinema Wide3 (for letter box programs with subtitles) To fill the width of the screen, it is extended horizontally. However, it is only slightly extended at the top and the bottom.
The top and bottom edges of the picture may be hidden.
Full (for 16:9 source programs)
Full will display the picture at the maximum size.
Native (for PC mode only)
Detects the resolution of the signal of the image and it will be shown on the screen with same amount of pixels.
NOTE:
• Some High Definition and/or Digital broadcasts may not allow you to change the picture format aspect ratio.
• In HDMI or COMPONENT mode with a scanning rate of 720p, 1080i or 1080p (only HDMI), only the Cinema Wide2 and Full are available.
• In PC mode, only the Natural, Full and Native are available. In PC mode (WXGA, WXGA+, FHD), only the Full and Native are available.
• When the PC connected to the HDMI terminal and 1920x1080 resolution (FHD) is selected, the top and bottom, right and left edges of the picture may be hidden on all picture sizes.
20