Figure 6
10.The four outboard bolt assemblies are identical. To install, first slip the bolt through the outer end of the corner casting and down through the rail of the boat. Place the stainless steel channel over the bolt's exposed section which is under the rail. Spin the nylock nut on the bolt but do not tighten the bolt down at this time.
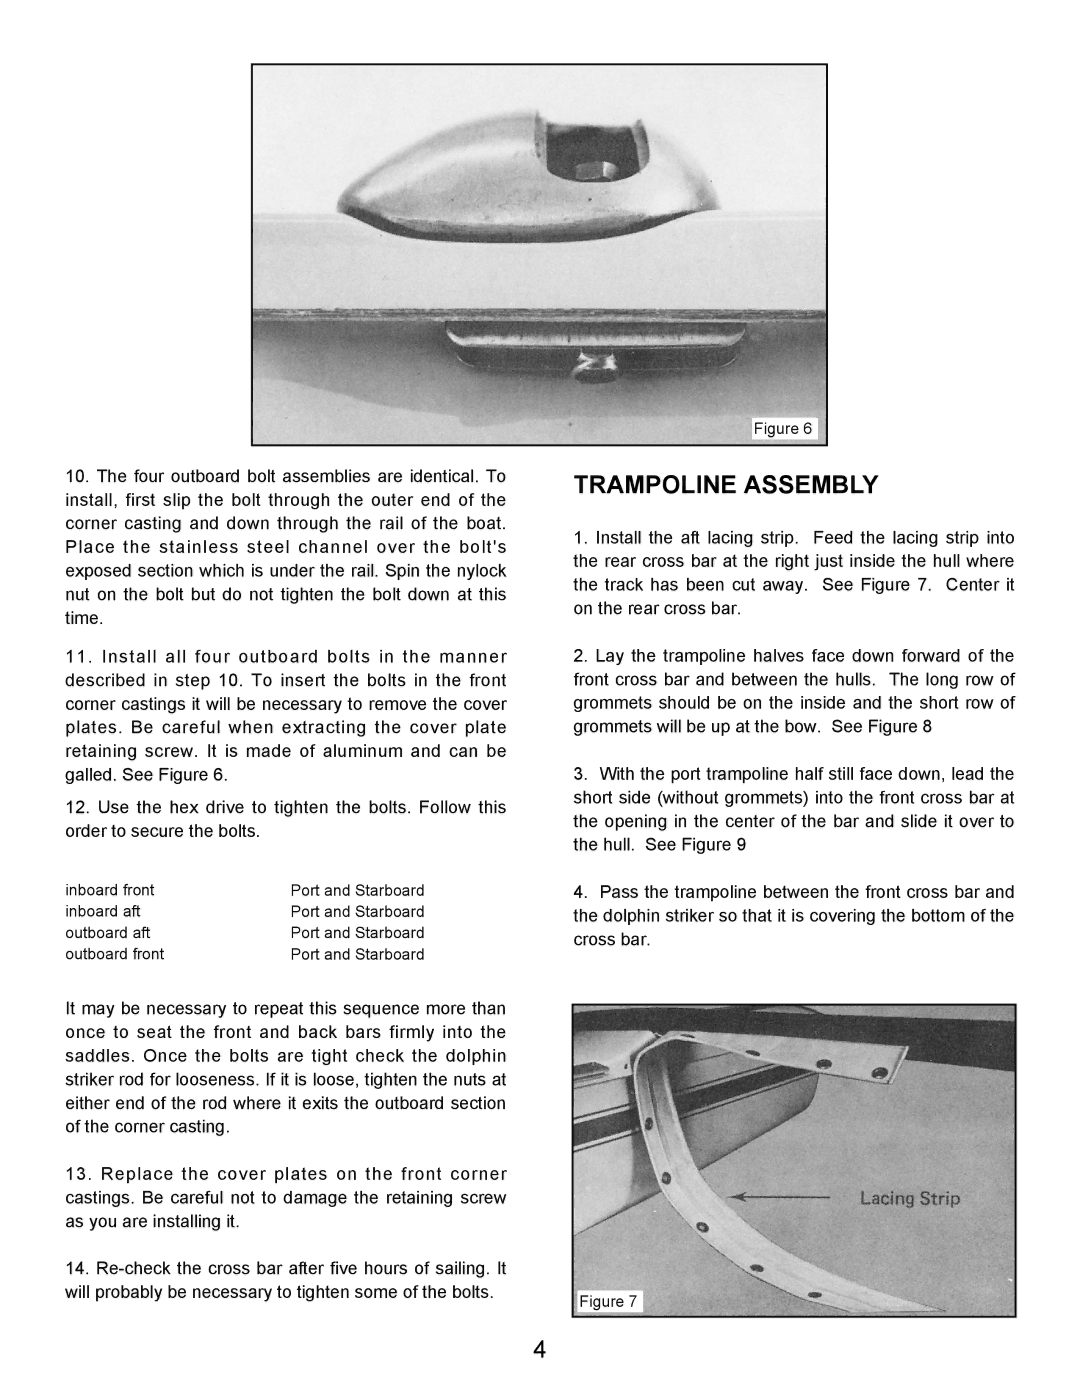
11. Install all four outboard bolts in the manner described in step 10. To insert the bolts in the front corner castings it will be necessary to remove the cover plates. Be careful when extracting the cover plate retaining screw. It is made of aluminum and can be galled. See Figure 6.
12.Use the hex drive to tighten the bolts. Follow this order to secure the bolts.
inboard front | Port and Starboard |
inboard aft | Port and Starboard |
outboard aft | Port and Starboard |
outboard front | Port and Starboard |
It may be necessary to repeat this sequence more than once to seat the front and back bars firmly into the saddles. Once the bolts are tight check the dolphin striker rod for looseness. If it is loose, tighten the nuts at either end of the rod where it exits the outboard section of the corner casting.
13.Replace the cover plates on the front corner castings. Be careful not to damage the retaining screw as you are installing it.
14.
TRAMPOLINE ASSEMBLY
1.Install the aft lacing strip. Feed the lacing strip into the rear cross bar at the right just inside the hull where the track has been cut away. See Figure 7. Center it on the rear cross bar.
2.Lay the trampoline halves face down forward of the front cross bar and between the hulls. The long row of grommets should be on the inside and the short row of grommets will be up at the bow. See Figure 8
3.With the port trampoline half still face down, lead the short side (without grommets) into the front cross bar at the opening in the center of the bar and slide it over to the hull. See Figure 9
4.Pass the trampoline between the front cross bar and the dolphin striker so that it is covering the bottom of the cross bar.
Figure 7
4