Figure 4
Figure 5
Medical Precautions
•Consult your dermatologist if you have any questions regarding use of this product.
•Do not use on any part of the body that is anesthetized.
Instructions For Use
1.Carefully remove all contents from the packaging and inspect the product to make sure all components have been received. (Fig. 1)
2.Fill the provided measuring cup to the indicator level.(Fig. 2) NOTE: There are two level indicators. For short usage time, choose the lower level indicator. For longer usage, choose the higher level indicator. DO NOT fill cup over the highest level fill line.
3.Pour the water into the water chamber. (Fig. 3)
NOTE: When the water chamber runs out of water, the unit will automatically turn off.
4.The Facial Sauna includes variable steam control for customized use. For greater steam flow, move the switch to the right. For less steam flow, move the switch to the left. (Fig.4)
When using the facial mask attachment:
1.Place attachment on the steam chamber as shown. Line up notches and turn counterclockwise to lock.
2.Plug into a 110V/120V AC household outlet. Press switch to turn
ON. LED light will glow to indicate that the Facial Sauna is on. (Fig. 4)
To reduce the risk of electric shock, this appliance has a polarized plug (one blade is wider than the other). This plug will fit in a polar- ized outlet only one way. If the plug does not fit fully in the outlet, reverse the plug. If it still does not fit, contact a qualified electrician to install the proper outlet. Do not change the plug in any way.
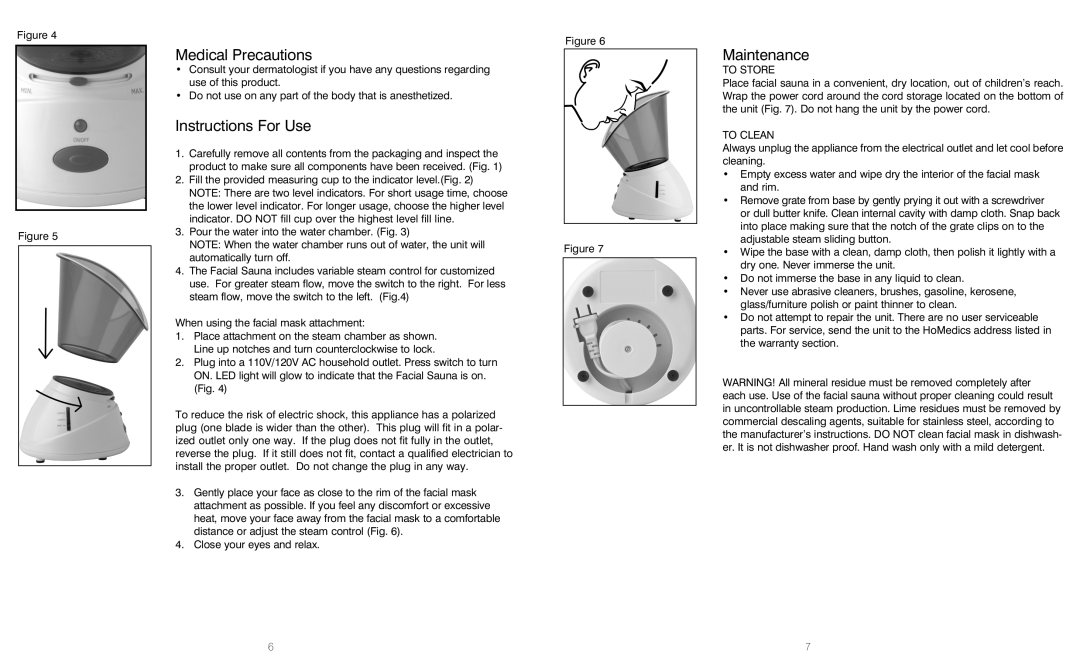
3.Gently place your face as close to the rim of the facial mask attachment as possible. If you feel any discomfort or excessive heat, move your face away from the facial mask to a comfortable distance or adjust the steam control (Fig. 6).
4.Close your eyes and relax.
Figure 6
Figure 7
Maintenance
TO STORE
Place facial sauna in a convenient, dry location, out of children’s reach. Wrap the power cord around the cord storage located on the bottom of the unit (Fig. 7). Do not hang the unit by the power cord.
TO CLEAN
Always unplug the appliance from the electrical outlet and let cool before cleaning.
•Empty excess water and wipe dry the interior of the facial mask and rim.
•Remove grate from base by gently prying it out with a screwdriver
or dull butter knife. Clean internal cavity with damp cloth. Snap back into place making sure that the notch of the grate clips on to the adjustable steam sliding button.
•Wipe the base with a clean, damp cloth, then polish it lightly with a dry one. Never immerse the unit.
•Do not immerse the base in any liquid to clean.
•Never use abrasive cleaners, brushes, gasoline, kerosene, glass/furniture polish or paint thinner to clean.
•Do not attempt to repair the unit. There are no user serviceable parts. For service, send the unit to the HoMedics address listed in the warranty section.
WARNING! All mineral residue must be removed completely after each use. Use of the facial sauna without proper cleaning could result in uncontrollable steam production. Lime residues must be removed by commercial descaling agents, suitable for stainless steel, according to the manufacturer’s instructions. DO NOT clean facial mask in dishwash- er. It is not dishwasher proof. Hand wash only with a mild detergent.
6 | 7 |