ASSEMBLY INSTRUCTIONS
•Remove the packaging material from the Fan Control Box.
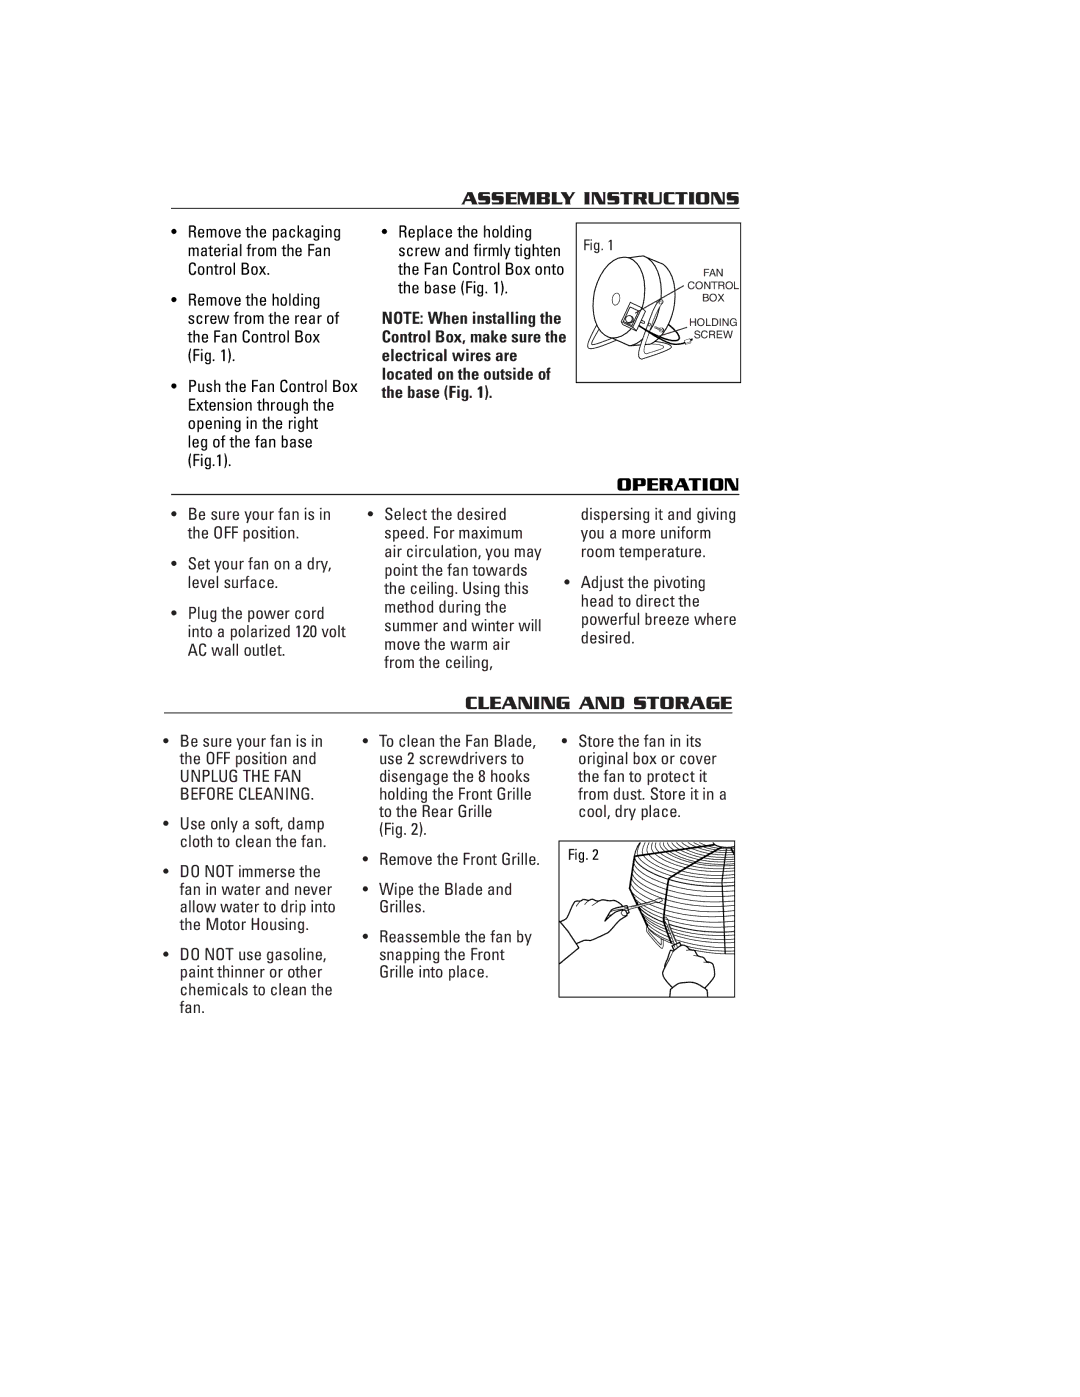
•Remove the holding screw from the rear of the Fan Control Box (Fig. 1).
•Push the Fan Control Box Extension through the opening in the right
leg of the fan base (Fig.1).
•Replace the holding screw and firmly tighten the Fan Control Box onto the base (Fig. 1).
NOTE: When installing the Control Box, make sure the electrical wires are located on the outside of the base (Fig. 1).
Fig. 1
FAN
CONTROL
BOX
HOLDING
SCREW
OPERATION
•Be sure your fan is in the OFF position.
•Set your fan on a dry, level surface.
•Plug the power cord into a polarized 120 volt AC wall outlet.
•Select the desired speed. For maximum air circulation, you may point the fan towards the ceiling. Using this method during the summer and winter will move the warm air from the ceiling,
dispersing it and giving you a more uniform room temperature.
•Adjust the pivoting head to direct the powerful breeze where desired.
CLEANING AND STORAGE
•Be sure your fan is in the OFF position and
UNPLUG THE FAN BEFORE CLEANING.
•Use only a soft, damp cloth to clean the fan.
•DO NOT immerse the fan in water and never allow water to drip into the Motor Housing.
•DO NOT use gasoline, paint thinner or other chemicals to clean the fan.
•To clean the Fan Blade, use 2 screwdrivers to disengage the 8 hooks holding the Front Grille to the Rear Grille (Fig. 2).
•Remove the Front Grille.
•Wipe the Blade and Grilles.
•Reassemble the fan by snapping the Front Grille into place.
•Store the fan in its original box or cover the fan to protect it from dust. Store it in a cool, dry place.
Fig. 2