40000518.qxd 07/11/2003 12:13 Page 8
Note: we recommend you keep the transit bracket and screws to protect the machine for future transit.
The Manufacturers will not be responsible for any damage to the machine caused by not following the instructions relating to releasing the transit protection. The user is responsible for all installation costs.
Note: do not leave the packaging in the reach of children as it is a potential source of danger.
Connecting the fill hoses
This machine has inlet hoses with 19mm (3/4”) threaded ferrules fitted to the ends to attach between the threaded connector on the appliance and the water supply.
Only use the new hoses supplied to connect the machine and ensure that the sealing washers are in place inside the hose connectors.
Do not
Do not trap or kink the hoses.
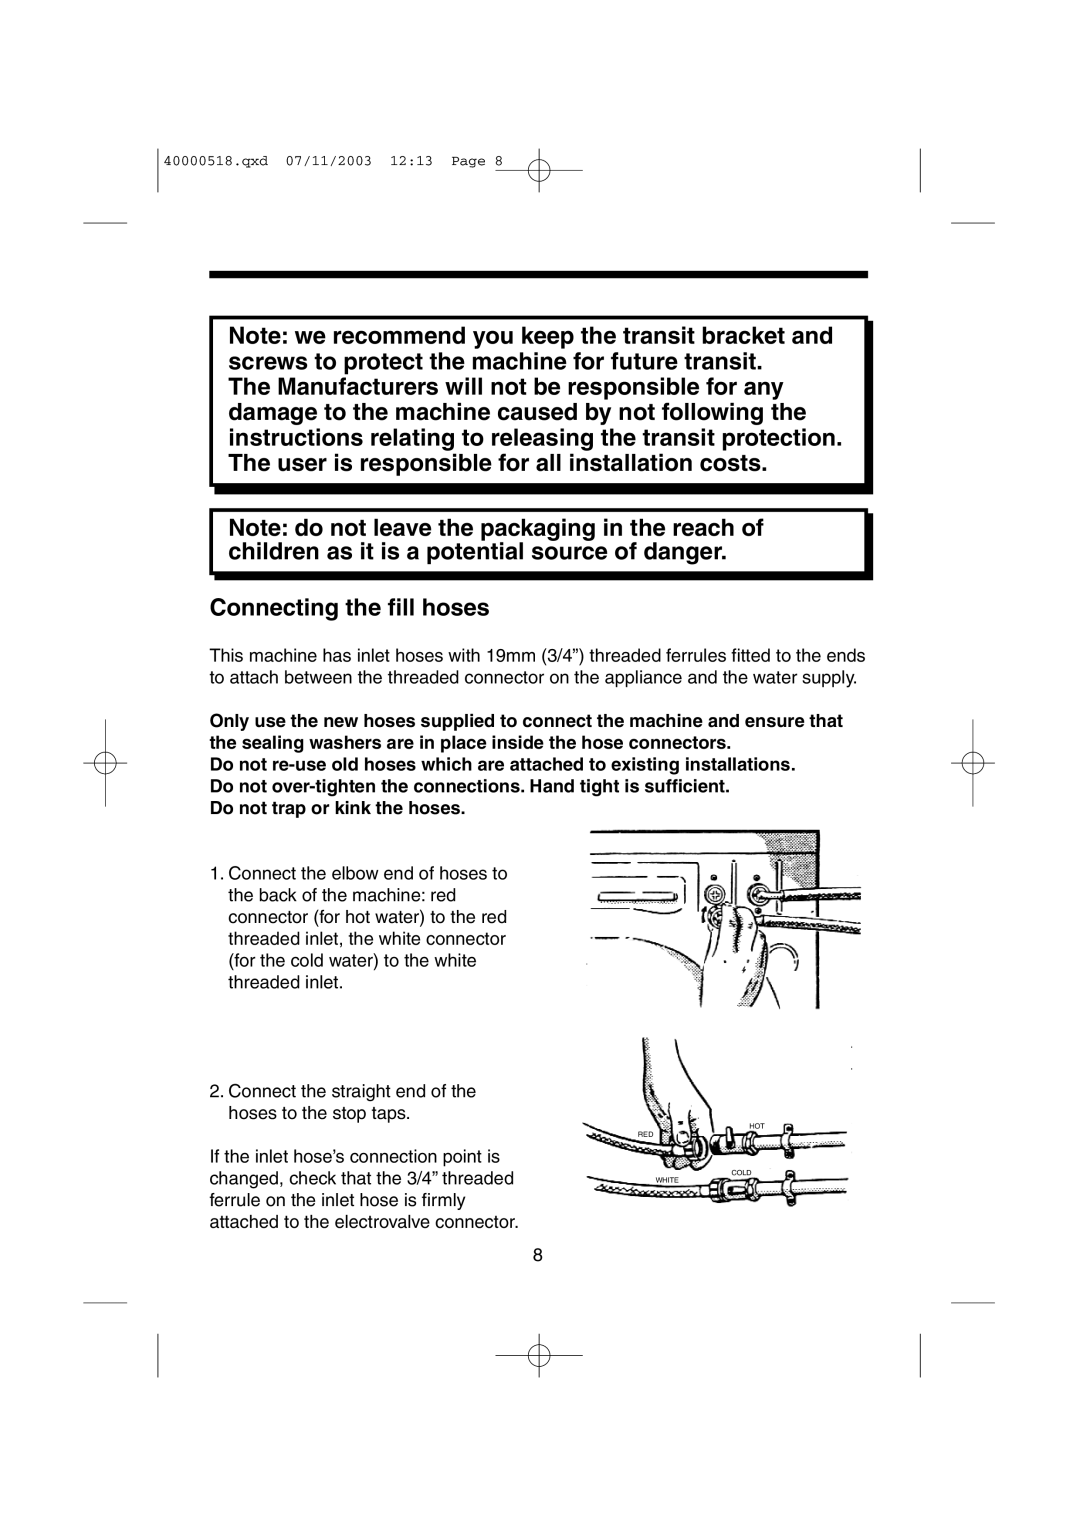
1.Connect the elbow end of hoses to the back of the machine: red connector (for hot water) to the red threaded inlet, the white connector (for the cold water) to the white threaded inlet.
2.Connect the straight end of the hoses to the stop taps.
If the inlet hose’s connection point is changed, check that the 3/4” threaded ferrule on the inlet hose is firmly attached to the electrovalve connector.
HOT
RED
COLD
WHITE
8
