Self-Propelled WindTunnel Bagless with Powered Hand Tool specifications
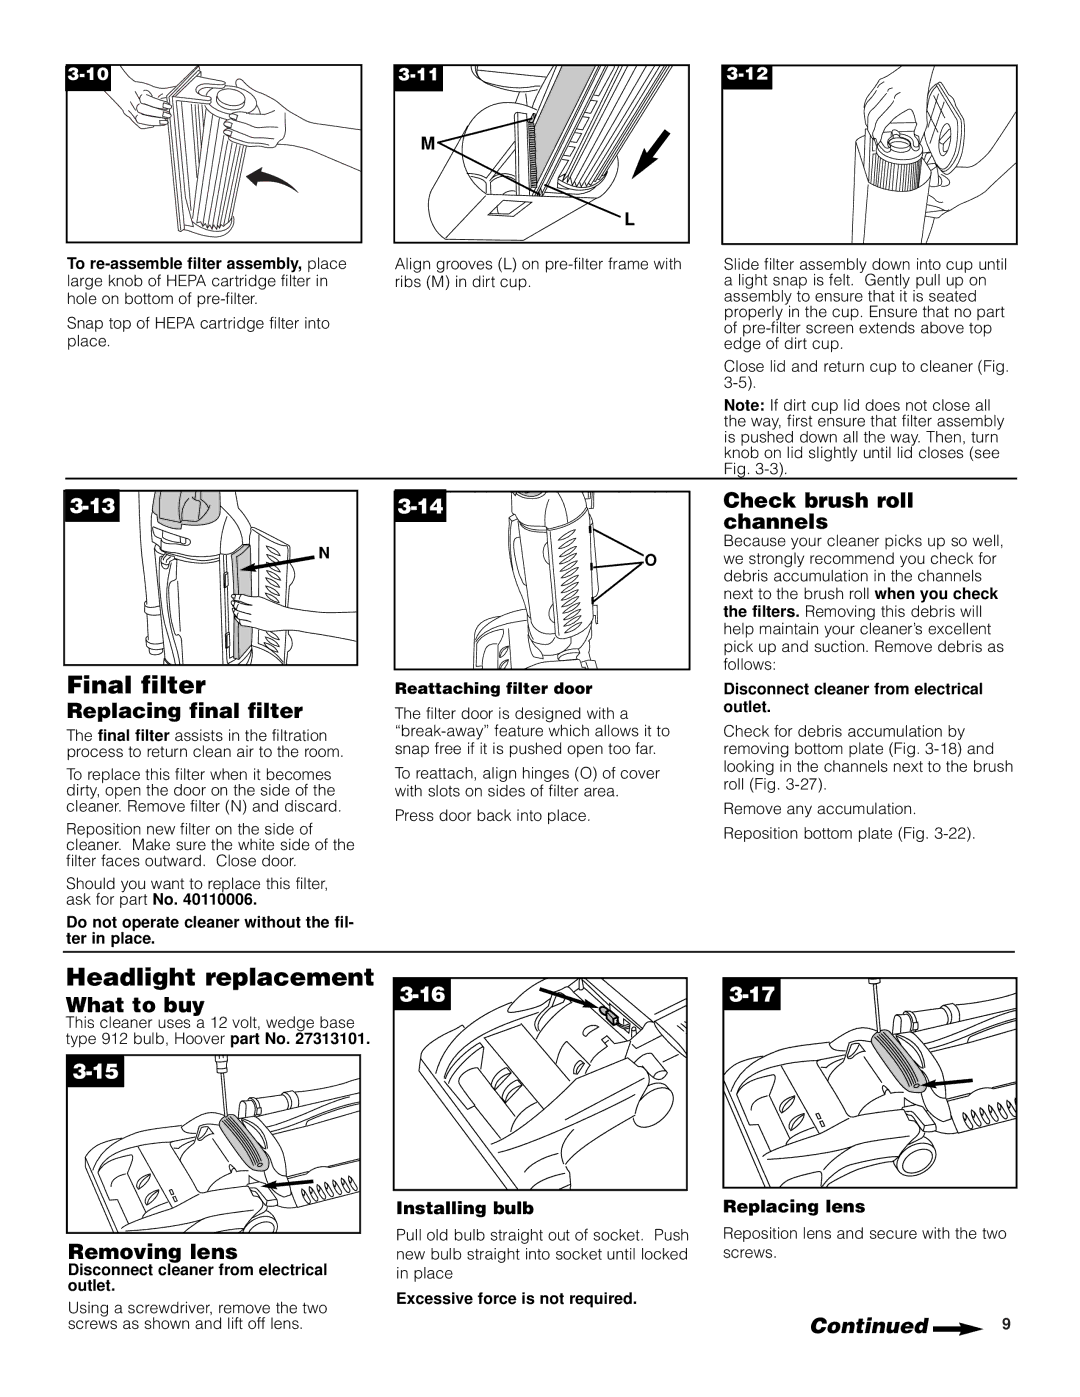
The Hoover Self-Propelled WindTunnel Bagless with Powered Hand Tool is a remarkable vacuum cleaner that combines advanced technology and user-friendly features to deliver exceptional cleaning performance. Designed for homeowners seeking efficiency and convenience, this model stands out with its self-propelled functionality, which eases the burden of heavy lifting while vacuuming various surfaces.One of the primary features of this vacuum is its innovative WindTunnel technology. This unique system creates multiple channels of suction, allowing it to effortlessly lift and remove dirt, debris, and pet hair from carpets and hard floors. The effectiveness of WindTunnel technology is further enhanced by the inclusion of a bagless design, which not only simplifies the disposal process but also ensures that users can clearly see when it's time to empty the dirt cup.
Another significant characteristic of the Hoover WindTunnel is the powered hand tool, which is an essential addition for those looking to clean upholstery, stairs, and hard-to-reach areas. The powered hand tool utilizes its own suction power, making it effective for tackling pet hair and embedded dirt. This feature is especially beneficial for households with pets or children, where messes can be frequent and demand a quick response.
Moreover, this vacuum offers a range of adjustable height settings, accommodating various carpet lengths and hard floor surfaces. The self-propelled design means that users can navigate their homes with minimal effort, as the machine glides across the floor, reducing fatigue during cleaning sessions. The vacuum also includes a variety of attachments and tools, such as a crevice tool and dusting brush, enhancing its versatility for different cleaning tasks.
Additionally, the Hoover Self-Propelled WindTunnel features a HEPA filtration system. This advanced filtration captures 99.97% of dust and allergens, which is particularly advantageous for allergy sufferers. The washable HEPA filter ensures that maintenance is manageable and cost-effective over time.
In terms of design, the Hoover model boasts a sleek and modern aesthetic, coupled with intuitive controls that are easy to access. Its lightweight construction enhances maneuverability, making it suitable for users of all ages. With its combination of user-focused features, advanced technology, and robust performance, the Hoover Self-Propelled WindTunnel Bagless with Powered Hand Tool is an excellent choice for anyone looking to maintain a clean and healthy home environment.

