UH70120 specifications
The Hoover UH70120 is a powerful, versatile upright vacuum designed to tackle a variety of home cleaning needs. With its sleek design and user-friendly features, this vacuum has gained popularity among homeowners seeking an effective solution for maintaining a clean living space.One of the standout features of the Hoover UH70120 is its WindTunnel technology. This innovative engineering creates a powerful suction that lifts and removes dirt and debris from carpets and hard floors alike. The WindTunnel technology has multiple suction channels that ensure optimal deep-cleaning performance, making it easier to capture even the most stubborn dirt.
The UH70120 also boasts a multi-floor capability, allowing users to seamlessly switch between different surfaces. Whether you have carpets, hardwood, or tile flooring, this vacuum adapts to your needs, providing a thorough clean without the need for switching vacuums. Its height adjustment feature enables users to customize the vacuum's height for various floor types, ensuring effective cleaning across the board.
Another key characteristic of the Hoover UH70120 is its HEPA filtration system. This system traps 99.97% of dust and allergens, making it an excellent choice for households with allergy sufferers or pets. This not only helps in maintaining a cleaner environment but also contributes to improved indoor air quality, a crucial factor for health-conscious consumers.
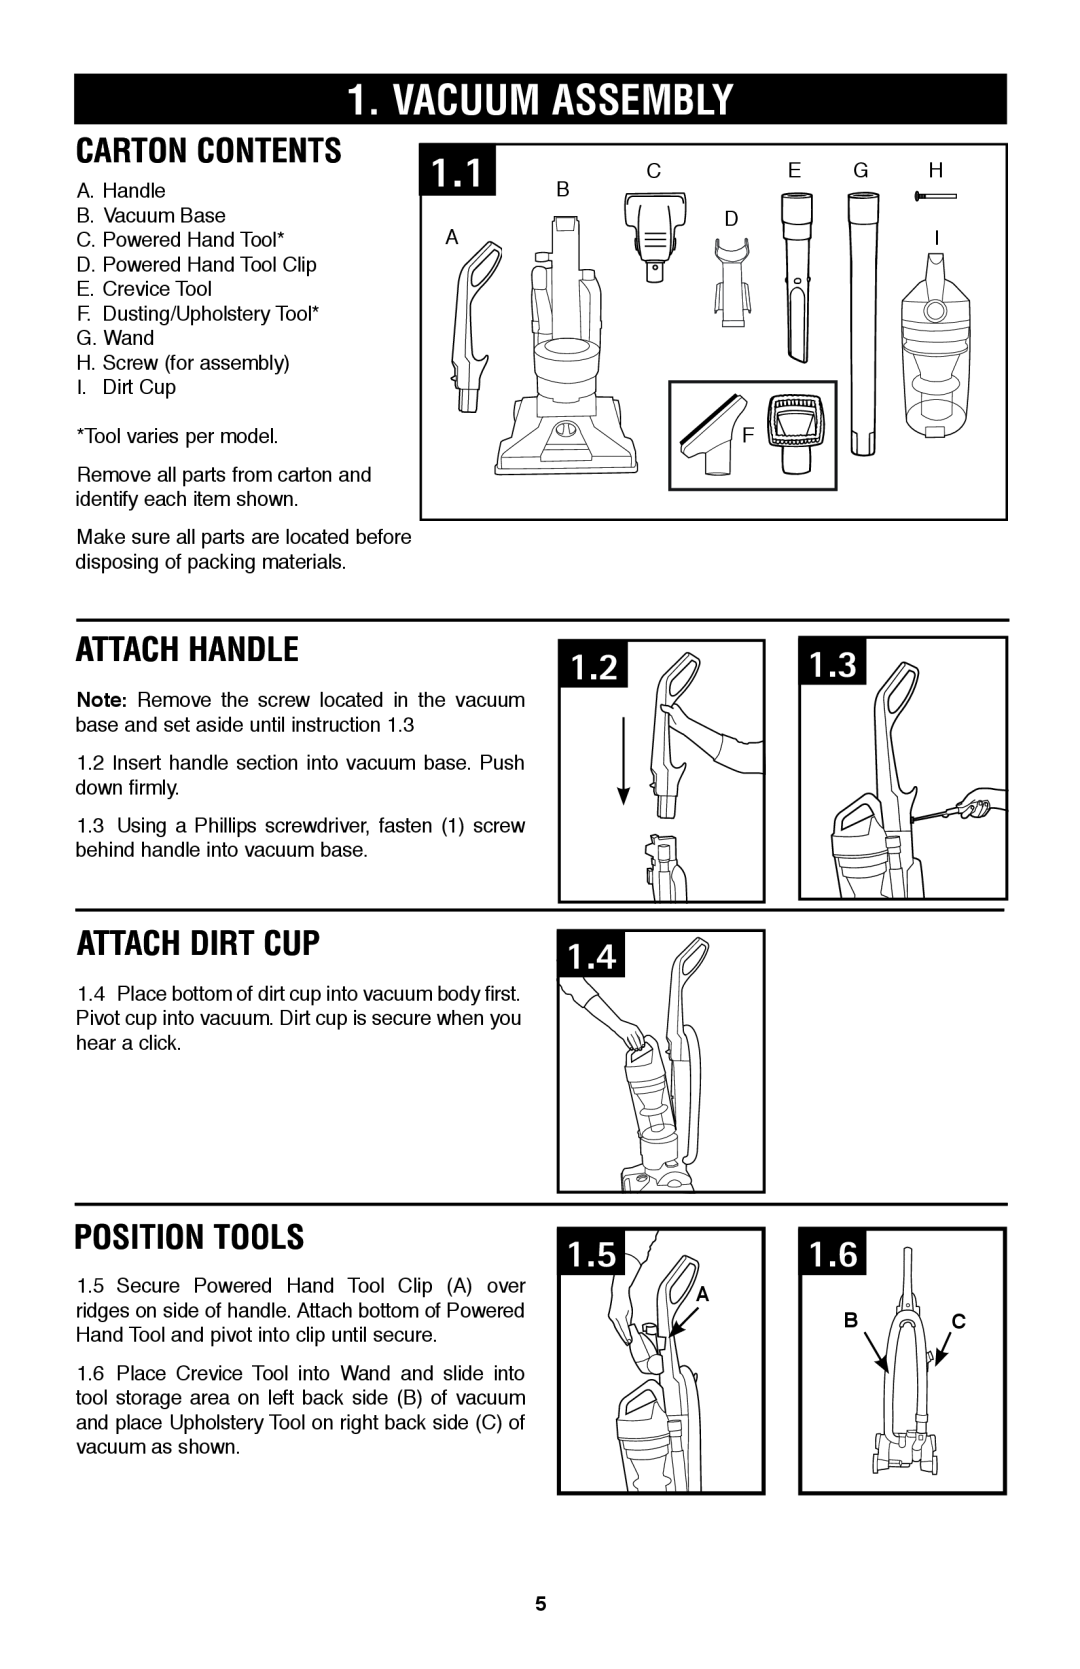
The vacuum is equipped with a large capacity dirt cup, which means fewer trips to the trash can and less hassle during cleaning. The dirt cup is easy to empty and clean, making maintenance a breeze. Additionally, the UH70120 comes with a variety of handy attachments such as a crevice tool and upholstery nozzle, enabling users to clean hard-to-reach areas and various surfaces with ease.
Another aspect that stands out is its lightweight design. Weighing in at just around 15 pounds, the Hoover UH70120 is easy to maneuver, reducing fatigue during longer cleaning sessions. The vacuum features a generous cord length, allowing users to move freely without constantly switching outlets.
In summary, the Hoover UH70120 is a robust and efficient vacuum cleaner that combines advanced technologies such as WindTunnel suction and HEPA filtration to ensure comprehensive cleaning. Its adaptability to multiple floor types, extensive range of tools, and lightweight design make it an excellent choice for families looking for a reliable cleaning companion.
