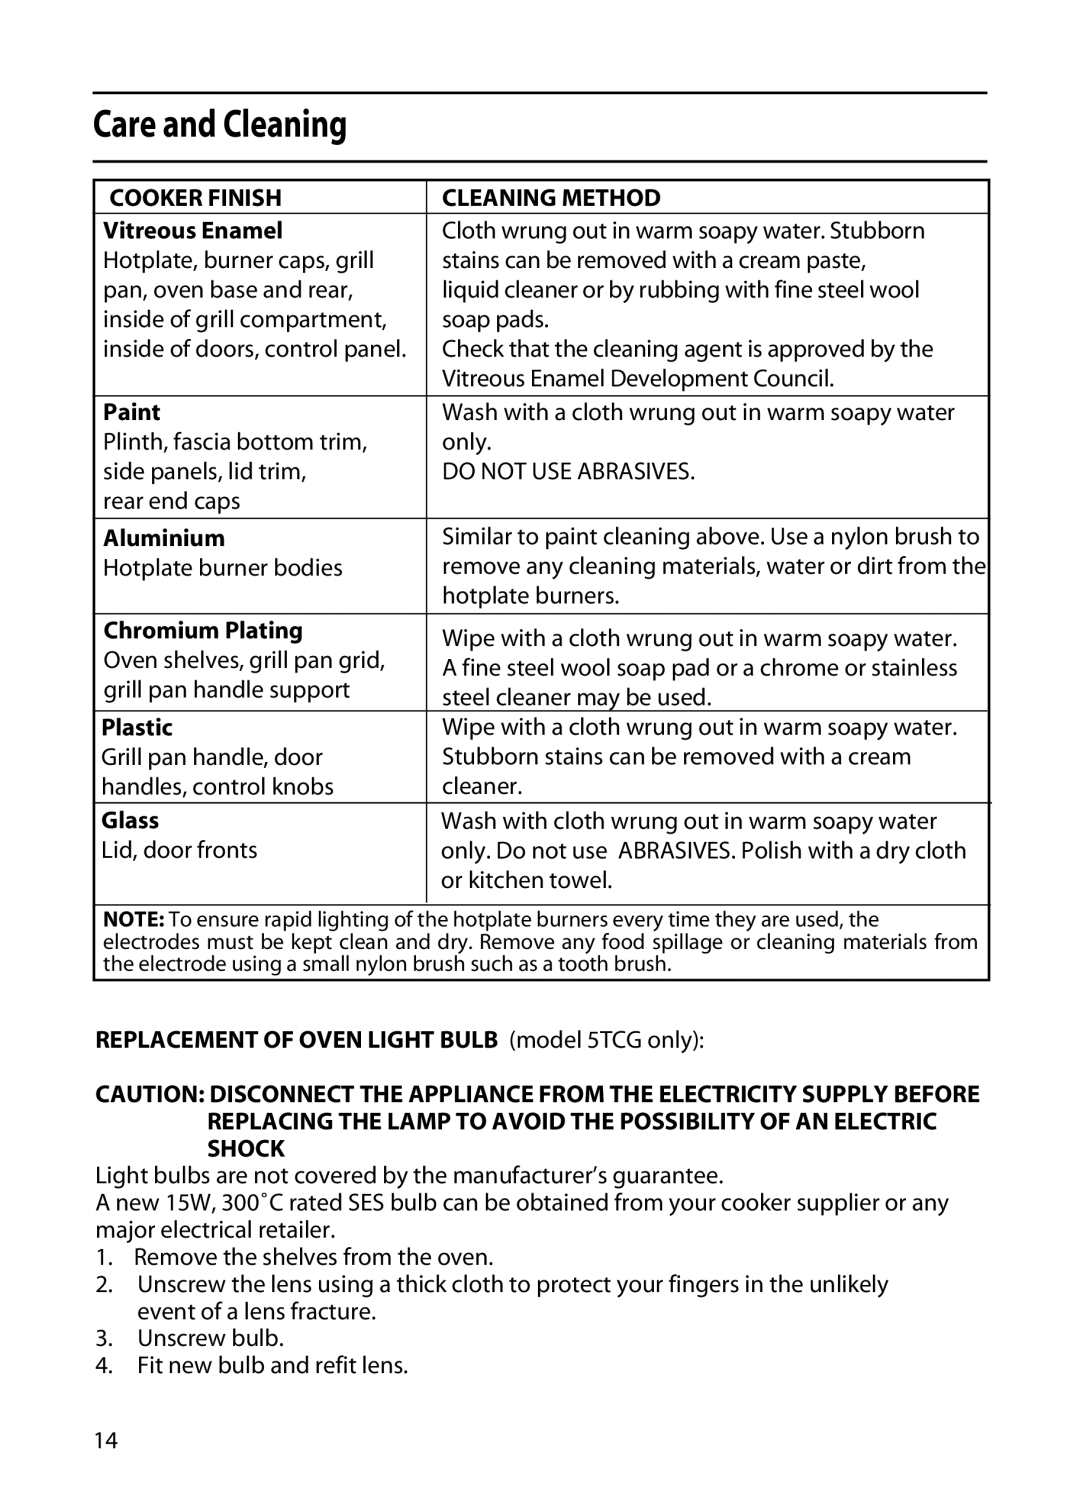
5TCG specifications
The Hotpoint 5TCG is a standout model in the realm of kitchen appliances, specifically designed for those who value efficiency alongside modern technology. This versatile cooking appliance is equipped with a wide range of features that enhance user experience and accommodate diverse culinary needs.One of the key characteristics of the Hotpoint 5TCG is its multiple cooking zones. With a configuration that includes gas burners, users can achieve precise temperature control that enhances the cooking process. Each burner is designed to deliver optimal heat distribution, ensuring thorough cooking and perfect results, whether you are simmering sauces or boiling pasta.
A prominent feature of the Hotpoint 5TCG is its innovative cooking technologies. The appliance incorporates advanced gas ignition systems, providing quick and reliable ignition with just a twist of the knob. This ensures ease of use right from the start, making it an excellent choice for both novice cooks and experienced chefs alike. Additionally, the burners are designed to minimize energy consumption while maximizing heat output, contributing to lower utility bills.
Another significant aspect of the Hotpoint 5TCG is its user-friendly interface. The control panel is intuitively designed, allowing for seamless adjustment of cooking settings. The ergonomic knobs provide a comfortable grip and precise control, while the clear markings make it easy to switch between different heat levels.
Safety features are also at the forefront of the Hotpoint 5TCG design. It includes flame failure devices that automatically cut off gas supply in case the flame goes out, ensuring peace of mind during cooking. This feature not only enhances safety but also promotes energy efficiency by preventing unnecessary gas wastage.
The Hotpoint 5TCG is built with high-quality materials, ensuring durability and longevity. The stainless steel finish gives it a modern and sleek look, making it an attractive addition to any kitchen. Its compact design ensures that it fits well in various kitchen layouts without sacrificing functionality.
In conclusion, the Hotpoint 5TCG is a highly efficient cooking appliance that combines modern technology, user-friendly features, and safety measures. Its versatile cooking zones, intuitive controls, and robust design make it an essential tool for any home cook looking to elevate their culinary skills. With the Hotpoint 5TCG, cooking becomes not only easier but also more enjoyable.