
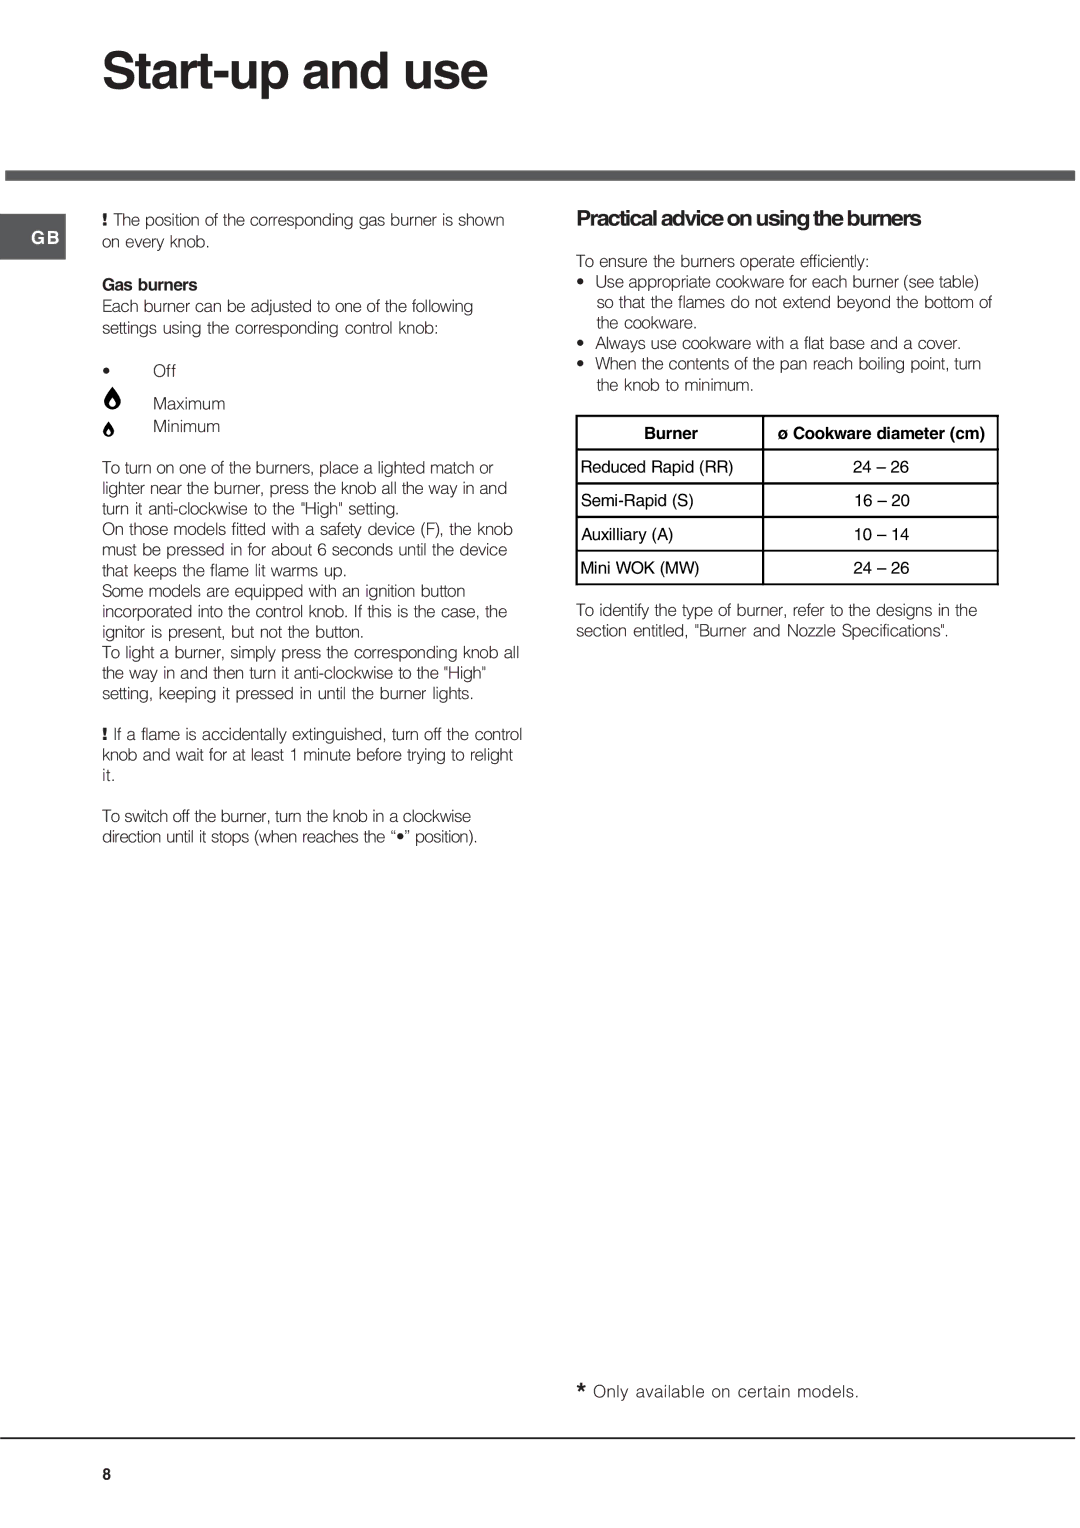
GQ641TSI, GE75DX, GQ751TSI specifications
In the realm of kitchen appliances, Hotpoint has long been recognized for its innovative solutions that blend functionality and style. Among its range of products, the Hotpoint GQ751TSI, GE75DX, and GQ641TSI stand out due to their exceptional features and advanced technologies designed to enhance cooking experiences.The Hotpoint GQ751TSI is a versatile built-in gas cooktop that boasts a sleek design, making it an attractive addition to modern kitchens. This appliance features a total of five burners, including a powerful wok burner that delivers high heat for stir-frying and searing. The intuitive control knobs provide precision while cooking, allowing users to adjust flame levels with ease. Additionally, the GQ751TSI is equipped with cast iron supports, ensuring stability for pots and pans, heightening safety during high-heat cooking sessions.
The GE75DX model, on the other hand, is an electric cooker that combines style with practicality. This model stands out for its spacious oven cavity, which allows for simultaneous cooking of multiple dishes. Featuring advanced multi-functional cooking capabilities, the GE75DX supports a wide array of cooking techniques, including baking, grilling, and roasting. One notable feature is its fan-assisted cooking, which ensures even heat distribution for consistent results. The ceramic hob surface is easy to clean, providing a hassle-free maintenance experience.
Lastly, the Hotpoint GQ641TSI is a compact gas cooktop designed for smaller kitchens without compromising on performance. It includes four high-efficiency burners, making it ideal for varied cooking needs while occupying minimal counter space. This model features Easy Clean enamel pan supports for effortless upkeep. It also includes automatic ignition, which simplifies the lighting process.
All three models incorporate Hotpoint's commitment to safety, with features such as flame failure safety devices that automatically cut the gas supply if the flame goes out. This ensures peace of mind while cooking. In addition, their sleek aesthetics, available in various finishes, seamlessly integrate into a variety of kitchen decors, catering to multiple consumer preferences.
In summary, the Hotpoint GQ751TSI, GE75DX, and GQ641TSI exemplify a harmonious blend of technology, safety, and stylish design, making them excellent choices for any culinary enthusiast. Whether you require a high-performance cooktop, a versatile electric oven, or a compact yet powerful gas burner, Hotpoint has you covered.