
SE61X specifications
The Hotpoint SE61X is a versatile and efficient built-in electric single oven that combines modern technology with stylish design, making it a popular choice for contemporary kitchens. This model is characterized by its sleek stainless steel finish, providing an elegant touch that complements various kitchen styles.One of the standout features of the SE61X is its impressive capacity. With 60 liters of space, it provides ample room for all kinds of cooking endeavors, from baking large family meals to preparing multiple dishes simultaneously. The oven is equipped with multifunctional cooking options, allowing users to choose from a variety of cooking methods such as conventional cooking, fan-assisted cooking, and defrosting, making it suitable for both everyday meals and special occasions.
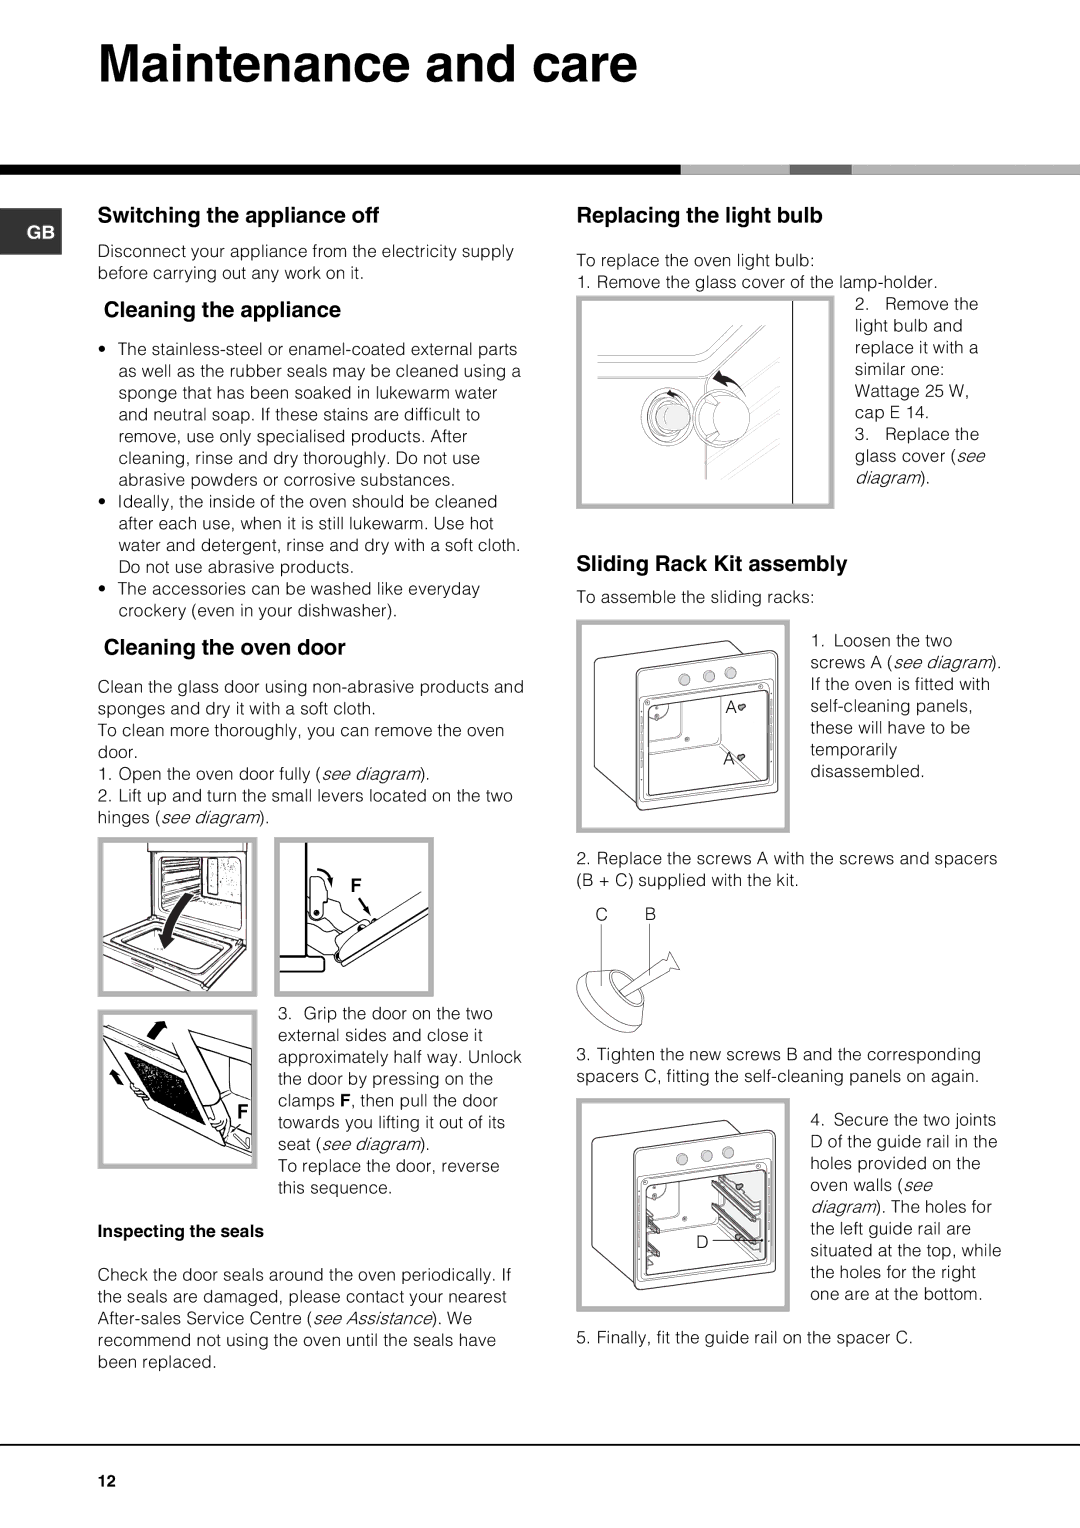
The Hotpoint SE61X is designed with user convenience in mind. The integrated digital display and touch controls allow for precise adjustments in temperature and settings, ensuring optimal cooking results. The oven features easy-to-clean enamel lining that helps to keep the interior spotless with minimal effort, while its removable glass door ensures accessibility for thorough cleaning.
A key highlight of the SE61X is its advanced heating technology, which includes the fan-assisted system that circulates hot air evenly throughout the oven. This feature not only guarantees consistent cooking results but also significantly reduces cooking times, making meal preparation quicker and more efficient. Additionally, the oven boasts an energy efficiency rating that helps to reduce energy consumption, aligning with modern environmental standards.
Safety is also a priority with the Hotpoint SE61X. The appliance comes with a range of safety features, including a cool-to-touch door that minimizes the risk of burns and a child lock function that prevents accidental operation.
In terms of additional functionalities, the SE61X includes a programmable timer, allowing users to set cooking durations and alerts for perfect timing. This feature is particularly helpful for busy families who need to manage their time effectively in the kitchen.
Overall, the Hotpoint SE61X is an impressive combination of style, functionality, and efficiency, making it a worthwhile investment for anyone looking to enhance their cooking experience while maintaining a modern kitchen aesthetic. Its blend of advanced cooking technologies and thoughtful safety features ensures it meets the needs of today’s cooking enthusiasts.