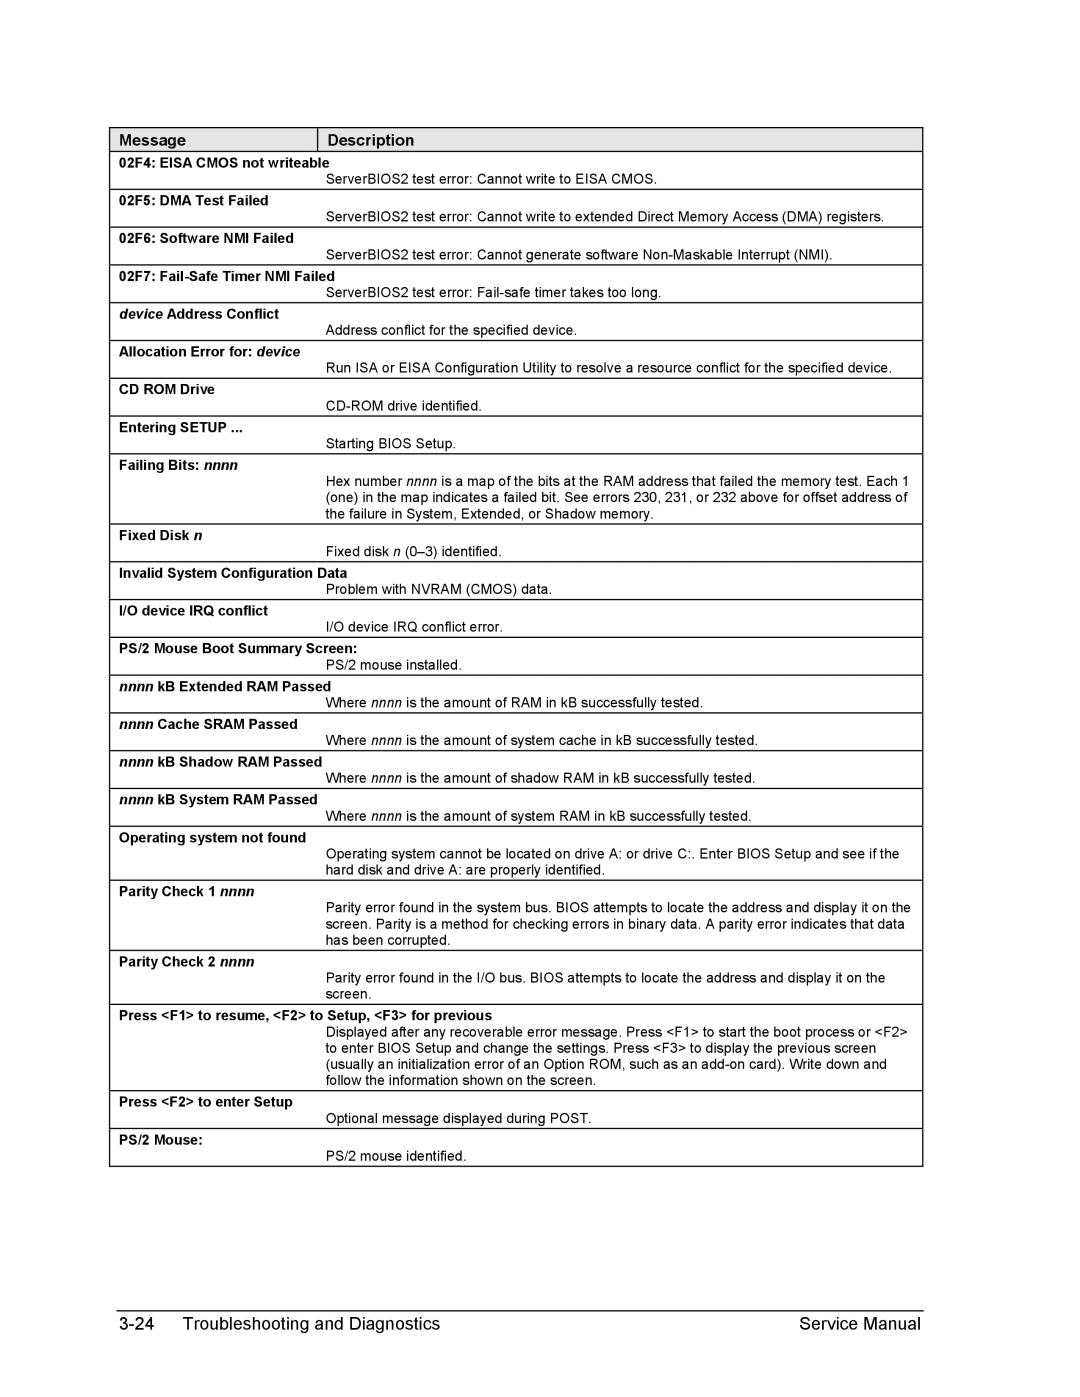
Message

Description

02F4: EISA CMOS not writeable

ServerBIOS2 test error: Cannot write to EISA CMOS.

02F5: DMA Test Failed

ServerBIOS2 test error: Cannot write to extended Direct Memory Access (DMA) registers.

02F6: Software NMI Failed

ServerBIOS2 test error: Cannot generate software Non-Maskable Interrupt (NMI).

02F7: Fail-Safe Timer NMI Failed

ServerBIOS2 test error: Fail-safe timer takes too long.

device Address Conflict

Address conflict for the specified device.

Allocation Error for: device

Run ISA or EISA Configuration Utility to resolve a resource conflict for the specified device.

CD ROM Drive

CD-ROM drive identified.

Entering SETUP ...

Starting BIOS Setup.

Failing Bits: nnnn

Hex number nnnn is a map of the bits at the RAM address that failed the memory test. Each 1 (one) in the map indicates a failed bit. See errors 230, 231, or 232 above for offset address of the failure in System, Extended, or Shadow memory.

Fixed Disk n

Fixed disk n (0–3) identified.

Invalid System Configuration Data

Problem with NVRAM (CMOS) data.

I/O device IRQ conflict

I/O device IRQ conflict error.

PS/2 Mouse Boot Summary Screen:

PS/2 mouse installed.

nnnnkB Extended RAM Passed

Where nnnn is the amount of RAM in kB successfully tested.

nnnnCache SRAM Passed

Where nnnn is the amount of system cache in kB successfully tested.

nnnnkB Shadow RAM Passed

Where nnnn is the amount of shadow RAM in kB successfully tested.

nnnnkB System RAM Passed

Where nnnn is the amount of system RAM in kB successfully tested.

Operating system not found

Operating system cannot be located on drive A: or drive C:. Enter BIOS Setup and see if the

hard disk and drive A: are properly identified.

Parity Check 1 nnnn

Parity error found in the system bus. BIOS attempts to locate the address and display it on the screen. Parity is a method for checking errors in binary data. A parity error indicates that data has been corrupted.

Parity Check 2 nnnn

Parity error found in the I/O bus. BIOS attempts to locate the address and display it on the screen.

Press <F1> to resume, <F2> to Setup, <F3> for previous

Displayed after any recoverable error message. Press <F1> to start the boot process or <F2> to enter BIOS Setup and change the settings. Press <F3> to display the previous screen (usually an initialization error of an Option ROM, such as an add-on card). Write down and follow the information shown on the screen.

Press <F2> to enter Setup

Optional message displayed during POST.

PS/2 Mouse:

PS/2 mouse identified.

3-24 Troubleshooting and Diagnostics

Service Manual

Page 97
Image 97
HP 2100, 1100 manual 02F4 Eisa Cmos not writeable

2100, 1100 specifications

The HP 1100 and 1100A are pivotal laser printers developed by Hewlett-Packard in the early 1990s, marking significant advancements in printing technology of their time. Since their introduction, these models have garnered a reputation for reliability and efficiency, making them a staple in many offices.

One of the standout features of the HP 1100 series is its fast printing speed. The printers can produce up to 12 pages per minute, which was an impressive feat at the time of their release. This speed significantly reduced waiting times, allowing users to handle large-volume printing jobs with ease. Furthermore, the printers support a variety of media types, including letterhead, envelopes, and labels, enhancing versatility in print applications.

The HP 1100 and 1100A utilize laser technology, which ensures sharp and high-quality prints. The printers have a native resolution of 600 x 600 dots per inch (DPI), enabling crisp text and detailed graphics. This high-resolution output made the models particularly favored for producing professional documents and presentations.

Another key characteristic is the generous memory capacity. The HP 1100 typically comes with 2 MB of standard RAM, which is expandable, allowing for improved performance in handling complex print jobs. Users can adjust the memory according to their requirements, resulting in better efficiency, particularly in environments that demand high-volume printing.

The HP 1100 series also showcases a straightforward and user-friendly operation. The built-in control panel simplifies the printing process, allowing users to manage jobs intuitively. Additionally, with the inclusion of parallel and later USB connectivity options, integration with various computer systems was seamless, ensuring compatibility with existing office infrastructure.

Energy efficiency is another aspect worth noting, as the printers are designed to consume minimal power when idle, aligning with the growing demand for eco-friendly solutions.

Overall, the HP 1100 and 1100A stand out for their robust construction, high-speed performance, exceptional print quality, and user-friendly features, making them a trusted choice for small to medium-sized businesses in need of dependable printing solutions. Their impact on the printing landscape during the 1990s continues to be felt today, as they paved the way for subsequent generations of laser printers.