Setting Up the Monitor
ÄCAUTION: This monitor supports the VESA industry standard 100mm mounting holes. To attach a third party mounting solution to the monitor, four 4mm, 0.7 pitch, and 10mm long screws are required (not provided with the monitor). Longer screws should not be used because they may damage the monitor. It is important to verify that the manufacturer’s mounting solution is compliant with the VESA standard and is rated to support the weight of the monitor display panel. For best performance, it is important to use the power and video cable provided with the monitor.
2.Mount the monitor to a swing arm or other mounting fixture by following the instructions included with the mounting fixture to be used.
Locating the Rating Labels
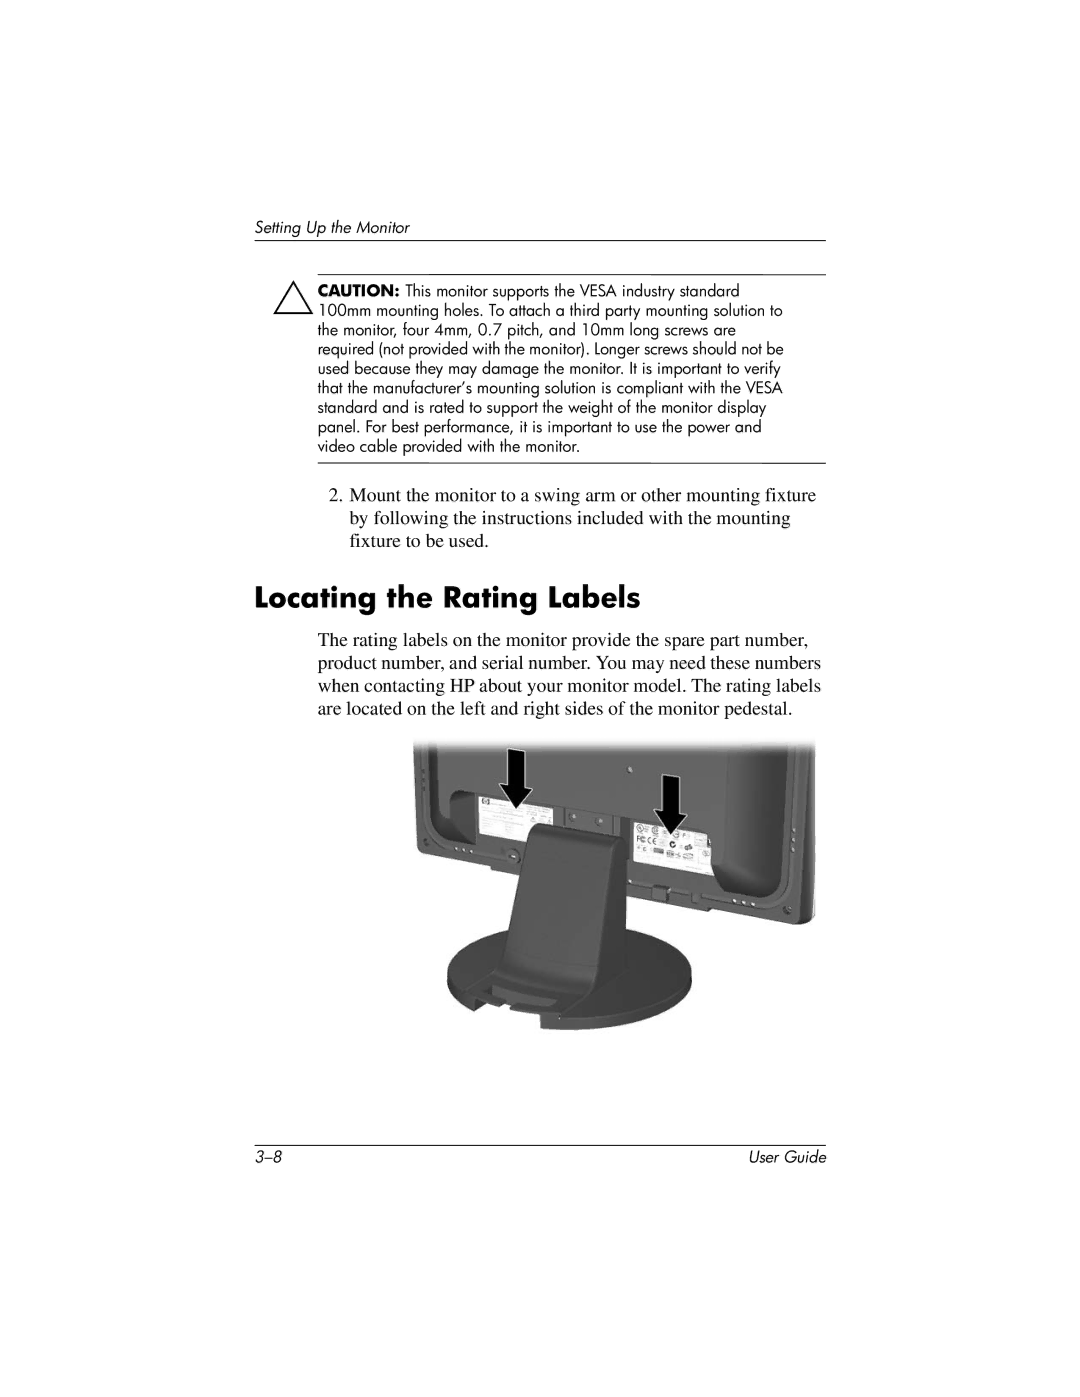
The rating labels on the monitor provide the spare part number, product number, and serial number. You may need these numbers when contacting HP about your monitor model. The rating labels are located on the left and right sides of the monitor pedestal.
User Guide |