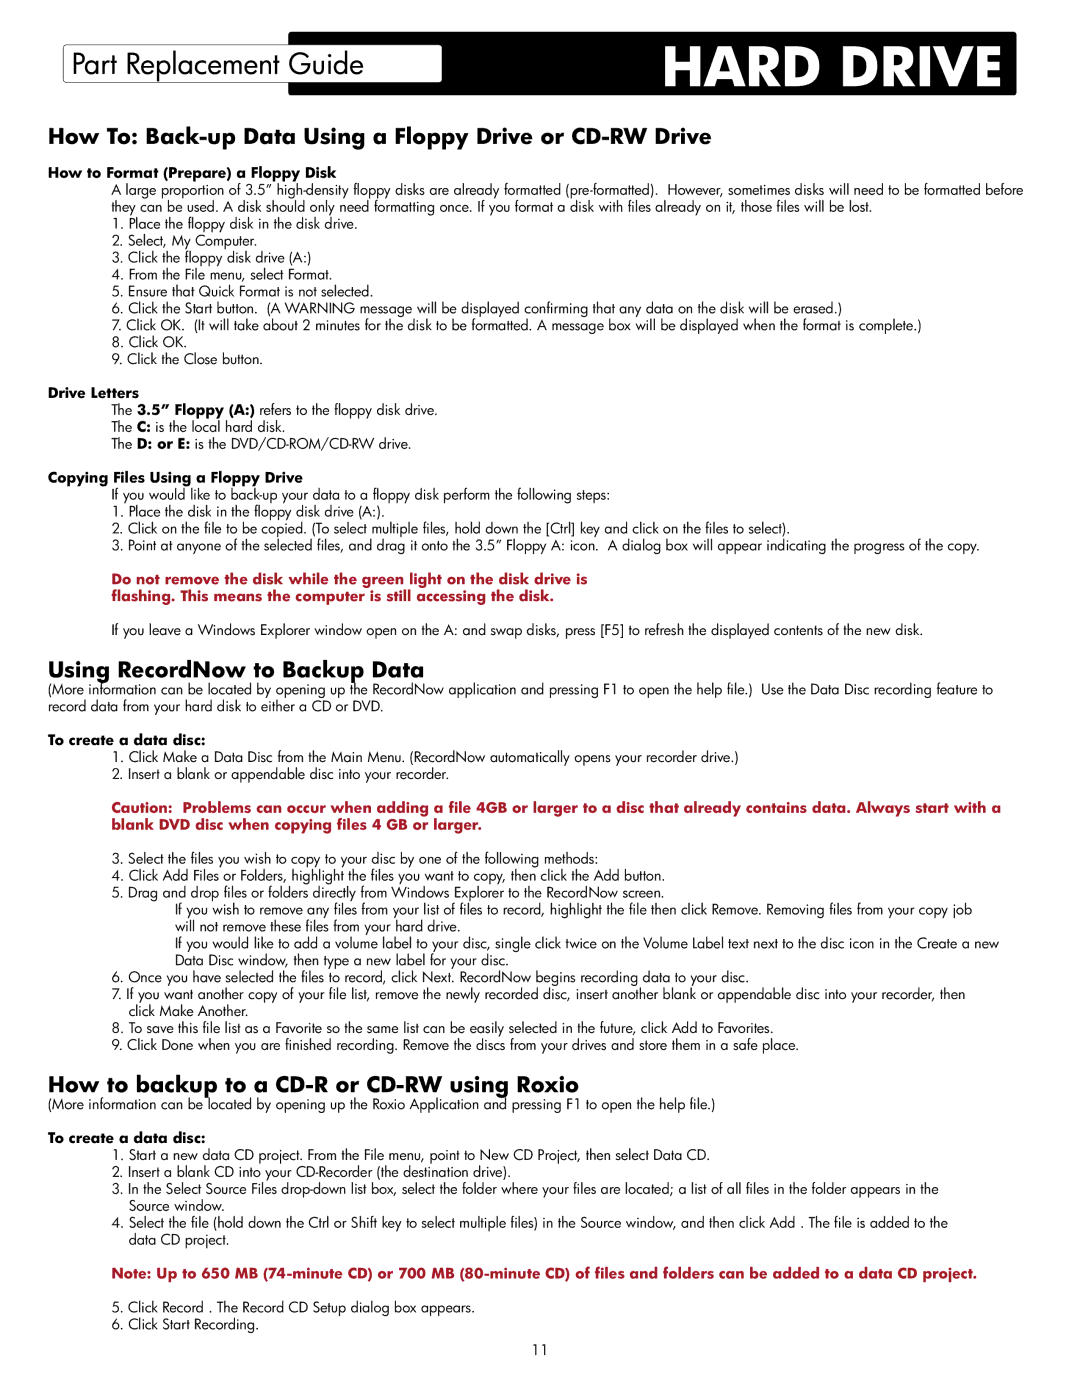
How To: Back-up Data Using a Floppy Drive or CD-RW Drive

How to Format (Prepare) a Floppy Disk

A large proportion of 3.5” high-density floppy disks are already formatted (pre-formatted). However, sometimes disks will need to be formatted before they can be used. A disk should only need formatting once. If you format a disk with files already on it, those files will be lost.

1.Place the floppy disk in the disk drive.

2.Select, My Computer.

3.Click the floppy disk drive (A:)

4.From the File menu, select Format.

5.Ensure that Quick Format is not selected.

6.Click the Start button. (A WARNING message will be displayed confirming that any data on the disk will be erased.)

7.Click OK. (It will take about 2 minutes for the disk to be formatted. A message box will be displayed when the format is complete.)

8.Click OK.

9.Click the Close button.

Drive Letters

The 3.5” Floppy (A:) refers to the floppy disk drive.

The C: is the local hard disk.

The D: or E: is the DVD/CD-ROM/CD-RW drive.

Copying Files Using a Floppy Drive

If you would like to back-up your data to a floppy disk perform the following steps:

1.Place the disk in the floppy disk drive (A:).

2.Click on the file to be copied. (To select multiple files, hold down the [Ctrl] key and click on the files to select).

3.Point at anyone of the selected files, and drag it onto the 3.5” Floppy A: icon. A dialog box will appear indicating the progress of the copy.

Do not remove the disk while the green light on the disk drive is flashing. This means the computer is still accessing the disk.

If you leave a Windows Explorer window open on the A: and swap disks, press [F5] to refresh the displayed contents of the new disk.

Using RecordNow to Backup Data

(More information can be located by opening up the RecordNow application and pressing F1 to open the help file.) Use the Data Disc recording feature to record data from your hard disk to either a CD or DVD.

To create a data disc:

1.Click Make a Data Disc from the Main Menu. (RecordNow automatically opens your recorder drive.)

2.Insert a blank or appendable disc into your recorder.

Caution: Problems can occur when adding a file 4GB or larger to a disc that already contains data. Always start with a blank DVD disc when copying files 4 GB or larger.

3.Select the files you wish to copy to your disc by one of the following methods:

4.Click Add Files or Folders, highlight the files you want to copy, then click the Add button.

5.Drag and drop files or folders directly from Windows Explorer to the RecordNow screen.

If you wish to remove any files from your list of files to record, highlight the file then click Remove. Removing files from your copy job will not remove these files from your hard drive.

If you would like to add a volume label to your disc, single click twice on the Volume Label text next to the disc icon in the Create a new Data Disc window, then type a new label for your disc.

6.Once you have selected the files to record, click Next. RecordNow begins recording data to your disc.

7.If you want another copy of your file list, remove the newly recorded disc, insert another blank or appendable disc into your recorder, then click Make Another.

8.To save this file list as a Favorite so the same list can be easily selected in the future, click Add to Favorites.

9.Click Done when you are finished recording. Remove the discs from your drives and store them in a safe place.

How to backup to a CD-R or CD-RW using Roxio

(More information can be located by opening up the Roxio Application and pressing F1 to open the help file.)

To create a data disc:

1.Start a new data CD project. From the File menu, point to New CD Project, then select Data CD.

2.Insert a blank CD into your CD-Recorder (the destination drive).

3.In the Select Source Files drop-down list box, select the folder where your files are located; a list of all files in the folder appears in the Source window.

4.Select the file (hold down the Ctrl or Shift key to select multiple files) in the Source window, and then click Add . The file is added to the data CD project.

Note: Up to 650 MB (74-minute CD) or 700 MB (80-minute CD) of files and folders can be added to a data CD project.

5.Click Record . The Record CD Setup dialog box appears.

6.Click Start Recording.

11

Page 11
Image 11
HP SR1102BD, 304w (US), SR1230NX, SR1220NX, SR1214NX, SR1212NX manual How To Back-up Data Using a Floppy Drive or CD-RW Drive

SR1039ES, SR1033WM, SR1009NL, SR1124NX, SR1088AP specifications

The HP SR1030AN is a well-regarded desktop computer that strikes a balance between affordability and functionality, making it a viable choice for home users, students, and light office environments. Designed by HP, a leader in the technology sector, it integrates performance-enhancing features and user-friendly technologies, catering to diverse computing needs.

One of the standout features of the SR1030AN is its processor. It typically comes equipped with an AMD Athlon II processor, which provides efficient performance for everyday tasks such as web browsing, document editing, and multimedia consumption. This makes it an excellent option for users who require reliable performance without the necessity for high-end gaming or intensive graphic design work.

The SR1030AN offers generous memory options, often featuring 4 GB of RAM, expandable to accommodate users' needs. This amount of RAM is sufficient for multitasking, allowing multiple applications to run seamlessly and improving overall system responsiveness. The desktop also generally includes a spacious hard drive, commonly around 500 GB, providing ample storage for documents, photos, music, and videos, which is essential in today's data-driven world.

In terms of connectivity, the HP SR1030AN includes multiple USB ports, enabling users to connect various peripherals like printers, external drives, and other devices without hassle. It also typically features HDMI and VGA ports for easy connection to monitors and televisions, facilitating a flexible multimedia experience.

Another characteristic of the HP SR1030AN is its energy efficiency. It often meets Energy Star certification standards, allowing users to enjoy a powerful desktop experience while minimizing energy consumption, which is beneficial for both the environment and electricity bills.

The design of the SR1030AN is sleek and compact, making it suitable for a variety of spaces, whether a home office or a shared workspace. Its aesthetic appeal blends well with most decors, enhancing the overall workspace without imposing.

Moreover, HP supports the SR1030AN with robust software offerings that often include Windows operating systems and trial versions of productivity software, ensuring users can get started with their tasks immediately.

In conclusion, the HP SR1030AN is a solid desktop computer characterized by its efficient performance, ample storage, and versatility. Its combination of features makes it well-suited for everyday computing tasks, making it a great choice for users who need a dependable and budget-friendly desktop solution.