REPAIR INSTRUCTION - LP350, LP400, LP450
9)Remove seal case (37) from seal sleeve (35).
10)Check plunger surface (25 and 29B) for wear and pit- ting. If none is found, pro- ceed to step twelve.
11)If plunger (29B) is worn, re- move tension screw (29C) with a 17mm wrench. Clean tension screw with wire brush to remove any old locktite. Discard copper gas- ket (29D) and replace with new. Clean the front surface of plunger/ crosshead as- sembly (25). Install new plunger (29B) onto plunger/ crosshead assembly. Put some locktite on both sur- faces of copper gasket and tension screw threads. Se- cure plunger in place with tension screw and gasket and tighten to 33
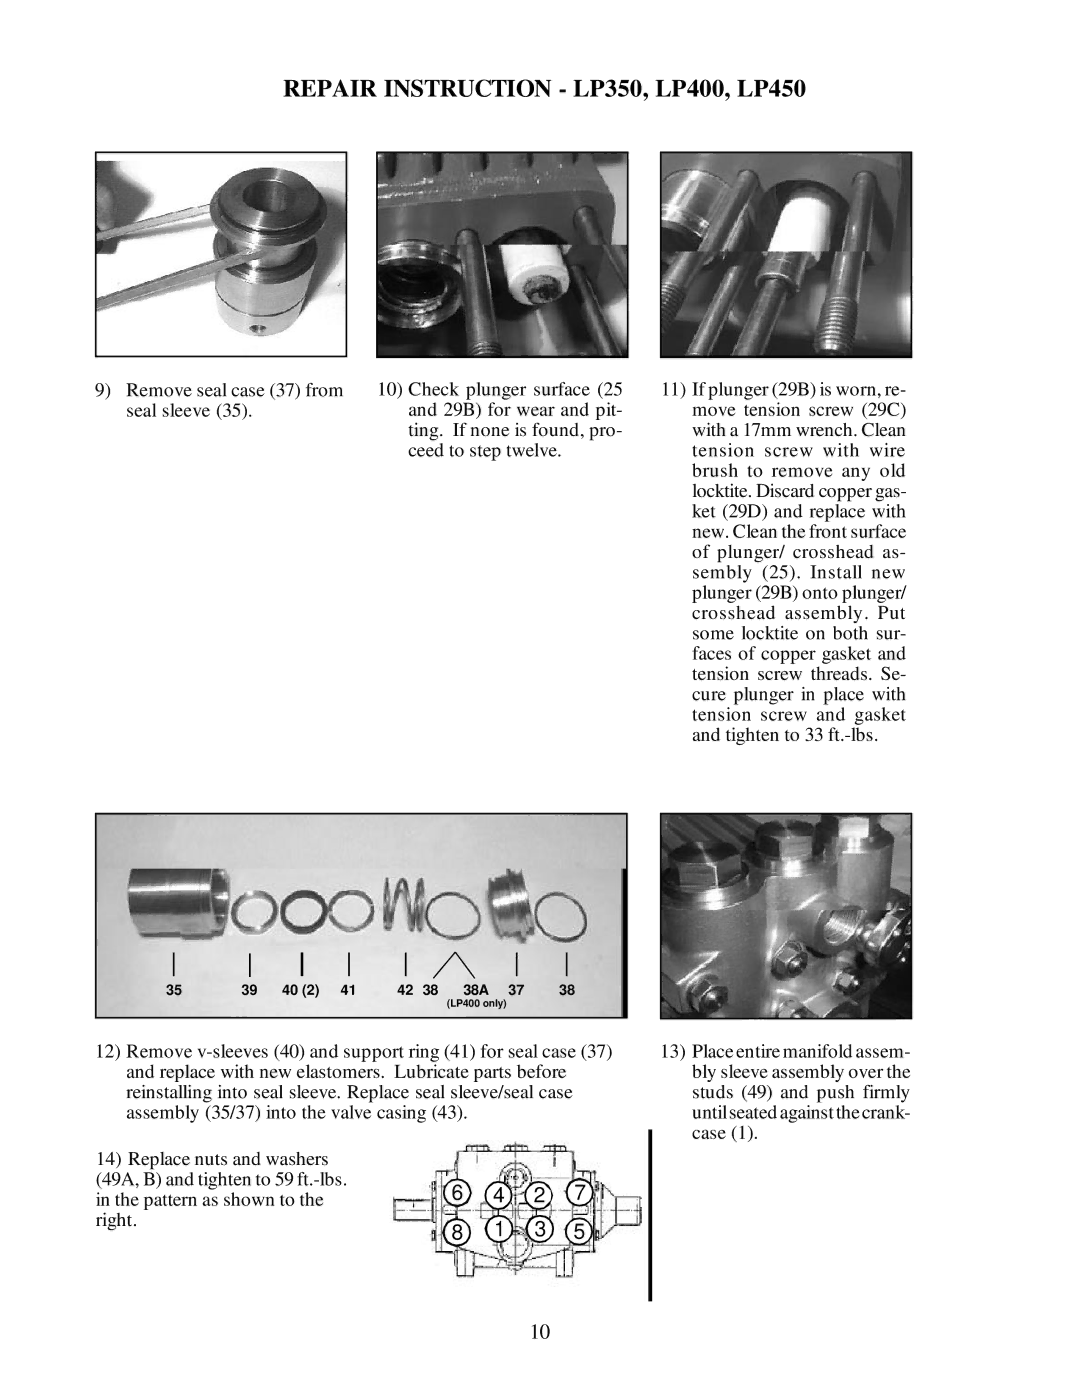
35 | 39 | 40 (2) | 41 | 42 | 38 | 38A | 37 | 38 |
(LP400 only)
12)Remove
14)Replace nuts and washers
(49A, B) and tighten to 59 | 6 | 4 | 2 | 7 |
in the pattern as shown to the | ||||
right. | 8 | 1 | 3 | 5 |
|
13)Place entire manifold assem- bly sleeve assembly over the studs (49) and push firmly until seated against the crank- case (1).
10