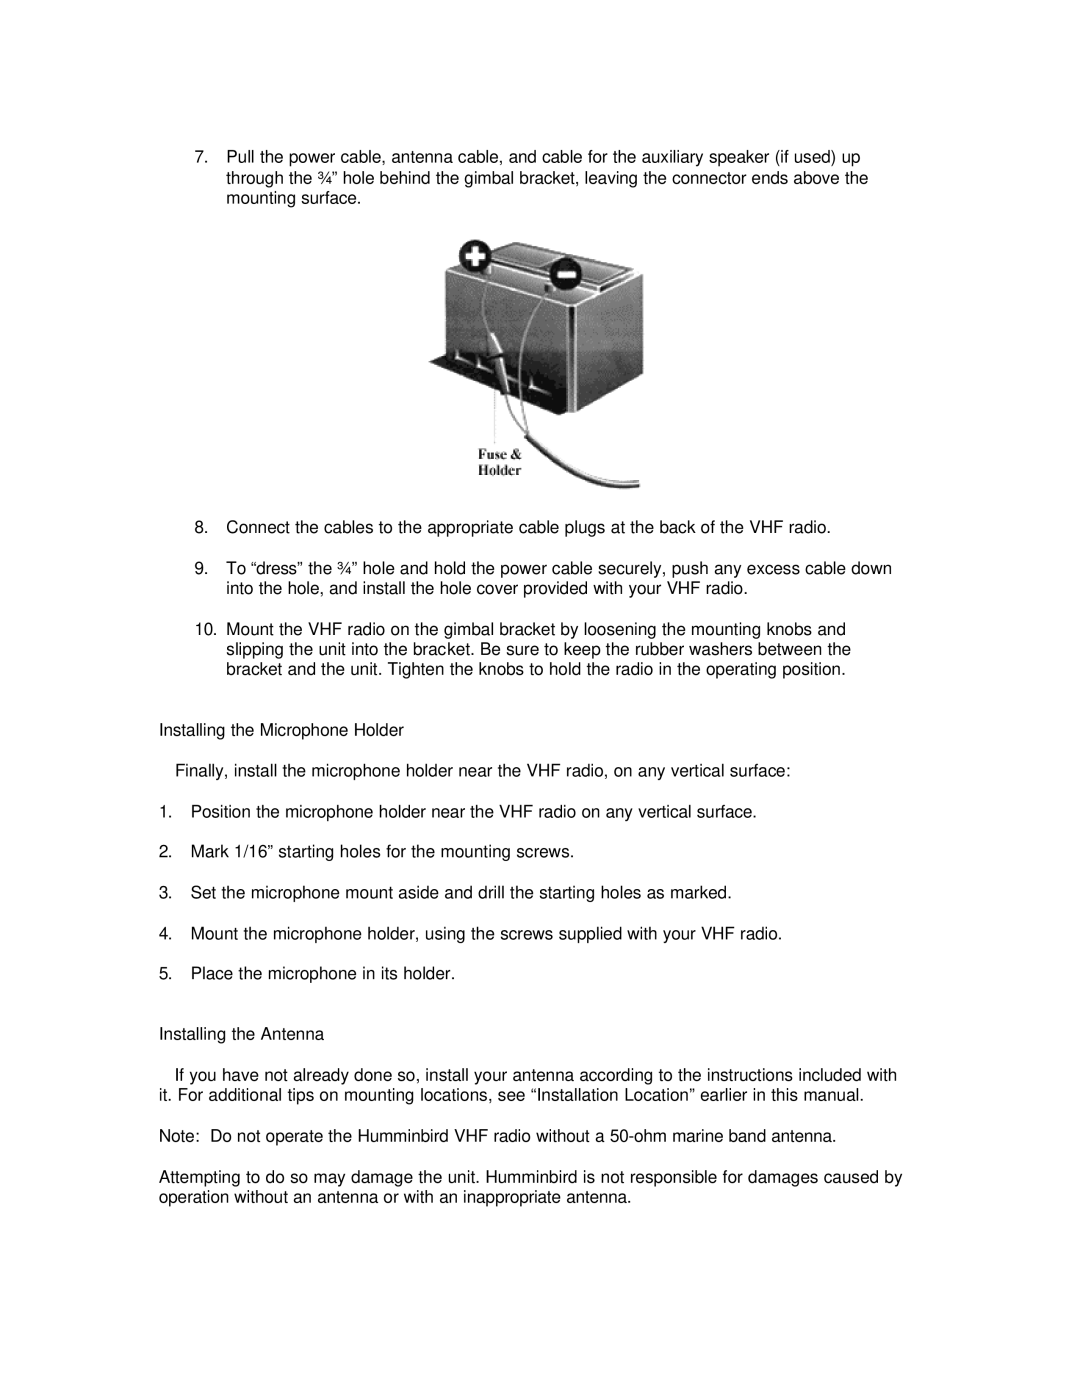
7.Pull the power cable, antenna cable, and cable for the auxiliary speaker (if used) up through the ¾” hole behind the gimbal bracket, leaving the connector ends above the mounting surface.
8.Connect the cables to the appropriate cable plugs at the back of the VHF radio.
9.To “dress” the ¾” hole and hold the power cable securely, push any excess cable down into the hole, and install the hole cover provided with your VHF radio.
10.Mount the VHF radio on the gimbal bracket by loosening the mounting knobs and slipping the unit into the bracket. Be sure to keep the rubber washers between the bracket and the unit. Tighten the knobs to hold the radio in the operating position.
Installing the Microphone Holder
Finally, install the microphone holder near the VHF radio, on any vertical surface:
1.Position the microphone holder near the VHF radio on any vertical surface.
2.Mark 1/16” starting holes for the mounting screws.
3.Set the microphone mount aside and drill the starting holes as marked.
4.Mount the microphone holder, using the screws supplied with your VHF radio.
5.Place the microphone in its holder.
Installing the Antenna
If you have not already done so, install your antenna according to the instructions included with it. For additional tips on mounting locations, see “Installation Location” earlier in this manual.
Note: Do not operate the Humminbird VHF radio without a
Attempting to do so may damage the unit. Humminbird is not responsible for damages caused by operation without an antenna or with an inappropriate antenna.