TESTING THE INSTALLATION
After connecting your antenna to the Humminbird VHF radio, you’re ready to verify that it is properly installed and powered up.
Turn the radio volume knob to the right. The LCD screen should light up and display the number 16 (for the preselected Channel 16). Pick up the microphone; press the button on the microphone and keep it pressed as you look at the LCD screen. If the “T” transmission symbol blinks at the left of the channel indicator, the unit is properly powered up and capable of transmission.
Complete information on operating the Humminbird VHF radio is provided later in this manual. First, spend a few minutes with the following pages to acquaint yourself with the radio controls.
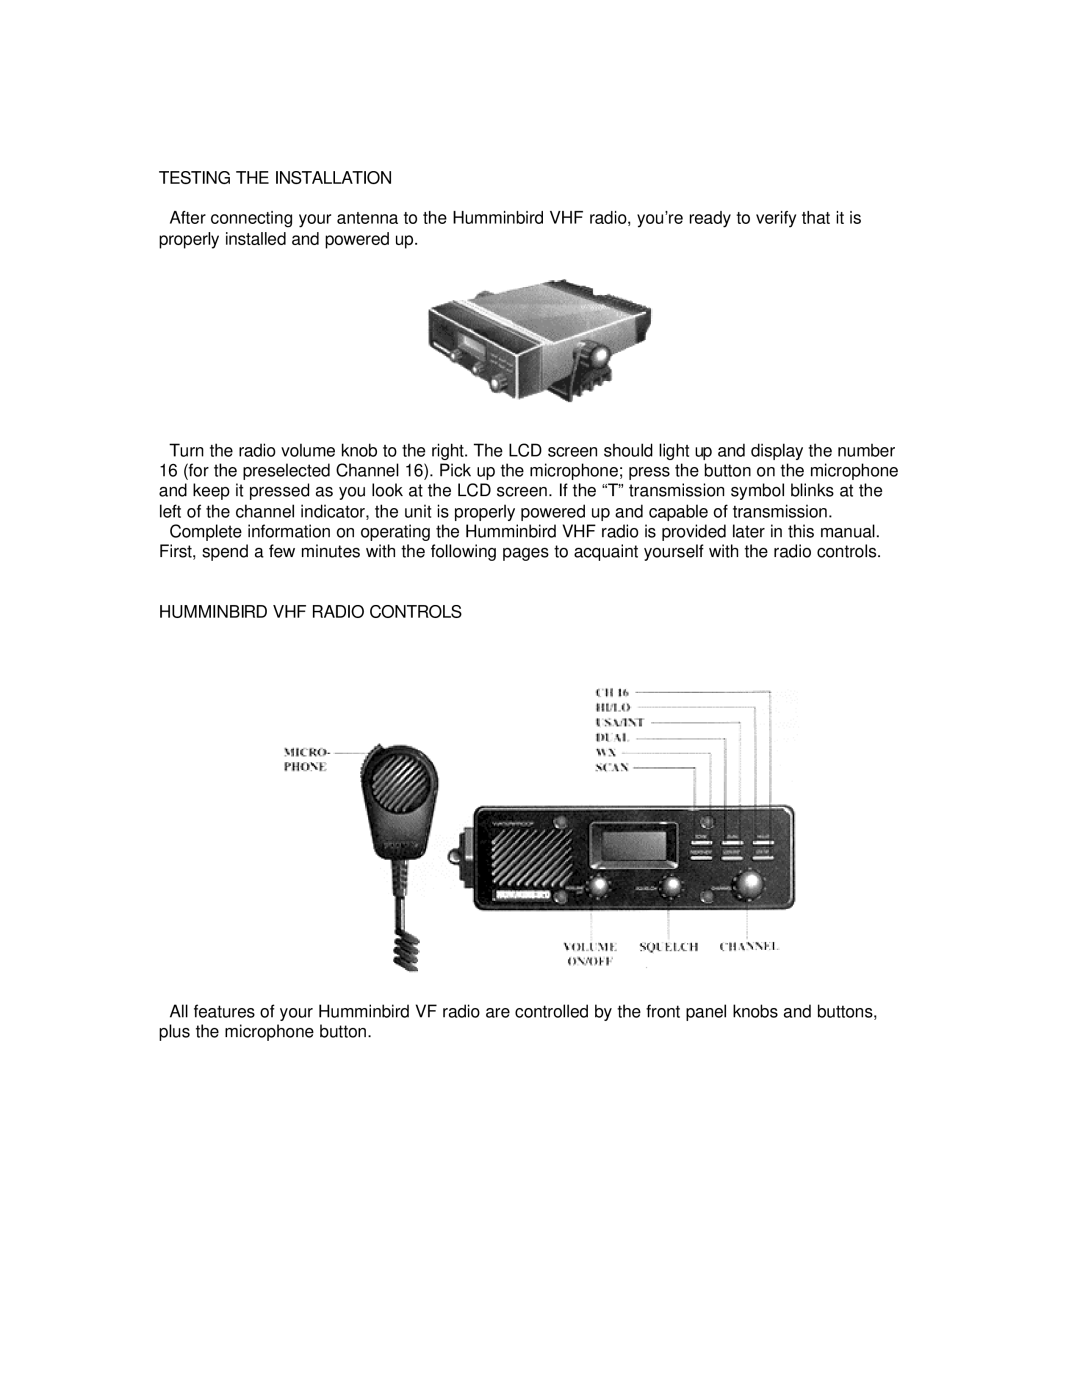
HUMMINBIRD VHF RADIO CONTROLS
All features of your Humminbird VF radio are controlled by the front panel knobs and buttons, plus the microphone button.