45018 specifications
The Hunter Fan 45018 is a meticulously designed ceiling fan that combines aesthetics, functionality, and efficiency to enhance any living space. Known for its robust construction and sophisticated design, this fan is ideal for both residential and commercial settings. One of the notable features of the Hunter Fan 45018 is its powerful motor, which operates quietly, ensuring a peaceful environment while providing an impressive air circulation rate.This model comes with a stylish integrated light kit that not only illuminates the surroundings but also adds to the overall decor of the room. The light kit is compatible with LED bulbs, which are energy-efficient and long-lasting, providing savings on electricity bills and reducing the frequency of bulb replacements. This attention to energy efficiency reflects Hunter's commitment to sustainability and environmentally friendly solutions.
The Hunter Fan 45018 is designed with versatility in mind. It features several speed settings, allowing users to customize the airflow according to their comfort needs. The reversible motor functionality enables users to change the direction of the fan blades, ensuring warmth is distributed evenly during winter months while circulating cool air in the summer. This adaptability makes it a year-round solution for optimal home climate control.
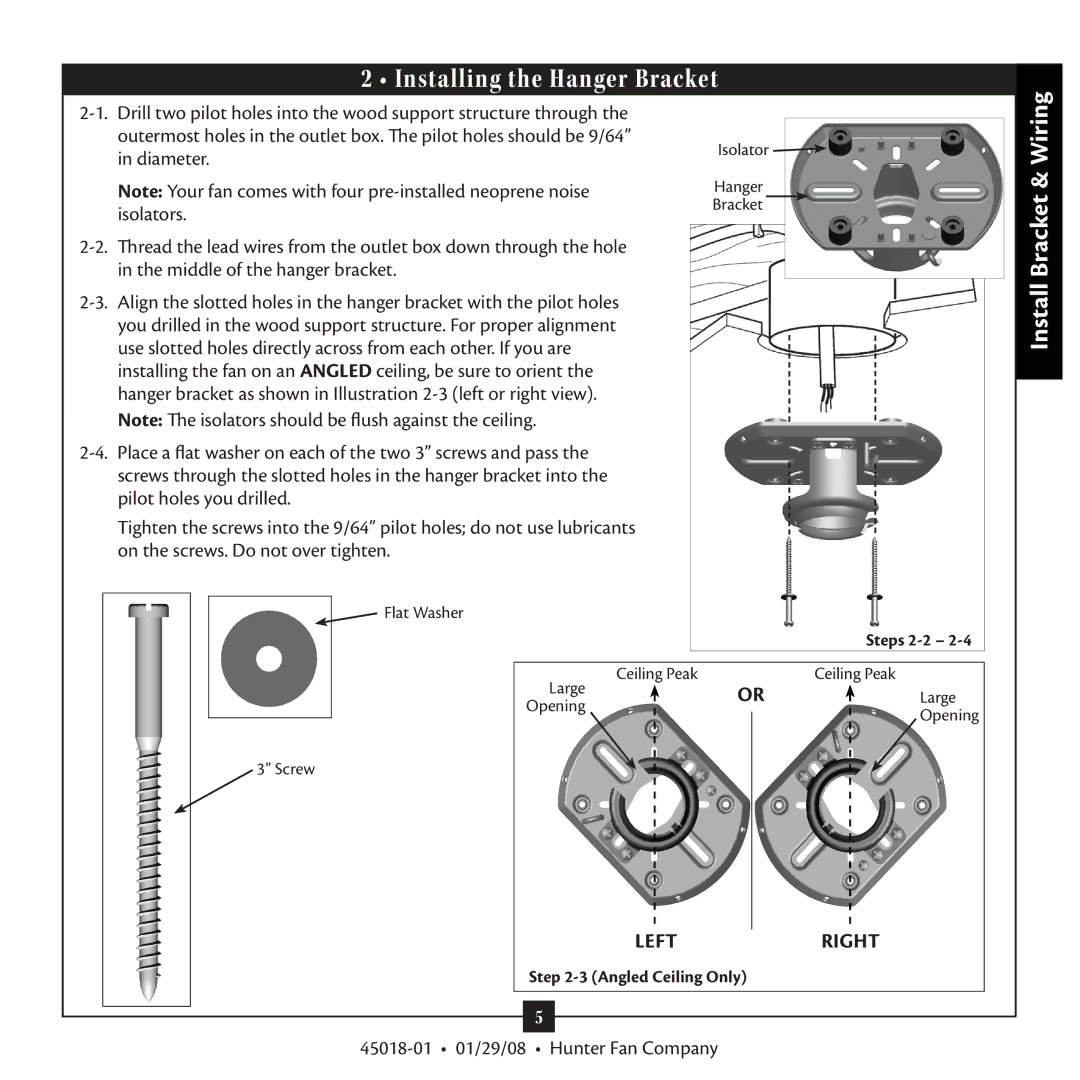
In terms of installation, the fan is designed to be user-friendly, with clear instructions that make the setup process straightforward. It is suitable for various room sizes, enhancing spaces from bedrooms to larger living areas. Additionally, the fan comes with a variety of finishes and blade options, enabling homeowners to select the ideal match for their interior decor style.
Installation flexibility is another highlight, as the Hunter Fan 45018 can be mounted flush to the ceiling in lower rooms or hung from a downrod in spaces with higher ceilings. This versatility ensures that the fan suits a wide range of ceiling heights and designs.
Overall, the Hunter Fan 45018 is a remarkable blend of style, technology, and practicality, making it an excellent choice for those looking to enhance their indoor environment. With its quiet operation, energy efficiency, and customizable features, this ceiling fan stands out as a premium option in today's competitive market. Whether for comfort, design, or efficiency, the Hunter Fan 45018 delivers on all fronts.

