SAFETY INSTRUCTIONS
6. Cutting equipment
The section describes how through correct maintenance and through using the right type of cutting equipment you can:
•Obtain maximum clearing capacity.
•Increase the service life of the cutting equipment.
Two basic rules:
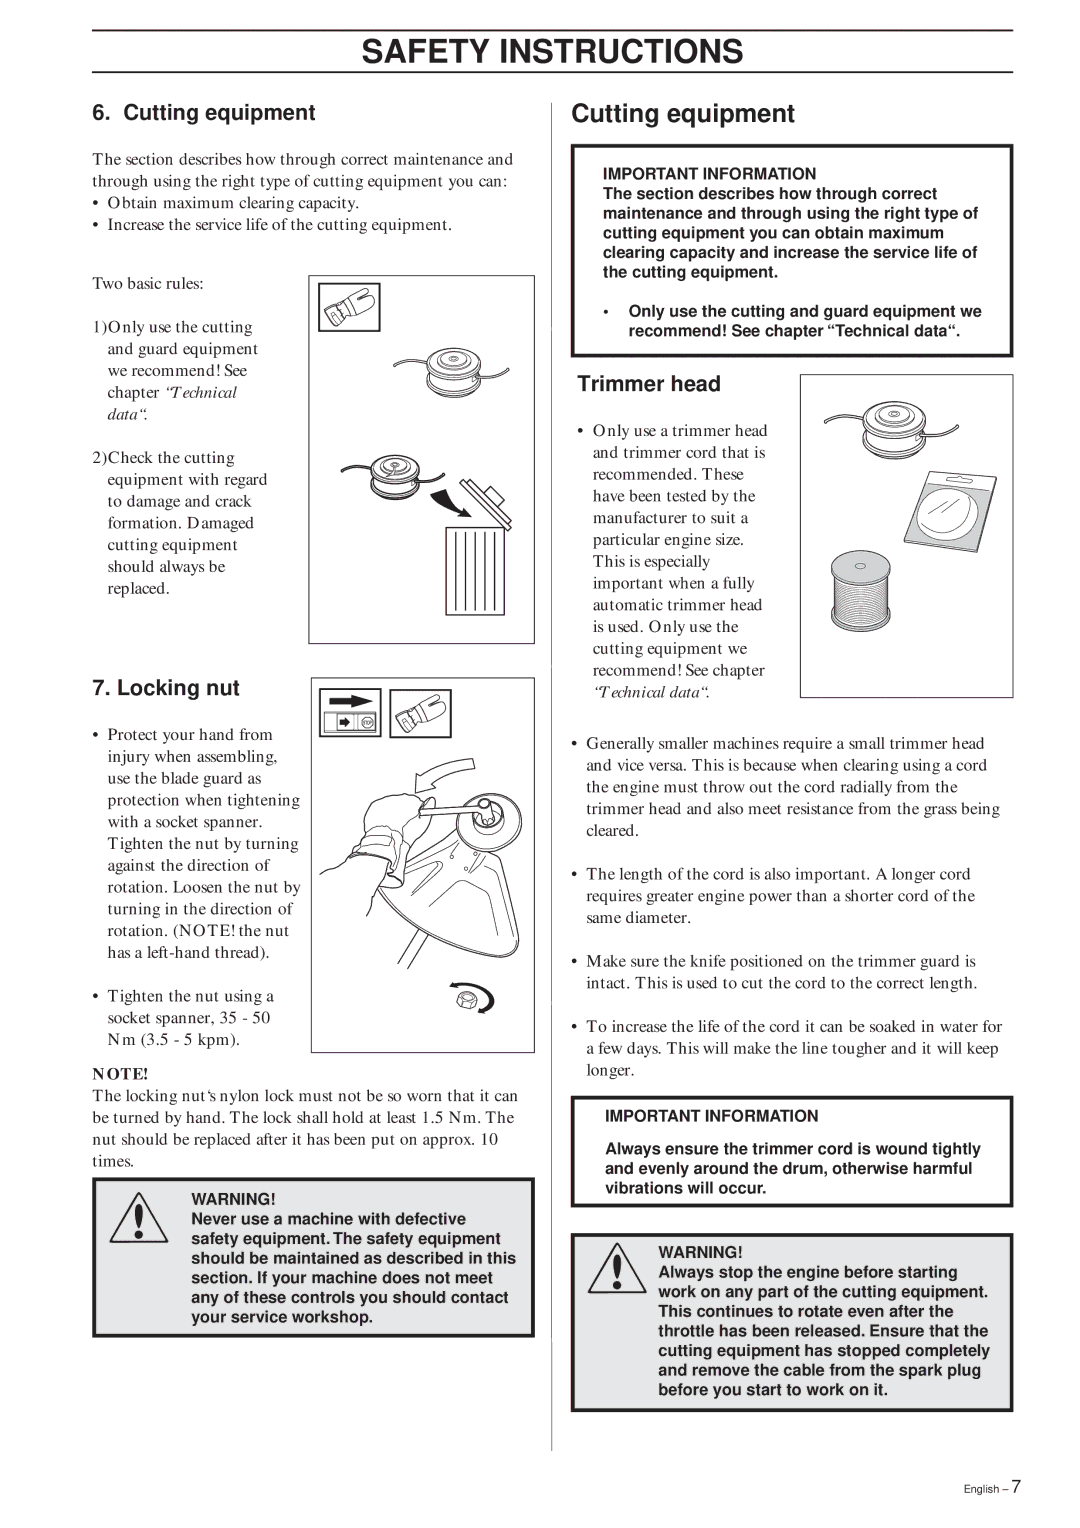
1)Only use the cutting and guard equipment we recommend! See chapter “Technical data“.
2)Check the cutting equipment with regard to damage and crack formation. Damaged cutting equipment should always be replaced.
7. Locking nut
• Protect your hand from injury when assembling, use the blade guard as protection when tightening with a socket spanner. Tighten the nut by turning against the direction of rotation. Loosen the nut by turning in the direction of rotation. (NOTE! the nut has a
• Tighten the nut using a socket spanner, 35 - 50 Nm (3.5 - 5 kpm).
NOTE!
The locking nut‘s nylon lock must not be so worn that it can be turned by hand. The lock shall hold at least 1.5 Nm. The nut should be replaced after it has been put on approx. 10 times.
!WARNING!
Never use a machine with defective safety equipment. The safety equipment should be maintained as described in this section. If your machine does not meet any of these controls you should contact your service workshop.
Cutting equipment
IMPORTANT INFORMATION
The section describes how through correct maintenance and through using the right type of cutting equipment you can obtain maximum clearing capacity and increase the service life of the cutting equipment.
•Only use the cutting and guard equipment we recommend! See chapter “Technical data“.
Trimmer head
• Only use a trimmer head and trimmer cord that is recommended. These have been tested by the manufacturer to suit a particular engine size. This is especially important when a fully automatic trimmer head is used. Only use the cutting equipment we recommend! See chapter “Technical data“.
•Generally smaller machines require a small trimmer head and vice versa. This is because when clearing using a cord the engine must throw out the cord radially from the trimmer head and also meet resistance from the grass being cleared.
•The length of the cord is also important. A longer cord requires greater engine power than a shorter cord of the same diameter.
•Make sure the knife positioned on the trimmer guard is intact. This is used to cut the cord to the correct length.
•To increase the life of the cord it can be soaked in water for a few days. This will make the line tougher and it will keep longer.
IMPORTANT INFORMATION
Always ensure the trimmer cord is wound tightly and evenly around the drum, otherwise harmful vibrations will occur.
!WARNING!
Always stop the engine before starting work on any part of the cutting equipment. This continues to rotate even after the throttle has been released. Ensure that the cutting equipment has stopped completely and remove the cable from the spark plug before you start to work on it.
English – 7
