7021RES specifications
The Husqvarna 7021RES is a standout among self-propelled lawn mowers, designed to deliver exceptional performance and efficiency for homeowners looking to maintain their lawns with ease. This powerful gas-powered model is equipped with a range of features and technologies that enhance its functionality and user experience.At the heart of the Husqvarna 7021RES is a robust 160cc Honda engine. This reliable engine provides ample power to tackle various grass types and terrains, ensuring a clean and precise cut every time. The engine's design promotes fuel efficiency, allowing homeowners to mow their lawns on less fuel, which is both environmentally friendly and cost-effective.
One of the main features of the 7021RES is its intuitive self-propelled system. This technology allows users to navigate their mower smoothly without exerting excessive effort. The adjustable speed control means that users can set the pace according to their comfort and the lawn's specifics, making it easier to mow even in tight spots or around obstacles.
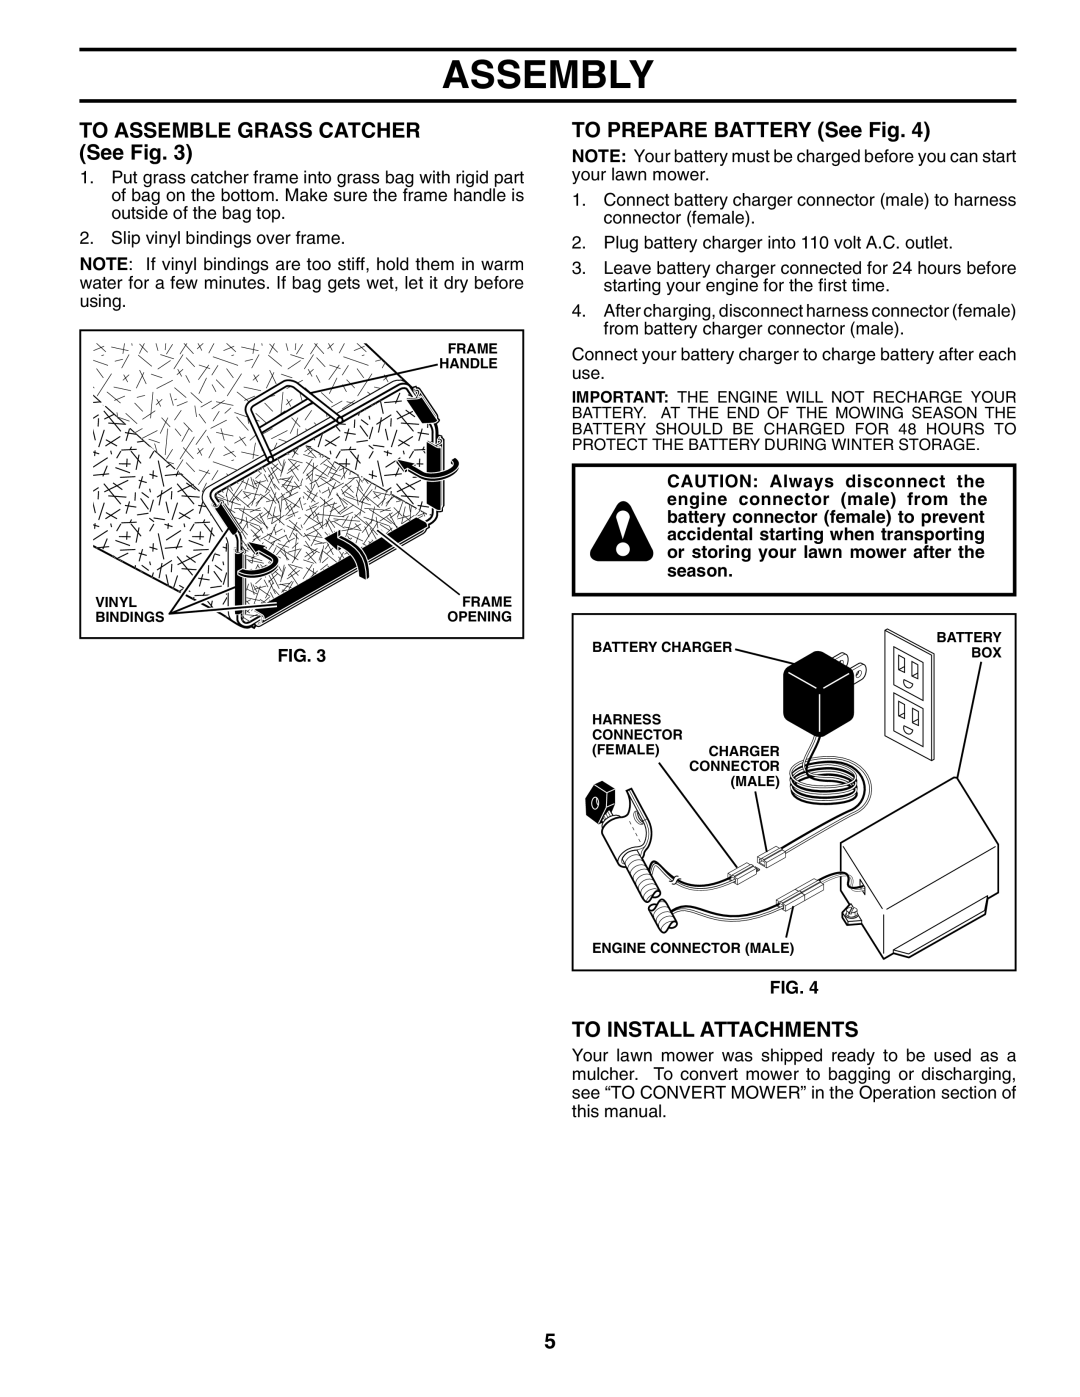
The mower comes with a 21-inch cutting deck, which strikes a perfect balance between maneuverability and cutting efficiency. With its durable construction, the cutting deck ensures longevity while producing a consistent mowing performance. The 7021RES offers three cutting options: mulching, rear discharge, and bagging. This versatility allows homeowners to choose the best method for their lawn care needs. The mulching capability finely chops grass clippings, returning valuable nutrients to the soil without the need for bagging.
Ergonomics play a significant role in the design of the Husqvarna 7021RES. The adjustable handle provides comfort during use while minimizing arm and back strain. Additionally, the foldable handle makes storage easier and more space-efficient, a valuable feature for those with limited storage options.
Another notable characteristic is the easy-start functionality. The Honda engine is known for its reliable starting mechanism, ensuring the mower is ready to go right away, eliminating the frustration associated with starting older models.
Overall, the Husqvarna 7021RES is a reliable and user-friendly lawn mower that combines power, efficiency, and comfort. With its self-propelled design, versatile cutting options, and ergonomic features, it is an excellent choice for homeowners who want to keep their lawns looking pristine with minimal effort. Its advanced technology and robust build make it a worthwhile investment for anyone serious about lawn care.

