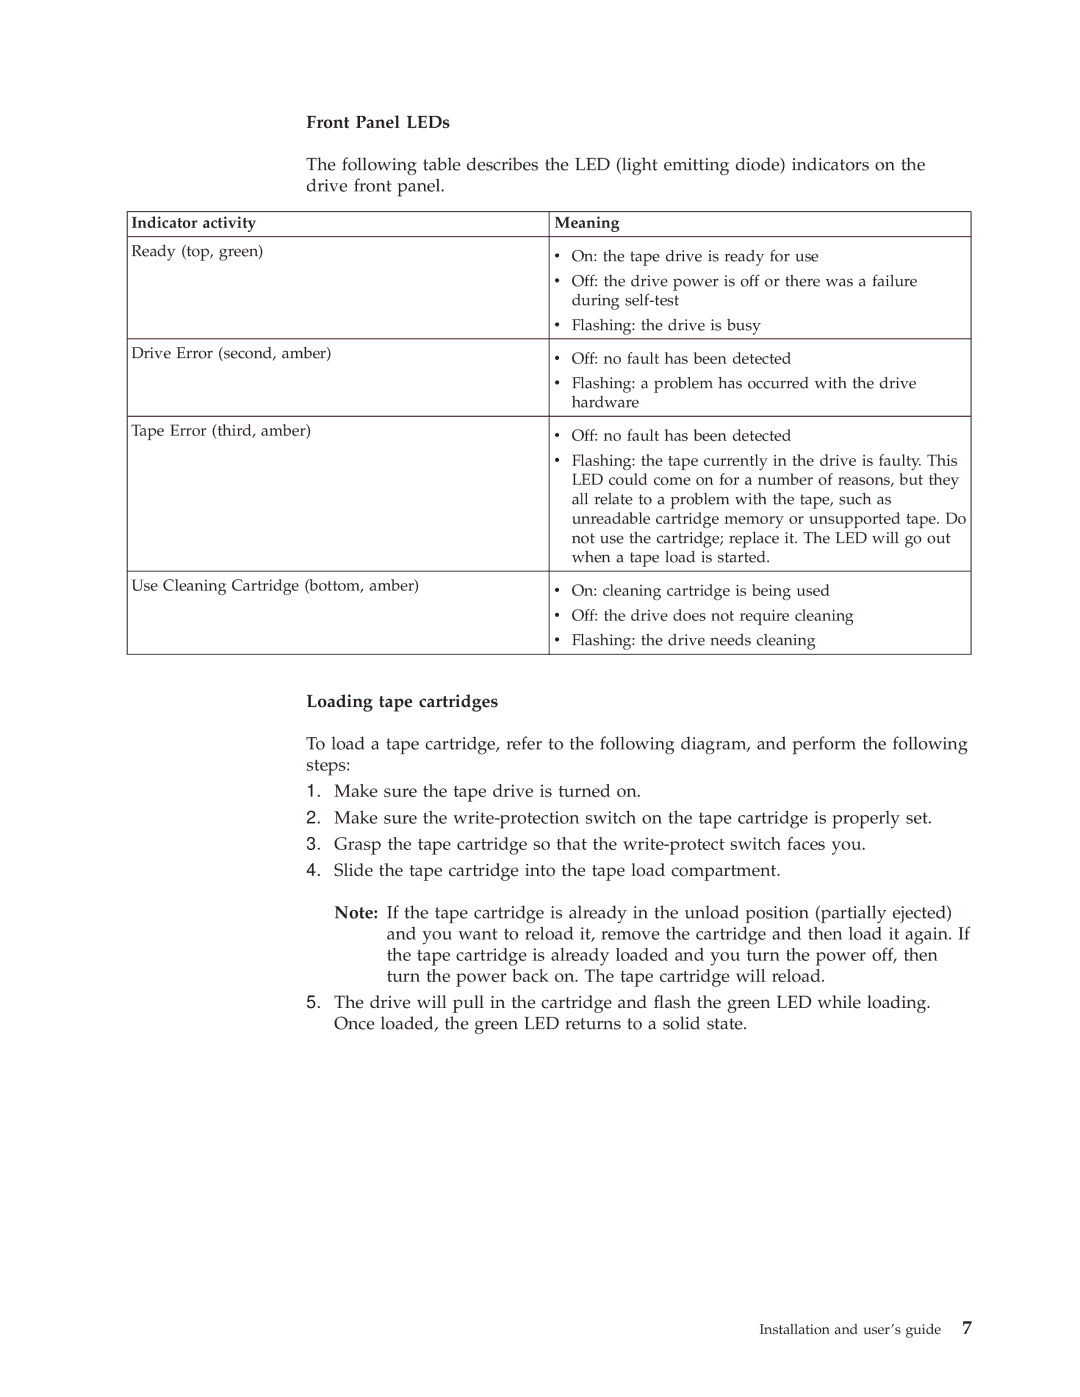
HH LTO specifications
IBM's Linear Tape-Open (LTO) technology has become a cornerstone of data storage solutions, providing organizations with a reliable, cost-effective means to manage the vast amounts of data generated in today’s digital age. The IBM HH LTO, specifically referring to the Half-Height Linear Tape Open drives, brings together advanced features and technologies tailored to meet the needs of modern enterprises.One of the main features of the IBM HH LTO drives is their impressive storage capacity. The latest LTO generation can store up to 18 TB of uncompressed data per cartridge, and with data compression, that number can effectively double to 36 TB. This high capacity allows organizations to store large datasets efficiently without needing to invest heavily in multiple storage media.
In terms of performance, IBM HH LTO drives are engineered for speed. With transfer rates that can reach up to 400 MB/s uncompressed and 800 MB/s compressed, these drives ensure that data backups and retrievals are swift and efficient. This boosts operational productivity, allowing IT teams to focus on strategic initiatives rather than data management tasks.
Technologically, the IBM HH LTO utilizes advanced error correction and data integrity features. The integration of features such as Linear Tape File System (LTFS) simplifies data management by providing file-system-like access to tape data. This makes it easier for users to manage and retrieve specific files without the need to work through a cumbersome backup system.
Another characteristic that stands out is the drive's environmental sustainability. IBM LTO technology focuses on energy efficiency and lower total cost of ownership, making it an eco-friendly option for data archiving. The drives consume less power in standby modes, which aligns with enterprises’ growing sustainability goals.
Moreover, IBM's commitment to innovation is evident through its ongoing development of future LTO generations that are expected to enhance capacity, performance, and more advanced features, ensuring that businesses can continue to rely on LTO technology as their data storage needs evolve.
Overall, the IBM HH LTO drives embody a blend of high capacity, speed, reliability, and sustainability, making them an ideal choice for organizations looking to optimize their data storage strategy while preparing for future growth.