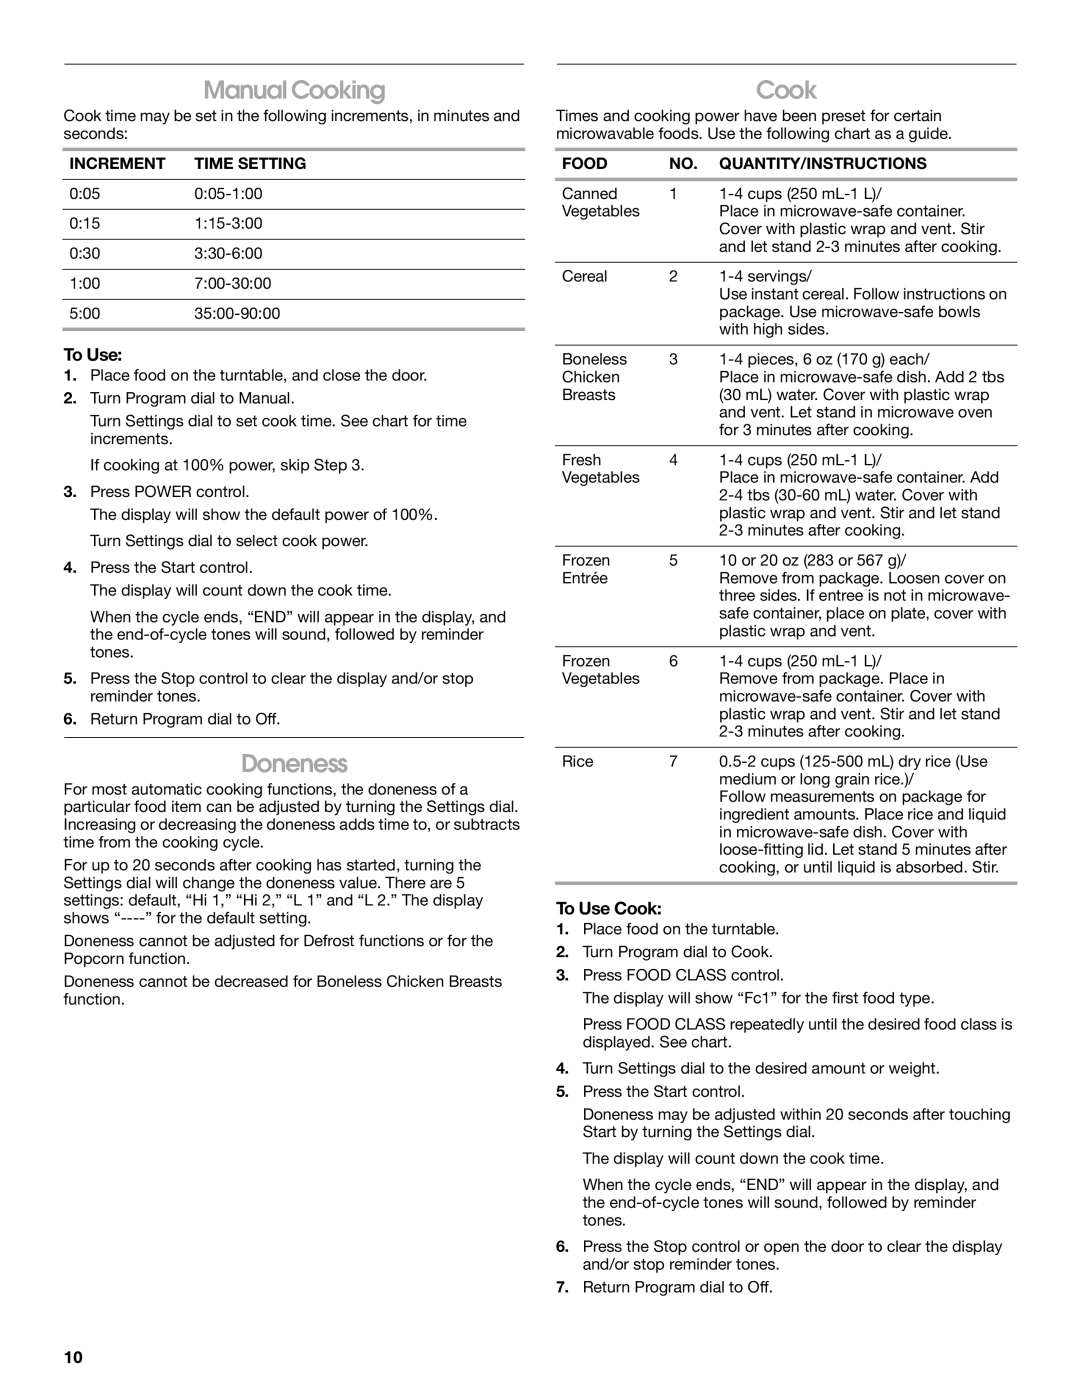
Manual Cooking

Cook time may be set in the following increments, in minutes and seconds:

INCREMENT TIME SETTING

0:050:05-1:00

0:151:15-3:00

0:303:30-6:00

1:007:00-30:00

5:0035:00-90:00

To Use:

1.Place food on the turntable, and close the door.

2.Turn Program dial to Manual.

Turn Settings dial to set cook time. See chart for time increments.

If cooking at 100% power, skip Step 3.

3.Press POWER control.

The display will show the default power of 100%. Turn Settings dial to select cook power.

4.Press the Start control.

The display will count down the cook time.

When the cycle ends, “END” will appear in the display, and the end-of-cycle tones will sound, followed by reminder tones.

5.Press the Stop control to clear the display and/or stop reminder tones.

6.Return Program dial to Off.

Doneness

For most automatic cooking functions, the doneness of a particular food item can be adjusted by turning the Settings dial. Increasing or decreasing the doneness adds time to, or subtracts time from the cooking cycle.

For up to 20 seconds after cooking has started, turning the Settings dial will change the doneness value. There are 5 settings: default, “Hi 1,” “Hi 2,” “L 1” and “L 2.” The display shows “----” for the default setting.

Doneness cannot be adjusted for Defrost functions or for the Popcorn function.

Doneness cannot be decreased for Boneless Chicken Breasts function.

Cook

Times and cooking power have been preset for certain microwavable foods. Use the following chart as a guide.

FOOD

NO.

QUANTITY/INSTRUCTIONS

Canned

1

1-4 cups (250 mL-1 L)/

Vegetables


Place in microwave-safe container.


Cover with plastic wrap and vent. Stir


and let stand 2-3 minutes after cooking.


Cereal

2

1-4 servings/


Use instant cereal. Follow instructions on


package. Use microwave-safe bowls


with high sides.


Boneless

3

1-4 pieces, 6 oz (170 g) each/

Chicken


Place in microwave-safe dish. Add 2 tbs

Breasts


(30 mL) water. Cover with plastic wrap


and vent. Let stand in microwave oven


for 3 minutes after cooking.


Fresh

4

1-4 cups (250 mL-1 L)/

Vegetables


Place in microwave-safe container. Add


2-4 tbs (30-60 mL) water. Cover with


plastic wrap and vent. Stir and let stand


2-3 minutes after cooking.


Frozen

5

10 or 20 oz (283 or 567 g)/

Entrée


Remove from package. Loosen cover on


three sides. If entree is not in microwave-


safe container, place on plate, cover with


plastic wrap and vent.


Frozen

6

1-4 cups (250 mL-1 L)/

Vegetables


Remove from package. Place in


microwave-safe container. Cover with


plastic wrap and vent. Stir and let stand


2-3 minutes after cooking.


Rice

7

0.5-2 cups (125-500 mL) dry rice (Use


medium or long grain rice.)/


Follow measurements on package for


ingredient amounts. Place rice and liquid

in microwave-safe dish. Cover with loose-fitting lid. Let stand 5 minutes after cooking, or until liquid is absorbed. Stir.

To Use Cook:

1.Place food on the turntable.

2.Turn Program dial to Cook.

3.Press FOOD CLASS control.

The display will show “Fc1” for the first food type.

Press FOOD CLASS repeatedly until the desired food class is displayed. See chart.

4.Turn Settings dial to the desired amount or weight.

5.Press the Start control.

Doneness may be adjusted within 20 seconds after touching Start by turning the Settings dial.

The display will count down the cook time.

When the cycle ends, “END” will appear in the display, and the end-of-cycle tones will sound, followed by reminder tones.

6.Press the Stop control or open the door to clear the display and/or stop reminder tones.

7.Return Program dial to Off.

10

Page 10
Image 10
IKEA IBMS1455 manual Manual Cooking, Doneness, To Use Cook

IBMS1455 specifications

The IKEA IBMS1455 is a remarkable addition to the range of smart home appliances, designed with the modern user in mind. This innovative product combines practicality, technology, and sustainability, making it a must-have for any home.

One of the standout features of the IBMS1455 is its energy efficiency. With advanced technologies, this appliance not only performs optimally but also minimizes power consumption. It is designed to comply with the highest energy-saving standards, ensuring that users can enjoy its convenience while being environmentally conscious.

The IBMS1455 also boasts smart connectivity capabilities. Equipped with Wi-Fi and Bluetooth, this appliance can be easily integrated into a smart home ecosystem. Users can control and monitor the IBMS1455 remotely via a dedicated mobile app. This feature allows for flexibility in scheduling, enabling users to run the appliance at their convenience or even when they are not at home. Notifications about maintenance or operational issues enhance user experience, making it easier to manage everyday tasks.

In terms of design, the IKEA IBMS1455 adheres to the brand’s well-known aesthetic principles. Its sleek, minimalist silhouette fits seamlessly into any modern kitchen or living space. The use of high-quality materials ensures both durability and style, making it a long-lasting addition to the home.

The IBMS1455 is also tailored for performance. It employs innovative technologies that enhance its functionality, delivering reliable outcomes for various tasks. Whether it’s preparing food, cleaning, or managing other household chores, this appliance is designed to meet the diverse needs of contemporary users.

Safety features are another critical aspect of the IBMS1455. It incorporates multiple protection mechanisms, including child locks and automatic shut-off functions. This emphasis on safety provides peace of mind, ensuring that users can operate the device without worry.

Overall, the IKEA IBMS1455 stands out in the crowded market of smart home appliances, combining cutting-edge technology with user-friendly features and a stylish design. Its commitment to energy efficiency, smart connectivity, performance, and safety caters to the demands of modern living, making it an essential tool for any home.