Cleaning and Special Maintenance
Filter Assembly
If you want consistent good results from your dishwasher,
you need to clean the filter assembly. |
| |||
The food particles |
|
|
| |
are removed from |
|
|
| |
| 1 |
| ||
the wash water, |
|
|
| |
allowing it to be | B | 2 | A | |
recirculated during |
|
|
| |
the cycle, | filtered |
|
|
|
perfectly. For this |
|
|
| |
reason, it is a good |
|
|
| |
idea to remove the |
| C |
| |
larger | food |
|
| |
particles trapped
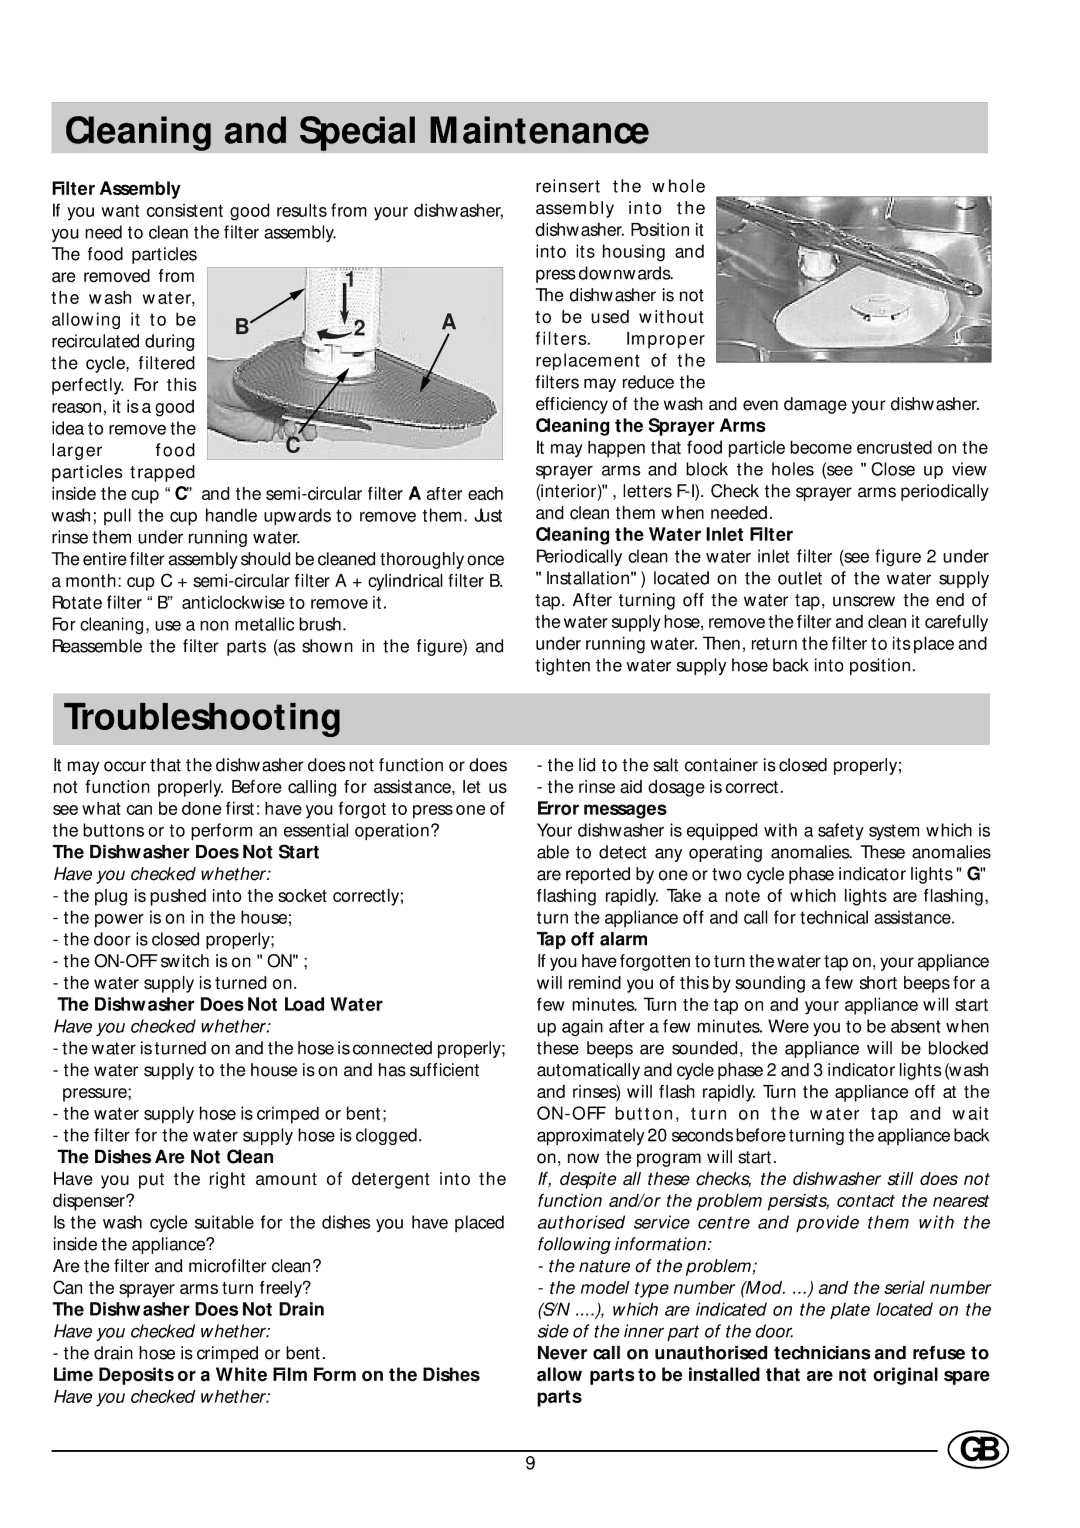
inside the cup “C” and the
The entire filter assembly should be cleaned thoroughly once a month: cup C +
For cleaning, use a non metallic brush.
Reassemble the filter parts (as shown in the figure) and
reinsert the whole assembly into the dishwasher. Position it into its housing and press downwards.
The dishwasher is not to be used without filters. Improper replacement of the filters may reduce the
efficiency of the wash and even damage your dishwasher.
Cleaning the Sprayer Arms
It may happen that food particle become encrusted on the sprayer arms and block the holes (see "Close up view (interior)", letters
Cleaning the Water Inlet Filter
Periodically clean the water inlet filter (see figure 2 under "Installation") located on the outlet of the water supply tap. After turning off the water tap, unscrew the end of the water supply hose, remove the filter and clean it carefully under running water. Then, return the filter to its place and tighten the water supply hose back into position.
Troubleshooting
It may occur that the dishwasher does not function or does not function properly. Before calling for assistance, let us see what can be done first: have you forgot to press one of the buttons or to perform an essential operation?
The Dishwasher Does Not Start
Have you checked whether:
-the plug is pushed into the socket correctly;
-the power is on in the house;
-the door is closed properly;
-the
-the water supply is turned on.
The Dishwasher Does Not Load Water
Have you checked whether:
-the water is turned on and the hose is connected properly;
-the water supply to the house is on and has sufficient pressure;
-the water supply hose is crimped or bent;
-the filter for the water supply hose is clogged.
The Dishes Are Not Clean
Have you put the right amount of detergent into the dispenser?
Is the wash cycle suitable for the dishes you have placed inside the appliance?
Are the filter and microfilter clean? Can the sprayer arms turn freely?
The Dishwasher Does Not Drain
Have you checked whether:
- the drain hose is crimped or bent.
Lime Deposits or a White Film Form on the Dishes
Have you checked whether:
-the lid to the salt container is closed properly;
-the rinse aid dosage is correct.
Error messages
Your dishwasher is equipped with a safety system which is able to detect any operating anomalies. These anomalies are reported by one or two cycle phase indicator lights "G" flashing rapidly. Take a note of which lights are flashing, turn the appliance off and call for technical assistance.
Tap off alarm
If you have forgotten to turn the water tap on, your appliance will remind you of this by sounding a few short beeps for a few minutes. Turn the tap on and your appliance will start up again after a few minutes. Were you to be absent when these beeps are sounded, the appliance will be blocked automatically and cycle phase 2 and 3 indicator lights (wash and rinses) will flash rapidly. Turn the appliance off at the
If, despite all these checks, the dishwasher still does not function and/or the problem persists, contact the nearest authorised service centre and provide them with the following information:
-the nature of the problem;
-the model type number (Mod. ...) and the serial number (S/N ....), which are indicated on the plate located on the side of the inner part of the door.
Never call on unauthorised technicians and refuse to allow parts to be installed that are not original spare parts
9 | GB |
