USING THE 250DX
WHAT YOU SEE ON-SCREEN
If you are using the 250DX in Simulator when no transducer is connected, any selected options are lost when the unit is powered off. The 250DX will return to Factory Settings, or options selected when last used with a transducer, if no transducer is connected.
IMPORTANT: A transducer must be connected to the 250DX in order to retain user settings selected when in simulator mode. If no transducer is detected, the unit defaults to
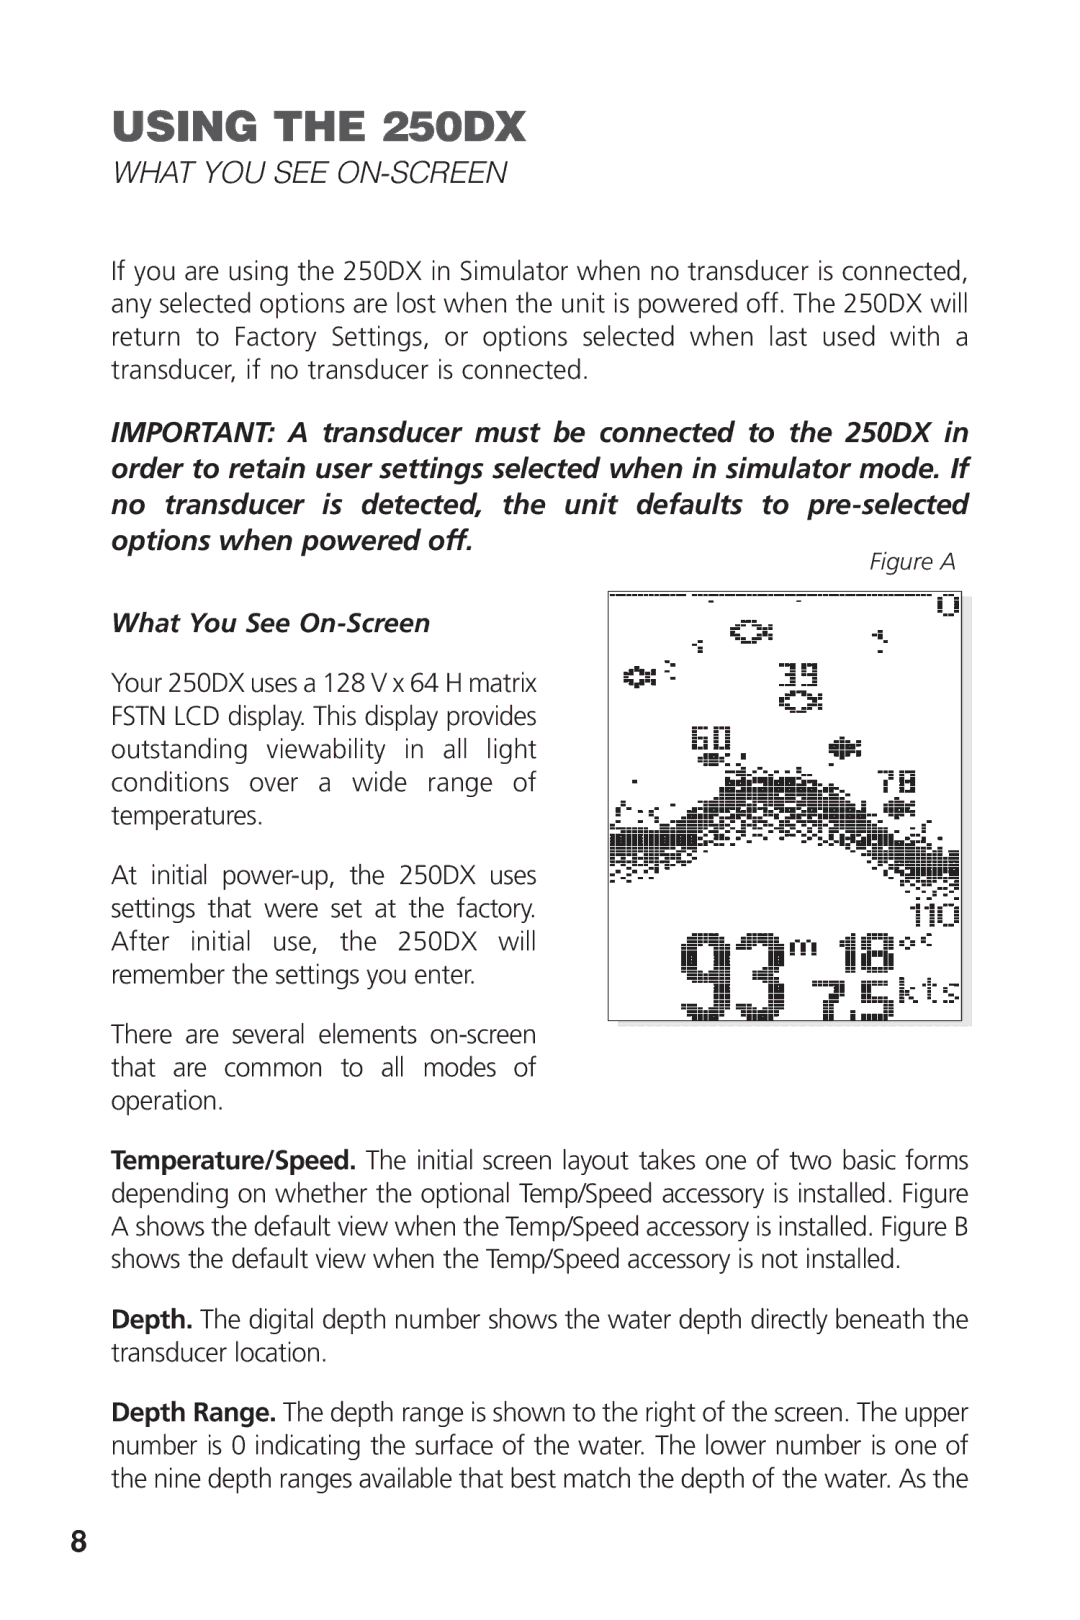
Figure A
What You See On-Screen
Your 250DX uses a 128 V x 64 H matrix FSTN LCD display. This display provides outstanding viewability in all light conditions over a wide range of temperatures.
At initial
There are several elements
Temperature/Speed. The initial screen layout takes one of two basic forms depending on whether the optional Temp/Speed accessory is installed. Figure A shows the default view when the Temp/Speed accessory is installed. Figure B shows the default view when the Temp/Speed accessory is not installed.
Depth. The digital depth number shows the water depth directly beneath the transducer location.
Depth Range. The depth range is shown to the right of the screen. The upper number is 0 indicating the surface of the water. The lower number is one of the nine depth ranges available that best match the depth of the water. As the
8