ABOUT THE ON-SCREEN DISPLAYS (OSD) AND FRONT-PANEL READOUT
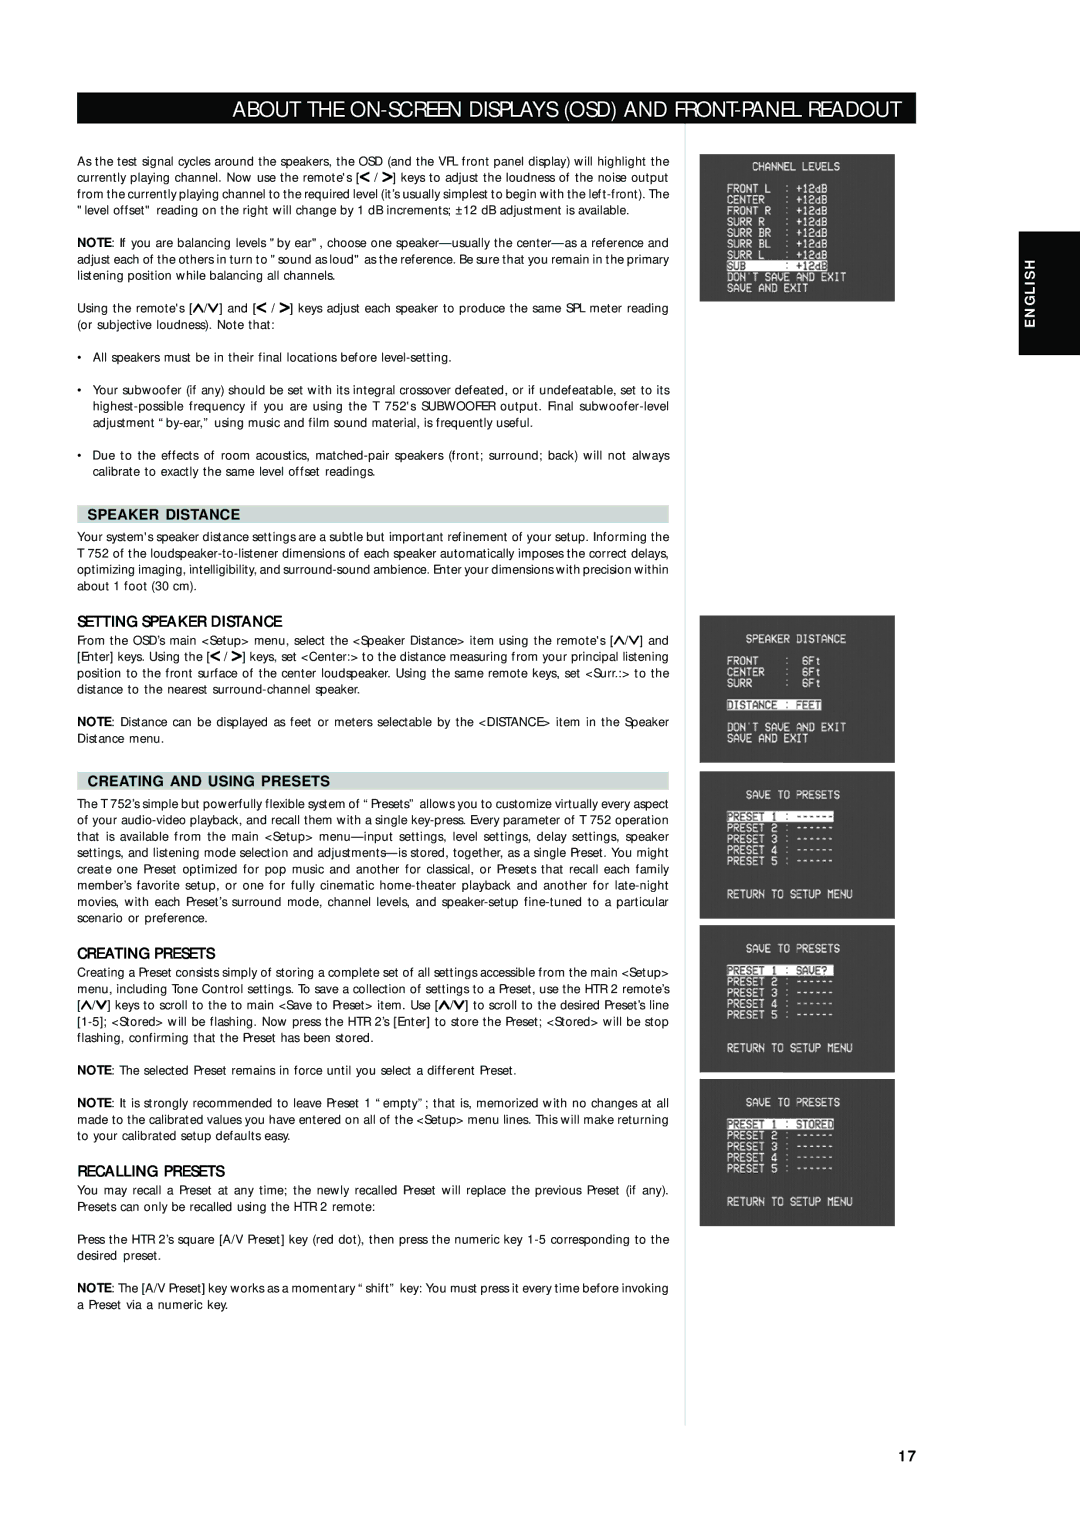
As the test signal cycles around the speakers, the OSD (and the VFL front panel display) will highlight the currently playing channel. Now use the remote's [< / > ] keys to adjust the loudness of the noise output from the currently playing channel to the required level (it’s usually simplest to begin with the
NOTE: If you are balancing levels "by ear", choose one
Using the remote's [∧ /∨ ] and [< / > ] keys adjust each speaker to produce the same SPL meter reading (or subjective loudness). Note that:
•All speakers must be in their final locations before
•Your subwoofer (if any) should be set with its integral crossover defeated, or if undefeatable, set to its
•Due to the effects of room acoustics,
SPEAKER DISTANCE
Your system's speaker distance settings are a subtle but important refinement of your setup. Informing the
T752 of the
From the OSD’s main <Setup> menu, select the <Speaker Distance> item using the remote's [∧ /∨ ] and [Enter] keys. Using the [< / > ] keys, set <Center:> to the distance measuring from your principal listening position to the front surface of the center loudspeaker. Using the same remote keys, set <Surr.:> to the distance to the nearest
NOTE: Distance can be displayed as feet or meters selectable by the <DISTANCE> item in the Speaker
Distance menu.
CREATING AND USING PRESETS
The T 752’s simple but powerfully flexible system of “Presets” allows you to customize virtually every aspect of your
CREATING PRESETS
Creating a Preset consists simply of storing a complete set of all settings accessible from the main <Setup> menu, including Tone Control settings. To save a collection of settings to a Preset, use the HTR 2 remote’s [∧ /∨ ] keys to scroll to the to main <Save to Preset> item. Use [∧ /∨ ] to scroll to the desired Preset’s line
NOTE: The selected Preset remains in force until you select a different Preset.
NOTE: It is strongly recommended to leave Preset 1 “empty”; that is, memorized with no changes at all made to the calibrated values you have entered on all of the <Setup> menu lines. This will make returning to your calibrated setup defaults easy.
RECALLING PRESETS
You may recall a Preset at any time; the newly recalled Preset will replace the previous Preset (if any).
Presets can only be recalled using the HTR 2 remote:
Press the HTR 2’s square [A/V Preset] key (red dot), then press the numeric key
NOTE: The [A/V Preset] key works as a momentary “shift” key: You must press it every time before invoking a Preset via a numeric key.
ENGLISH
1 7