
D101GGC specifications
The Intel D101GGC is a micro ATX motherboard that caters primarily to entry-level computing needs, making it an excellent choice for budget-conscious users or those building basic systems. Designed to support Intel Core 2 Duo processors, the D101GGC offers a reliable platform for everyday tasks, multimedia applications, and light gaming.One of the key features of the D101GGC is its support for Intel's 945GC chipset, which provides a solid foundation for performance. This chipset allows for efficient handling of various computing tasks while ensuring compatibility with a broad range of Intel processors. The motherboard supports up to 4 GB of DDR2 RAM across two DIMM slots, enhancing multitasking capabilities and overall performance.
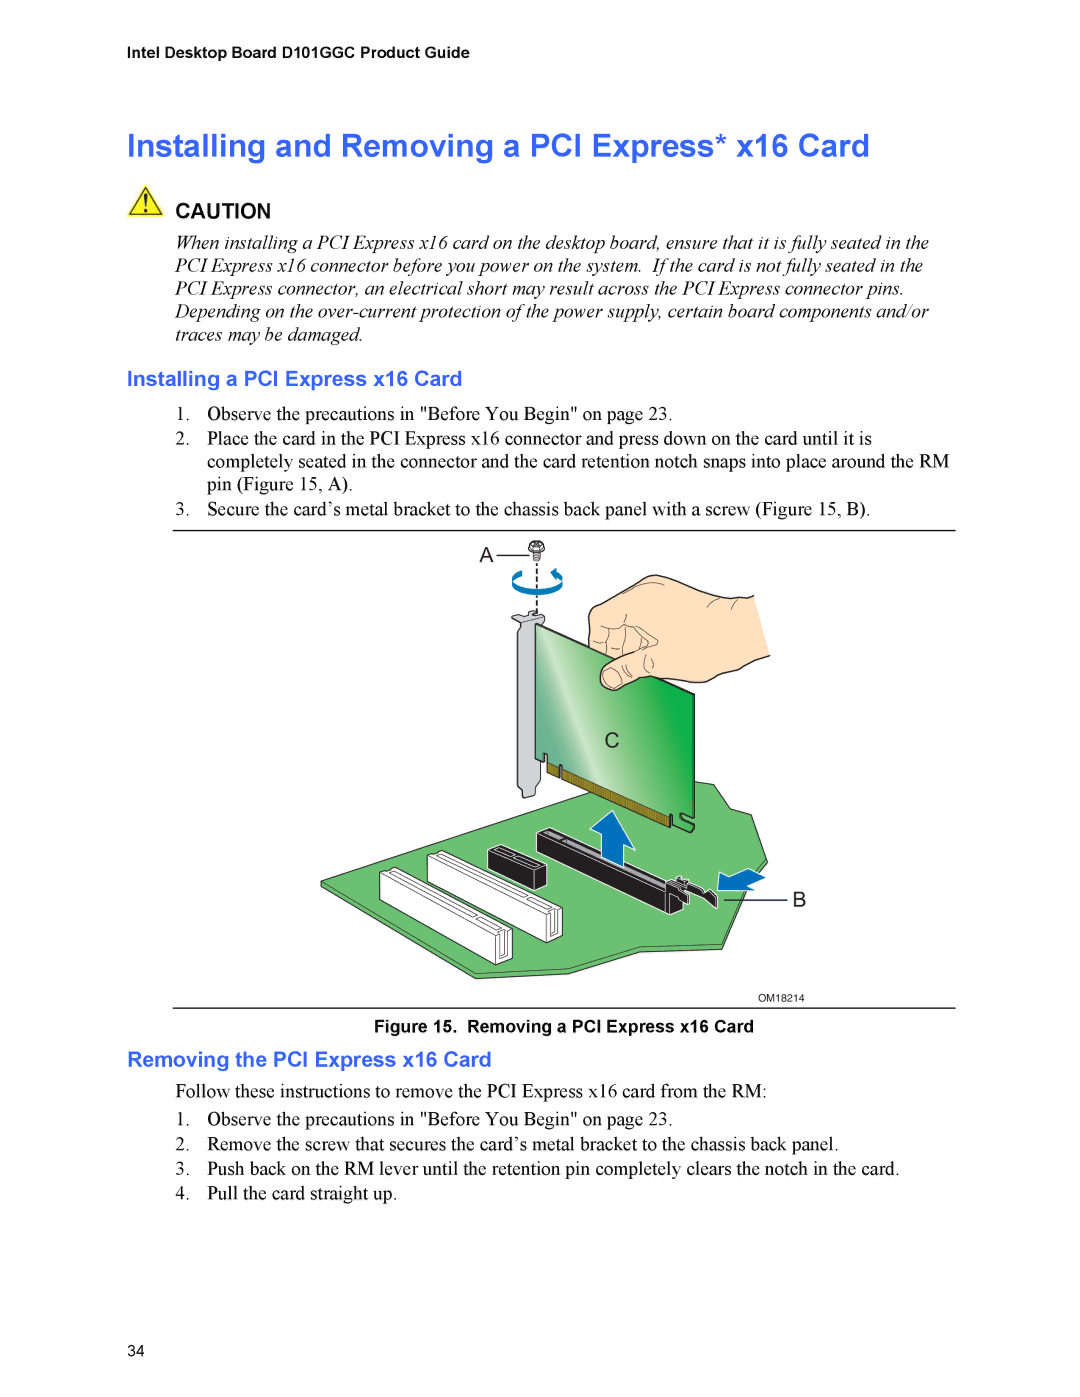
When it comes to graphics, the D101GGC includes integrated Intel Graphics Media Accelerator 950, which provides decent visual quality for standard applications and light gaming. Additionally, the motherboard features a PCI Express x16 slot, allowing users to upgrade to a dedicated graphics card for improved performance in games and graphic-intensive applications.
Storage capabilities are another highlight of the D101GGC, as it supports up to four SATA II connections for modern hard drives and SSDs. This enables users to take advantage of faster data transfer speeds for improved system responsiveness and quicker load times. Legacy support is also present with an IDE connector for older devices, ensuring compatibility with a variety of storage solutions.
Connectivity options on the D101GGC include a range of USB ports, including USB 2.0, which allows users to connect multiple peripherals with ease. The motherboard also includes integrated Ethernet capabilities, facilitating easy networking without requiring additional hardware.
In terms of form factor, the micro ATX design of the D101GGC makes it suitable for a variety of cases, allowing for flexible installations. Its layout is user-friendly, facilitating straightforward assembly and upgrades.
Overall, the Intel D101GGC is a reliable and cost-effective choice for users seeking to build a basic computing system. Its combination of essential features, support for modern technologies, and upgrade potential make it an ideal option for budget builds, casual users, and those looking for a solid foundation for everyday computing tasks.