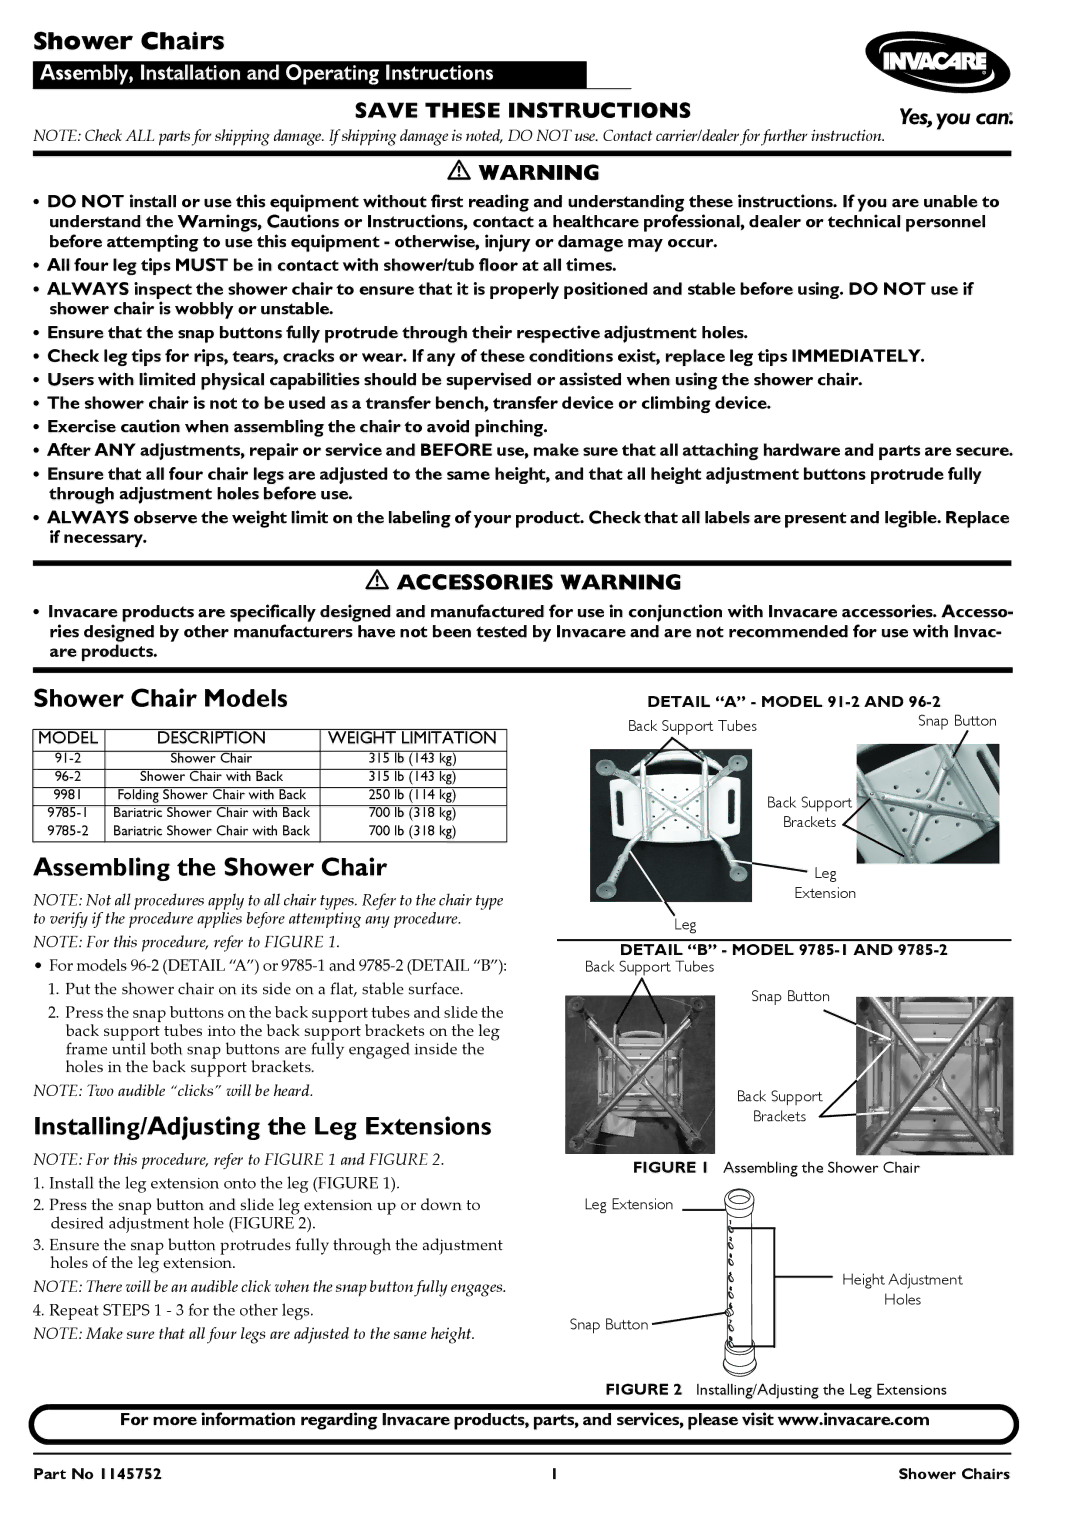
9785-1, 9981, 96-2, 91-2, 9785-2 specifications
The Invacare 9785-2, 91-2, 96-2, 9981, and 9785-1 models represent a significant advancement in mobility and comfort for users with varying needs. These products are designed with both functionality and user experience in mind, showcasing Invacare's commitment to quality and innovation in the healthcare mobility sector.One of the defining features of these models is their adjustability. Each model is equipped with multiple height settings, allowing users to customize the chair’s height for optimal comfort and accessibility. This adjustability is crucial for individuals who may have difficulty transferring to and from the chair or require specific positioning for comfort.
In terms of mobility, the Invacare models feature a lightweight aluminum frame that not only enhances portability but also ensures durability. This design allows users to navigate both indoor and outdoor environments with ease, providing independence and confidence in mobility. Additionally, the models include smooth-rolling wheels with locking mechanisms for safety and stability when stationary.
Comfort is a top priority for these models. The seating area is designed with high-density foam cushions that provide both support and pressure relief, making them ideal for extended use. The breathable fabric covering ensures that users remain comfortable and dry, which is an essential factor for long-term usage, particularly for those at risk of skin breakdown.
These models also incorporate innovative technology to enhance the user experience. For instance, the Invacare 9785-2 features a unique reclining mechanism that allows users to adjust the backrest angle smoothly, promoting relaxation and comfort. The user-friendly controls are intuitively designed, enabling easy adjustments without requiring excessive effort.
Safety features are paramount in the design of these products. Each model includes secure armrests, and anti-tip skids to prevent falls, ensuring that users feel secure while using the chair. The Invacare models also come with extensive warranties that underscore the reliability and trustworthiness of the brand.
In summary, the Invacare 9785-2, 91-2, 96-2, 9981, and 9785-1 models epitomize modern mobility solutions, combining comfort, adjustability, safety, and innovative technology to meet the diverse needs of individuals requiring mobility assistance. With these chairs, Invacare continues to empower users by enhancing their quality of life through thoughtful design and engineering excellence.

