Reliant Bath Lift (RBL250) Mounting Kit
Assembly, Installation and Operating Instructions
Kit No. 1085143
NOTE: Check all parts for shipping damage before
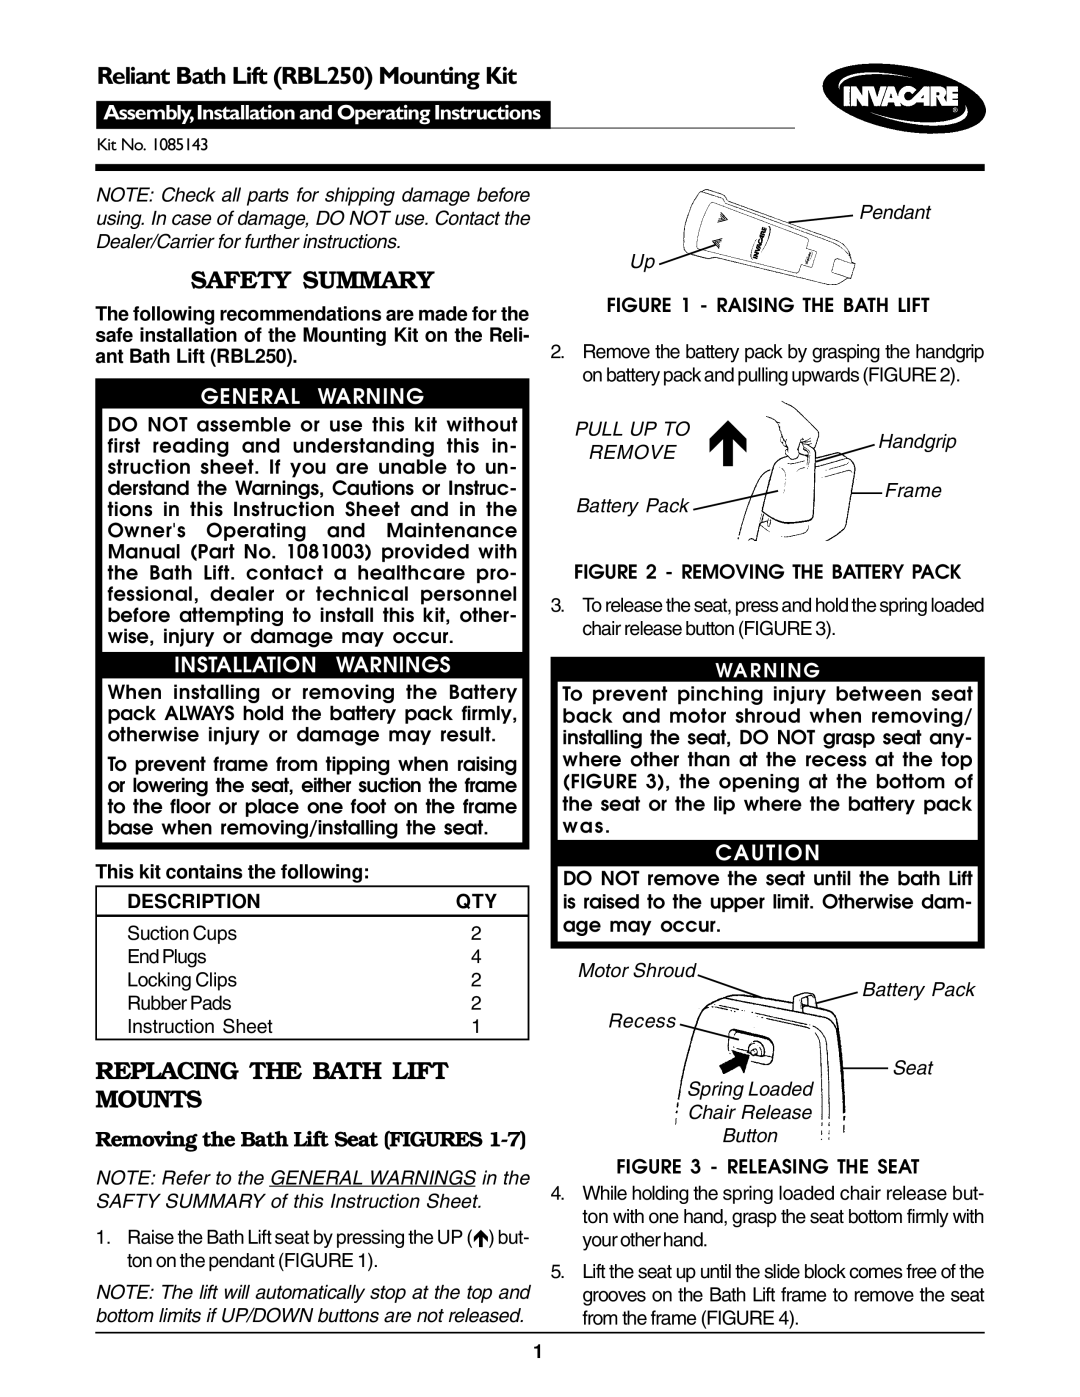
using. In case of damage, DO NOT use. Contact thePendant
Dealer/Carrier for further instructions.
Up
SAFETY SUMMARY
The following recommendations are made for the safe installation of the Mounting Kit on the Reli- ant Bath Lift (RBL250).
GENERAL WARNING
DO NOT assemble or use this kit without first reading and understanding this in- struction sheet. If you are unable to un- derstand the Warnings, Cautions or Instruc- tions in this Instruction Sheet and in the Owner's Operating and Maintenance Manual (Part No. 1081003) provided with the Bath Lift. contact a healthcare pro- fessional, dealer or technical personnel before attempting to install this kit, other- wise, injury or damage may occur.
INSTALLATION WARNINGS
When installing or removing the Battery pack ALWAYS hold the battery pack firmly, otherwise injury or damage may result.
To prevent frame from tipping when raising or lowering the seat, either suction the frame to the floor or place one foot on the frame base when removing/installing the seat.
This kit contains the following:
DESCRIPTION | QTY |
Suction Cups | 2 |
End Plugs | 4 |
Locking Clips | 2 |
Rubber Pads | 2 |
Instruction Sheet | 1 |
REPLACING THE BATH LIFT MOUNTS
Removing the Bath Lift Seat (FIGURES 1-7)
NOTE: Refer to the GENERAL WARNINGS in the SAFTY SUMMARY of this Instruction Sheet.
1.Raise the Bath Lift seat by pressing the UP (é) but- ton on the pendant (FIGURE 1).
NOTE: The lift will automatically stop at the top and bottom limits if UP/DOWN buttons are not released.
FIGURE 1 - RAISING THE BATH LIFT
2.Remove the battery pack by grasping the handgrip on battery pack and pulling upwards (FIGURE 2).
PULL UP TO |
| Handgrip |
REMOVE é |
| |
|
|
Frame
Battery Pack
FIGURE 2 - REMOVING THE BATTERY PACK
3.To release the seat, press and hold the spring loaded chair release button (FIGURE 3).
WARNING
To prevent pinching injury between seat back and motor shroud when removing/ installing the seat, DO NOT grasp seat any- where other than at the recess at the top (FIGURE 3), the opening at the bottom of the seat or the lip where the battery pack was.
CAUTION
DO NOT remove the seat until the bath Lift is raised to the upper limit. Otherwise dam- age may occur.
Motor Shroud
Battery Pack
Recess
Seat
Spring Loaded
Chair Release
Button
FIGURE 3 - RELEASING THE SEAT
4.While holding the spring loaded chair release but- ton with one hand, grasp the seat bottom firmly with your other hand.
5.Lift the seat up until the slide block comes free of the grooves on the Bath Lift frame to remove the seat from the frame (FIGURE 4).
1