
8500, 8502, 8504, 8503 specifications
The iOptron 8500 series telescopes, encompassing models 8500, 8502, 8503, and 8504, represent a significant advancement in astronomical observation technology. Each of these telescopes is designed to cater to both amateur astronomers and experienced astrophotographers, ensuring enhanced user experience and performance.At the heart of the iOptron 8500 series is the innovative GoTo mount technology. This feature allows users to automatically locate and track celestial objects with remarkable precision. By simply entering the desired coordinates or selecting objects from a database, users can spend more time observing rather than searching for objects in the night sky.
Another defining characteristic of the 8500 series is the incorporation of high-quality optics. Each model features advanced multicoated glass for brighter and sharper images. The telescopes also come with a range of focal ratios that enhance performance for various observational needs, such as planetary observation and deep-sky imaging. This enables users to capture stunning images of celestial bodies with clarity and detail.
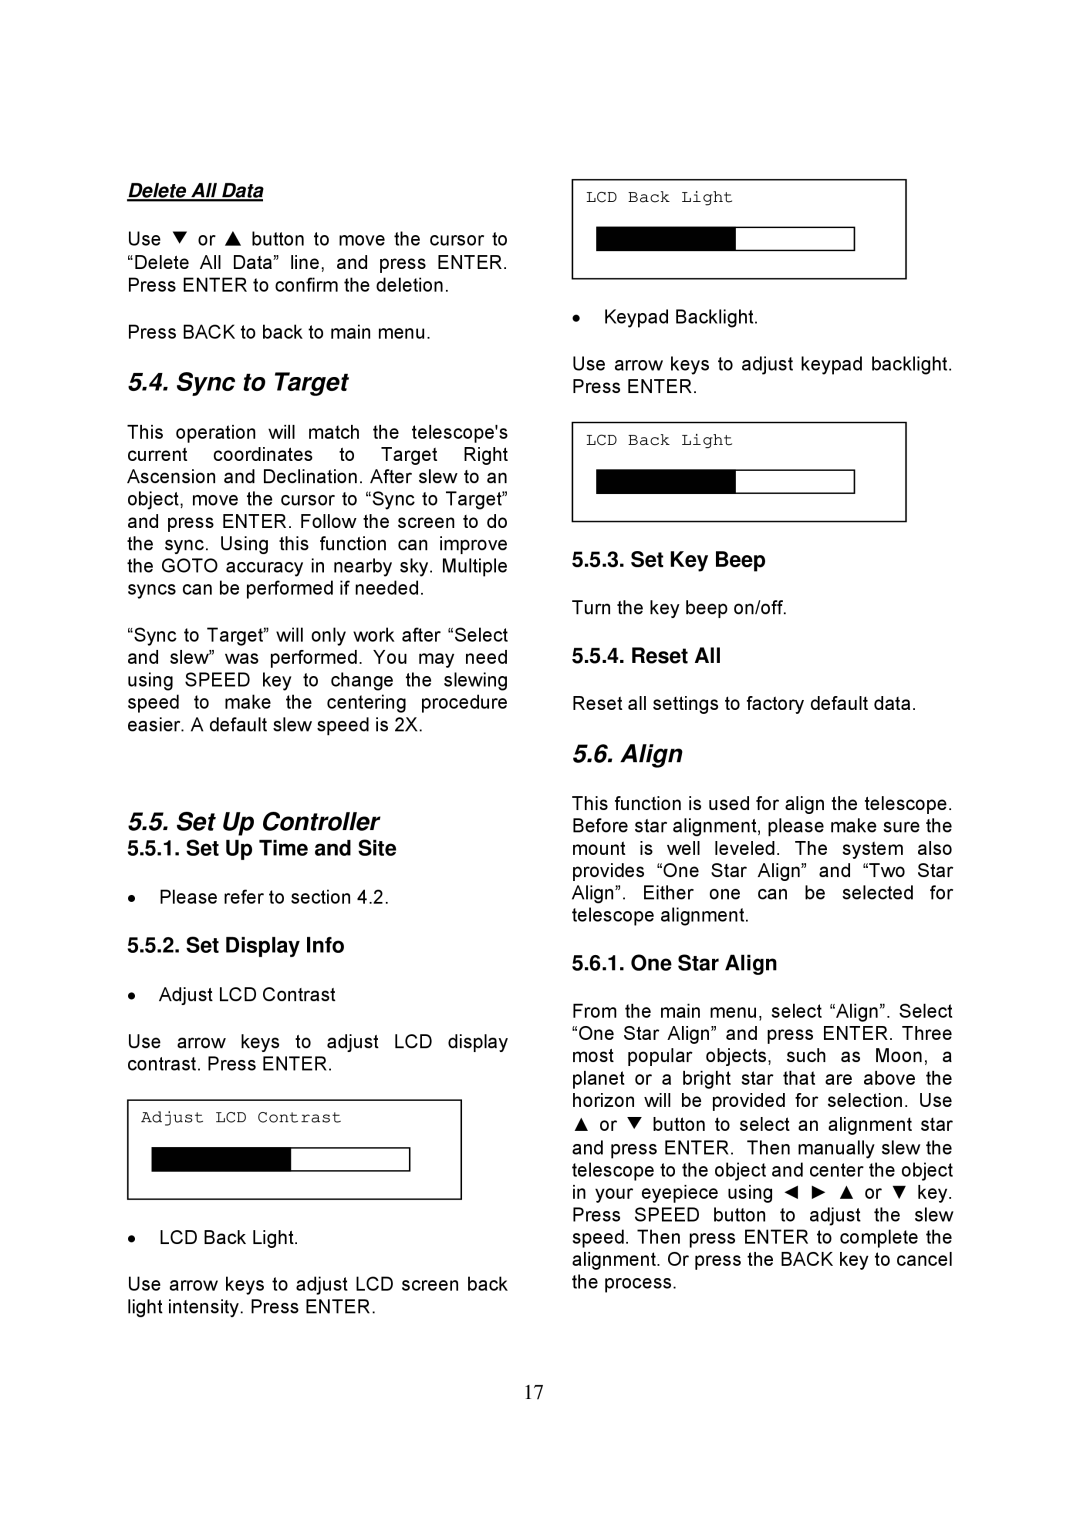
The 8500, 8502, 8503, and 8504 models also boast user-friendly interfaces and controls. The telescopes are equipped with intuitive hand controllers that allow for easy navigation through numerous astronomical objects and features. Advanced tracking capabilities ensure that the telescopes can maintain their focus on targets, making them ideal for long-exposure astrophotography.
In terms of portability, the iOptron 8500 series is designed to be lightweight without sacrificing sturdiness. This is particularly beneficial for those who travel to dark skies for better viewing conditions. The telescopes also feature quick-release mounts, making it easy to assemble and disassemble for transport.
Powering these telescopes is a reliable battery system that supports extended observation nights. Users can easily connect to external power sources or opt for portable power packs, enhancing the versatility of the telescopes during field use.
The 8500 series is also compatible with various accessories, including cameras and filters, allowing for a customized observing experience. Whether focused on planetary details or capturing the intricate structures of deep-sky objects, the iOptron 8500 series provides the tools necessary for an extraordinary astronomical journey.
In summary, the iOptron 8504, 8502, 8503, and 8500 telescopes deliver a robust combination of advanced technology, user-centered design, and excellent optical performance, making them a valuable addition to any astronomer's toolkit.