Adjustable Height
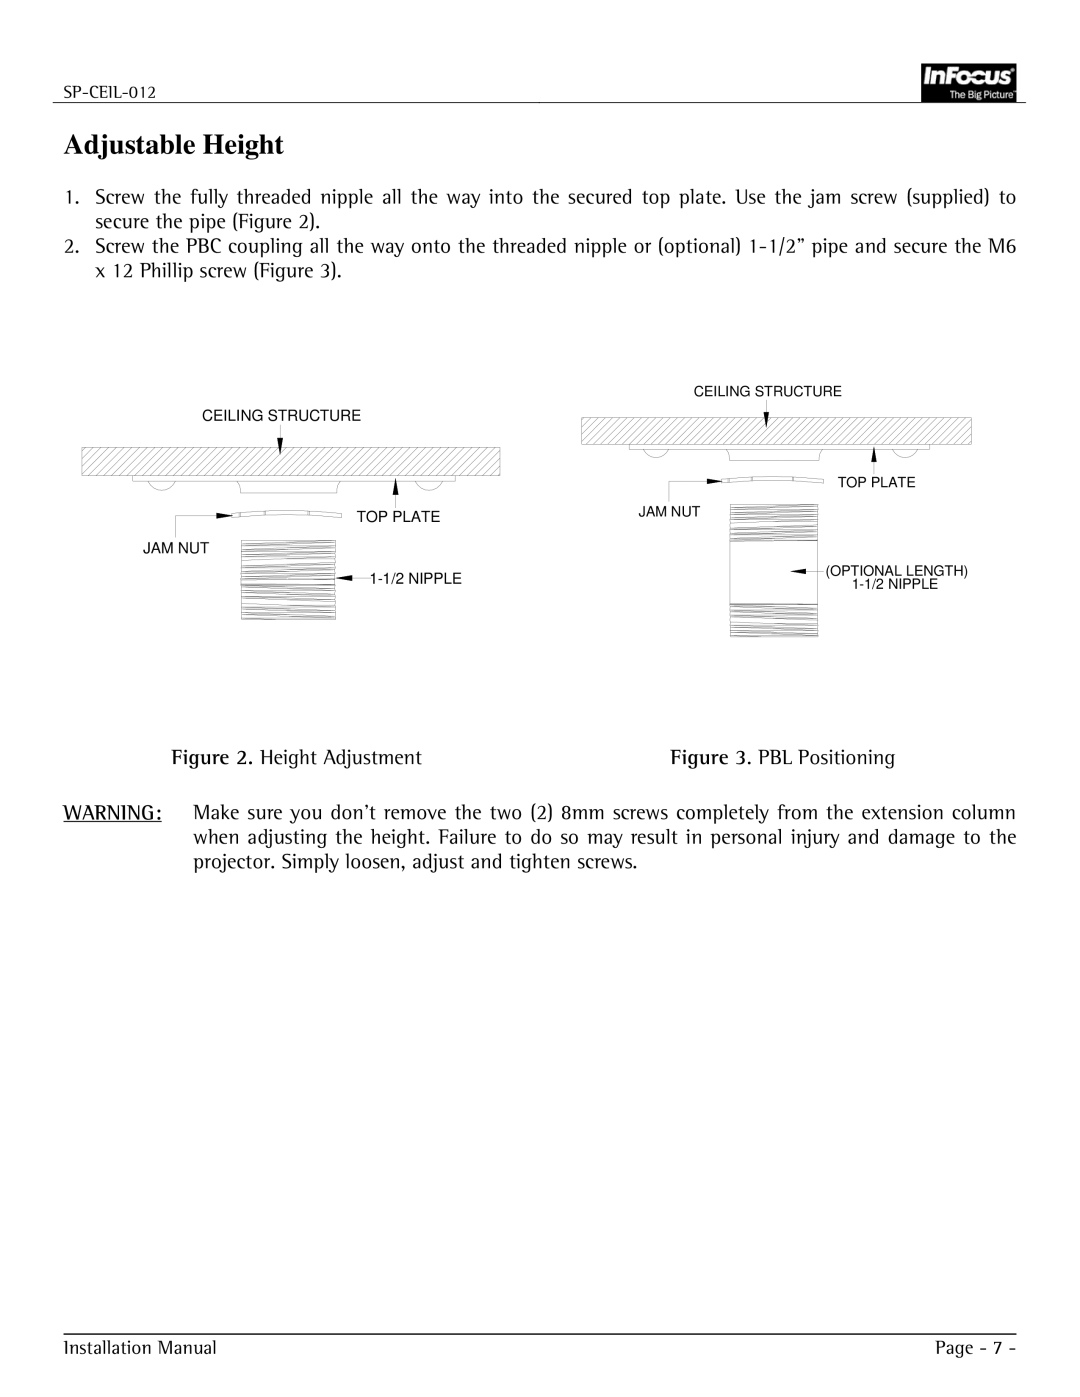
1.Screw the fully threaded nipple all the way into the secured top plate. Use the jam screw (supplied) to secure the pipe (Figure 2).
2.Screw the PBC coupling all the way onto the threaded nipple or (optional)
CEILING STRUCTURE
CEILING STRUCTURE
| TOP PLATE | |
TOP PLATE | JAM NUT | |
JAM NUT |
| |
(OPTIONAL LENGTH) | ||
|
Figure 2. Height Adjustment | Figure 3. PBL Positioning |
WARNING: Make sure you don’t remove the two (2) 8mm screws completely from the extension column when adjusting the height. Failure to do so may result in personal injury and damage to the projector. Simply loosen, adjust and tighten screws.
Installation Manual | Page - 7 - |