Fuses
When replacing a fuse, make sure the new fuse is the correct type and amperage. Using an incorrect fuse could damage the radio. The CDX6311 uses one 15 amp fuse located below the wiring connector (15 amp fast blow ATO).
Reconnect Battery
When wiring is complete, reconnect the battery negative terminal.
Technical Assistance
If you require assistance, contact Technical Support at
Connecting the Satellite Radio Receiver (optional)
Before you can listen to XM® satellite radio, you must install the XM® Direct Receiver and
antenna (purchased separately). The XM® Direct Receiver is the central data receiving equipment required to process the satellite signals from the external antenna. It is typically installed in the dash, under the seat, or in the trunk or rear of the vehicle. Do not mount the
XM® Direct Receiver near a heater vent or where it can be exposed to extreme temperatures. In addition, when running the wire for the external antenna do not kink or pinch the antenna cable. A sharp 90 degree bend or slight "nick" to the outer cable sheath will cause signal degradation. The wiring diagram on page 3 will help you identify the proper connections.
CDX6311
INSTALLATION
This unit is designed for installation in cars, trucks and vans with an existing radio opening. In many cases, a special installation kit will be required to mount the radio into the dashboard. These kits are available at electronics supply stores and car stereo specialty shops. Always check the kit application before purchasing to make sure the kit works with your vehicle. If you have trouble locating a kit or need installation assistance, contact Technical Support at
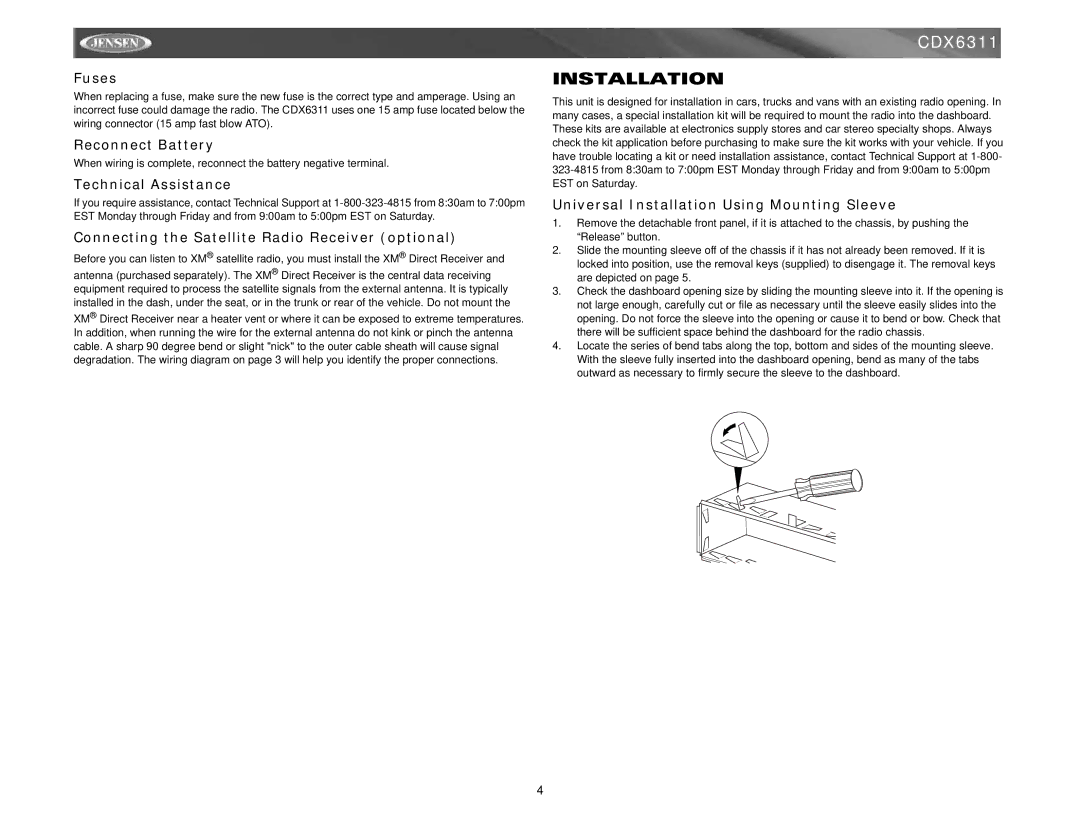
Universal Installation Using Mounting Sleeve
1.Remove the detachable front panel, if it is attached to the chassis, by pushing the “Release” button.
2.Slide the mounting sleeve off of the chassis if it has not already been removed. If it is locked into position, use the removal keys (supplied) to disengage it. The removal keys are depicted on page 5.
3.Check the dashboard opening size by sliding the mounting sleeve into it. If the opening is not large enough, carefully cut or file as necessary until the sleeve easily slides into the opening. Do not force the sleeve into the opening or cause it to bend or bow. Check that there will be sufficient space behind the dashboard for the radio chassis.
4.Locate the series of bend tabs along the top, bottom and sides of the mounting sleeve. With the sleeve fully inserted into the dashboard opening, bend as many of the tabs outward as necessary to firmly secure the sleeve to the dashboard.
4