TIME SETTING
NOTE:
The clock has to be set when you first plug it in. The following procedure illustrates the setting of the Clock using 7:30 PM as an example time.
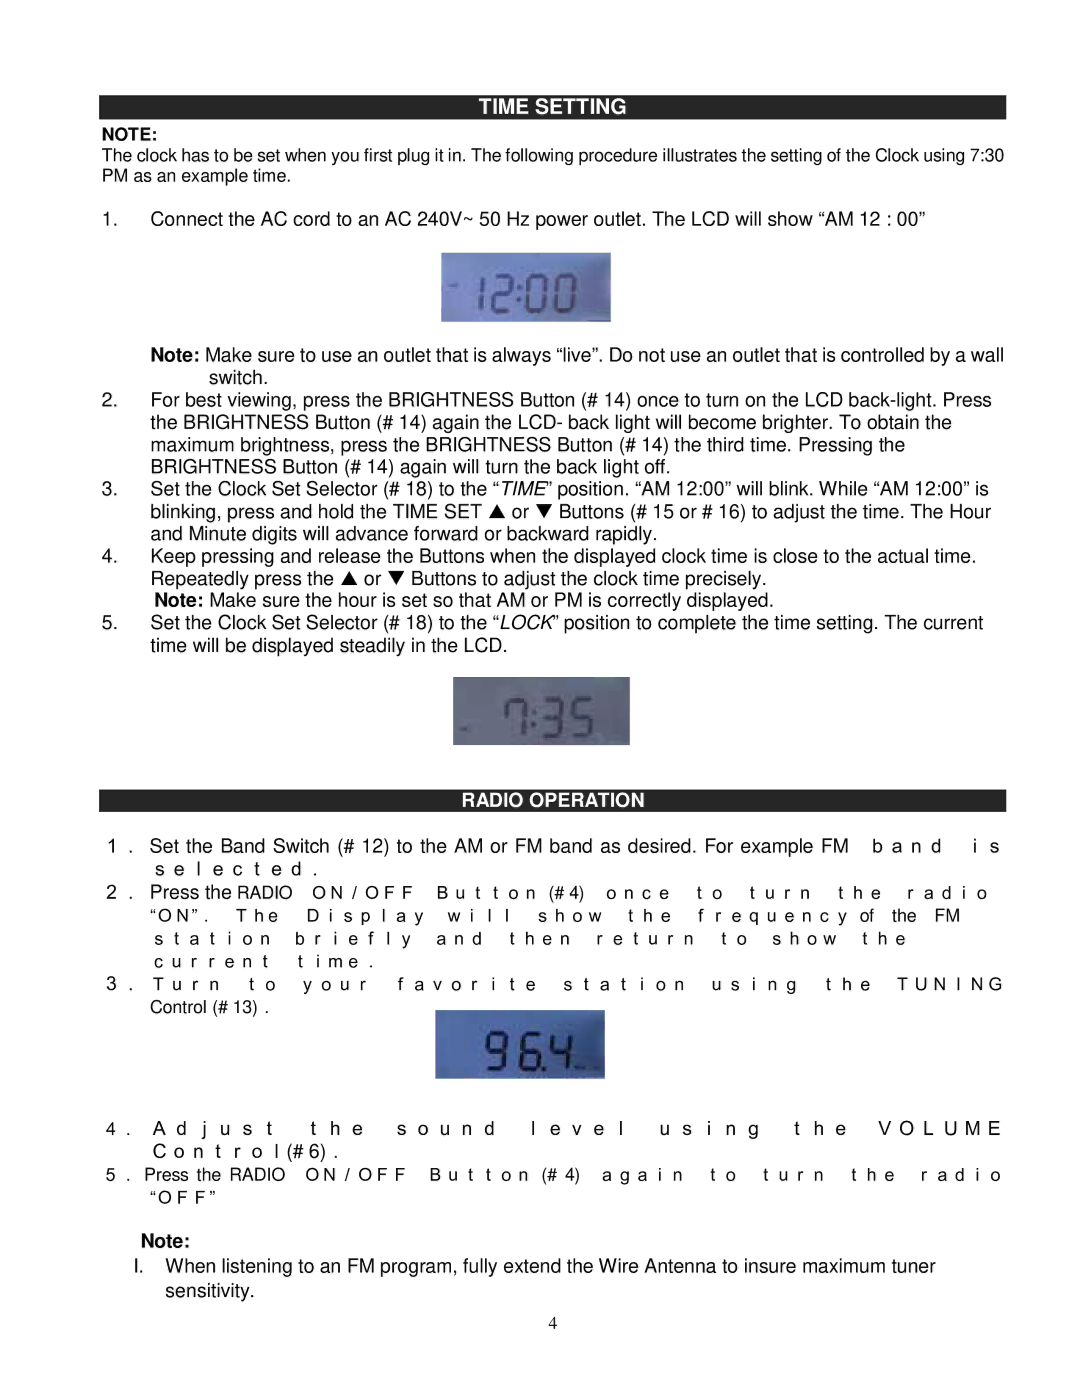
1.Connect the AC cord to an AC 240V~ 50 Hz power outlet. The LCD will show “AM 12 : 00”
Note: Make sure to use an outlet that is always “live”. Do not use an outlet that is controlled by a wall switch.
2.For best viewing, press the BRIGHTNESS Button (# 14) once to turn on the LCD
3.Set the Clock Set Selector (# 18) to the “TIME” position. “AM 12:00” will blink. While “AM 12:00” is blinking, press and hold the TIME SET ! or " Buttons (# 15 or # 16) to adjust the time. The Hour and Minute digits will advance forward or backward rapidly.
4.Keep pressing and release the Buttons when the displayed clock time is close to the actual time. Repeatedly press the ! or " Buttons to adjust the clock time precisely.
Note: Make sure the hour is set so that AM or PM is correctly displayed.
5.Set the Clock Set Selector (# 18) to the “LOCK” position to complete the time setting. The current time will be displayed steadily in the LCD.
RADIO OPERATION |
|
|
1. Set the Band Switch (# 12) to the AM or FM band as desired. For example FM | band | is |
selected.
2. Press the RADIO ON/OFF Button (# 4) once to turn | the radio | |
“ON”. The | Display will show the frequency of the FM | |
station | briefly and then return to show the | |
current | time. |
|
3. Turn to | your favorite station using | the TUNING |
Control (# 13).
4. Adjust | the | sound | level using the VOLUME |
Control(# 6). |
|
| |
5. Press the RADIO | ON/OFF Button (# 4) again to turn the radio | ||
“OFF” |
|
|
|
Note:
I.When listening to an FM program, fully extend the Wire Antenna to insure maximum tuner sensitivity.
4