FCC INFORMATION
This equipment has been tested and found to comply with the limits for a class B digital device, pursuant to Part 15 of the FCC Rules. These limits are designed to provide reasonable protection against harmful interference in a residential installation. This equipment generates, uses, and can radiate radio frequency energy and, if not installed and used in accordance with the instructions, may cause harmful interference to radio communications. However, there is no guarantee that interference will not occur in particular installation. If this equipment does cause harmful interference to radio or television reception, which can be determined by turning the equipment off and on, the user is encouraged to try to correct the interference by one or more of the following measures :
Reorient or relocate the receiving antenna.
Increase the separation between the equipment and receiver.
Connect the equipment into an outlet on a circuit different from that to which the receiver is connected. Consult the dealer or an experienced radio/TV technician for help.
WARNING
Changes or modifications to this unit not expressly approved by the party responsible for compliance could void the user’s authority to operate the equipment.
IMPORTANT NOTES
Avoid installing this unit in places exposed to direct sunlight or close to heat radiating appliance such as electric heaters, on top of other stereo equipment that radiates too much heat, places lacking ventilation or dusty areas, places subject to constant vibration and / or humid or moist areas.
![]() Do not attempt to clean this unit with chemical solvents as this might damage the finish. Use a clean dry cloth.
Do not attempt to clean this unit with chemical solvents as this might damage the finish. Use a clean dry cloth.
![]() Operate controls and switches as described in the manual.
Operate controls and switches as described in the manual.
![]() Before turning on the power, make certain that the power cord is properly installed.
Before turning on the power, make certain that the power cord is properly installed. ![]() When moving the set, be sure to first disconnect the AC power cord.
When moving the set, be sure to first disconnect the AC power cord.
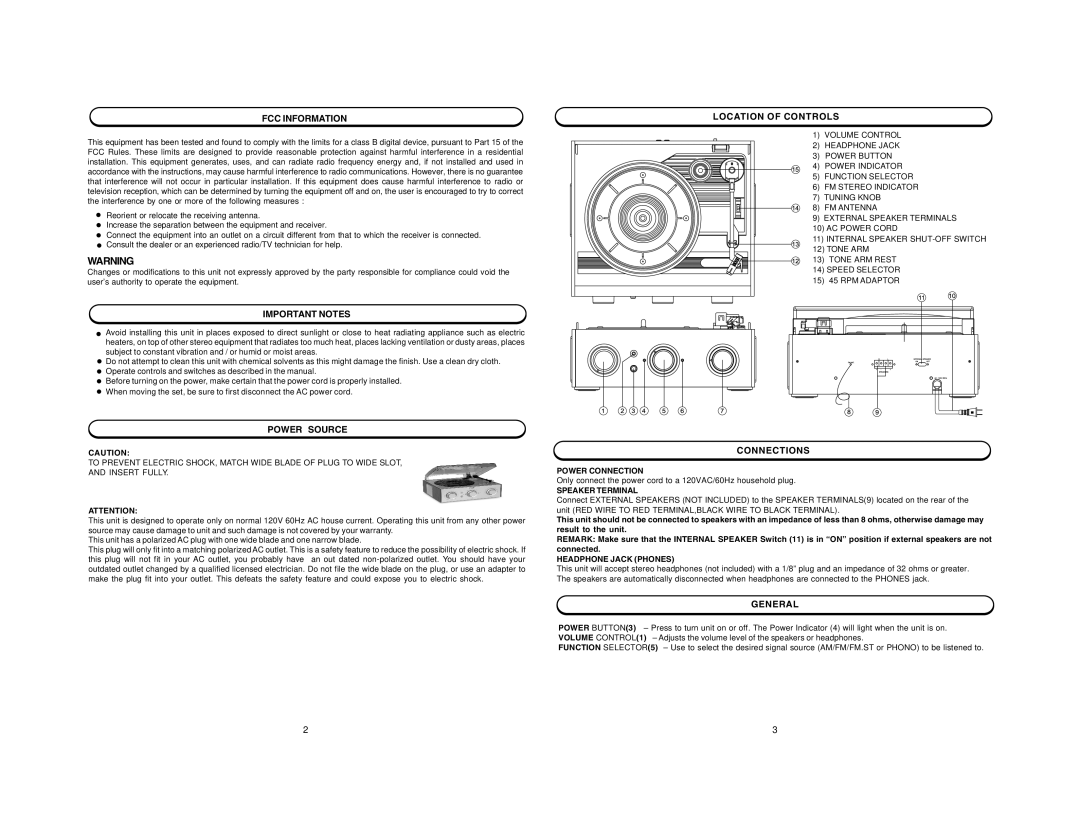
LOCATION OF CONTROLS
1)VOLUME CONTROL
2)HEADPHONE JACK
3)POWER BUTTON
4)POWER INDICATOR
5)FUNCTION SELECTOR
6)FM STEREO INDICATOR
7)TUNING KNOB
8) FM ANTENNA
9)EXTERNAL SPEAKER TERMINALS
10)AC POWER CORD
11)INTERNAL SPEAKER
12)TONE ARM
13) TONE ARM REST
14)SPEED SELECTOR
15)45 RPM ADAPTOR
POWER SOURCE
CAUTION:
TO PREVENT ELECTRIC SHOCK, MATCH WIDE BLADE OF PLUG TO WIDE SLOT,
AND INSERT FULLY.
ATTENTION:
This unit is designed to operate only on normal 120V 60Hz AC house current. Operating this unit from any other power source may cause damage to unit and such damage is not covered by your warranty.
This unit has a polarized AC plug with one wide blade and one narrow blade.
This plug will only fit into a matching polarized AC outlet. This is a safety feature to reduce the possibility of electric shock. If this plug will not fit in your AC outlet, you probably have an out dated
CONNECTIONS
POWER CONNECTION
Only connect the power cord to a 120VAC/60Hz household plug.
SPEAKER TERMINAL
Connect EXTERNAL SPEAKERS (NOT INCLUDED) to the SPEAKER TERMINALS(9) located on the rear of the unit (RED WIRE TO RED TERMINAL,BLACK WIRE TO BLACK TERMINAL).
This unit should not be connected to speakers with an impedance of less than 8 ohms, otherwise damage may result to the unit.
REMARK: Make sure that the INTERNAL SPEAKER Switch (11) is in “ON” position if external speakers are not connected.
HEADPHONE JACK (PHONES)
This unit will accept stereo headphones (not included) with a 1/8” plug and an impedance of 32 ohms or greater. The speakers are automatically disconnected when headphones are connected to the PHONES jack.
GENERAL
POWER BUTTON(3) – Press to turn unit on or off. The Power Indicator (4) will light when the unit is on. VOLUME CONTROL(1) – Adjusts the volume level of the speakers or headphones.
FUNCTION SELECTOR(5) – Use to select the desired signal source (AM/FM/FM.ST or PHONO) to be listened to.
2 | 3 |
