VM8023HD
opening, bend as many of the tabs outward as necessary to firmly secure the sleeve to the dashboard.
CAUTION: For proper operation of the DVD player, the chassis must be mounted within 20° of horizontal. Make sure the unit is mounted within this limitation.
3.Place the radio in front of the dashboard opening so the wiring can be brought through the mounting sleeve. Follow the wiring diagram carefully and make certain all connections are secure and insulated with wire nuts or electrical tape. See “Wiring” on page 3. After completing the wiring connections, turn the unit on to confirm operation (vehicle ignition must be on). If the unit does not operate,
4.Make sure the radio is
5.Secure the rear of the unit to the car body using the mounting bolt and rubber cushion.
6.Test the radio using the “Operation” instructions that follow.
Kit Installation
RUBBER CUSHION
MOUNTING BOLT
RADIO
TRIM RING
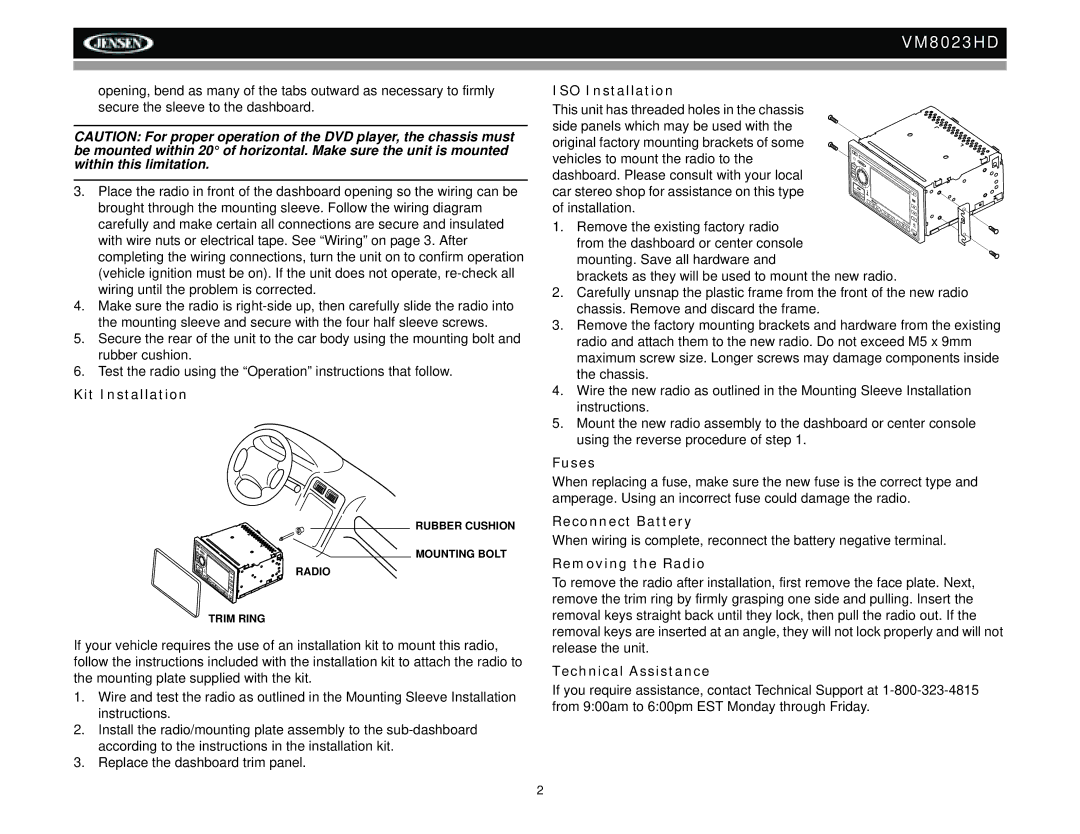
If your vehicle requires the use of an installation kit to mount this radio, follow the instructions included with the installation kit to attach the radio to the mounting plate supplied with the kit.
1.Wire and test the radio as outlined in the Mounting Sleeve Installation instructions.
2.Install the radio/mounting plate assembly to the
3.Replace the dashboard trim panel.
ISO Installation
This unit has threaded holes in the chassis
side panels which may be used with the original factory mounting brackets of some
vehicles to mount the radio to the dashboard. Please consult with your local car stereo shop for assistance on this type
of installation.
1. Remove the existing factory radio from the dashboard or center console
mounting. Save all hardware and brackets as they will be used to mount the new radio.
2.Carefully unsnap the plastic frame from the front of the new radio chassis. Remove and discard the frame.
3.Remove the factory mounting brackets and hardware from the existing radio and attach them to the new radio. Do not exceed M5 x 9mm maximum screw size. Longer screws may damage components inside the chassis.
4.Wire the new radio as outlined in the Mounting Sleeve Installation instructions.
5.Mount the new radio assembly to the dashboard or center console using the reverse procedure of step 1.
Fuses
When replacing a fuse, make sure the new fuse is the correct type and amperage. Using an incorrect fuse could damage the radio.
Reconnect Battery
When wiring is complete, reconnect the battery negative terminal.
Removing the Radio
To remove the radio after installation, first remove the face plate. Next, remove the trim ring by firmly grasping one side and pulling. Insert the removal keys straight back until they lock, then pull the radio out. If the removal keys are inserted at an angle, they will not lock properly and will not release the unit.
Technical Assistance
If you require assistance, contact Technical Support at
2
