checked prior to tightening the screws. Do not tighten the speaker onto an uneven surface! This will damage your speakers. The speaker should also fit so that no air leaks around the mounting flange. Air leaks will cause a severe degradation in sound quality. Seal any air leaks with silicone, rope caulk or similar sealant material.
A spacer gasket has been included to
Connect the speaker wires to both sets of terminals on each speaker, observing correct polarity and making sure that the tweeter and woofer wires correspond to the correct terminals on both the speaker and the crossover.
Secure the speaker and spacer gasket (if applicable) to the panel by evenly tightening by hand the provided #8 x 1.25 inch (32 mm) mounting screws.
!!![]() WARNING
WARNING
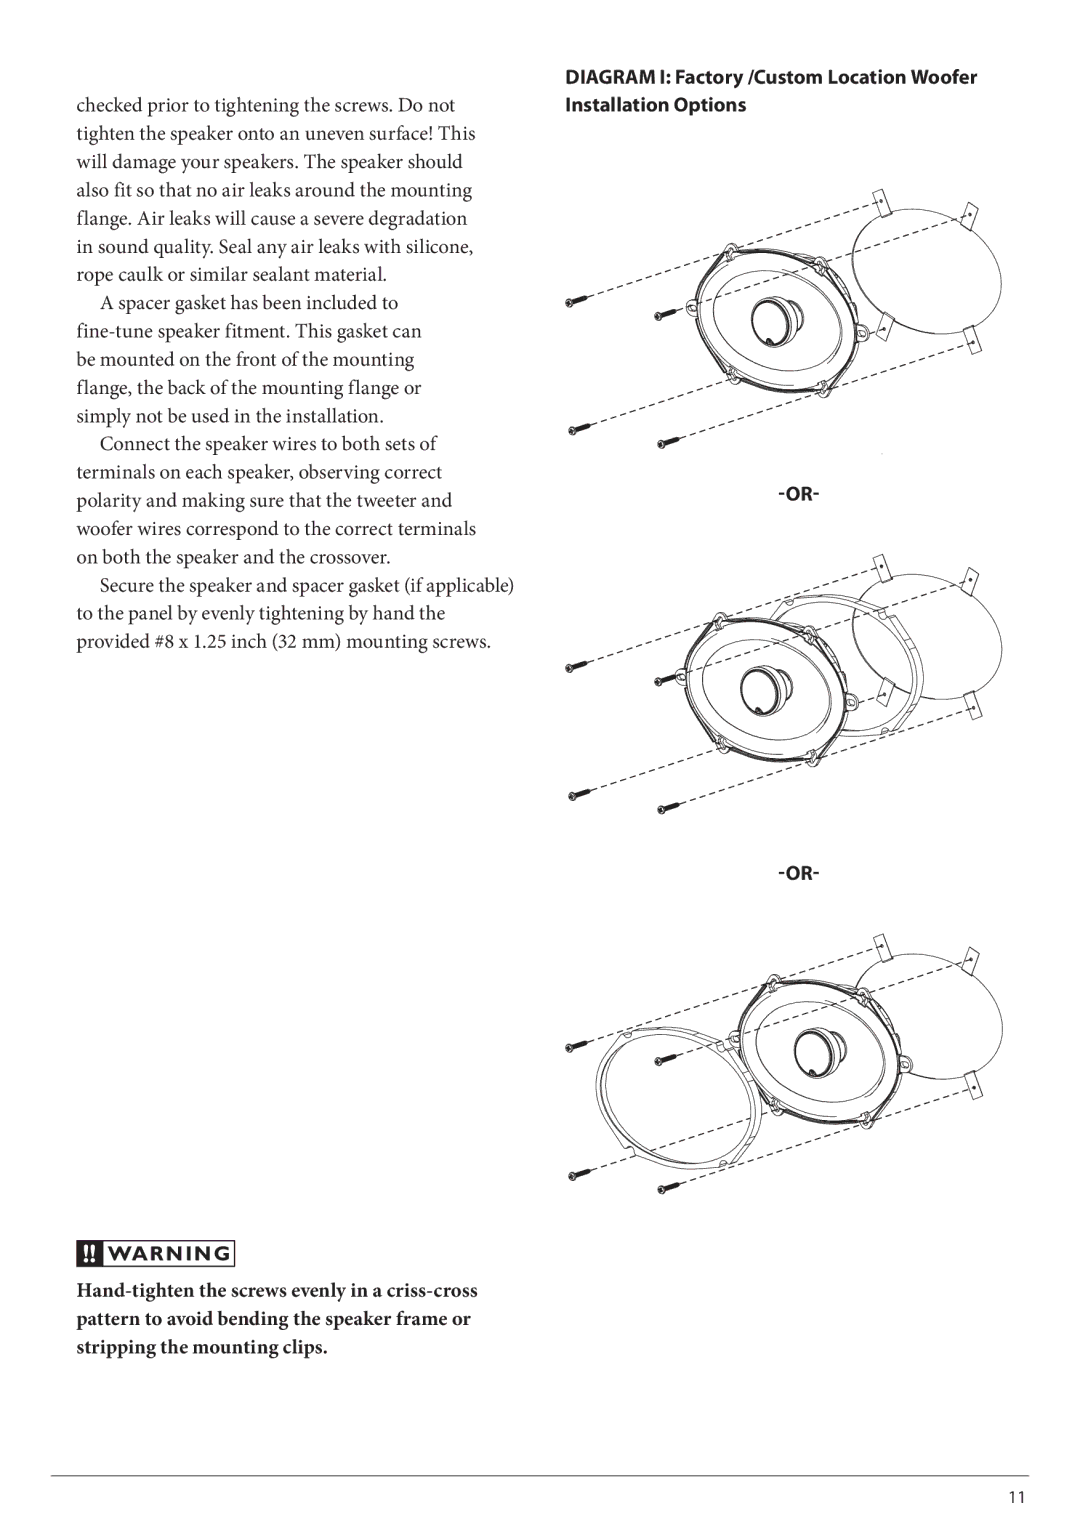
Diagram I: Factory /Custom Location Woofer Installation Options
11