S T E P 1 2
Remove the wiring harness that is secured to the passenger side of the center console.
S T E P 1 3
Remove the pair of screws that are found on each side of the center console.
If the seat(s) are powered, bring the seat(s) to their highest height and all the back to access the front screws. Bring the seats all the way forward to access the rear screws.
If the seat(s) are manual, bring the seat(s) all the way back and access the screws from under the seats, as in the picture.
| 1 |
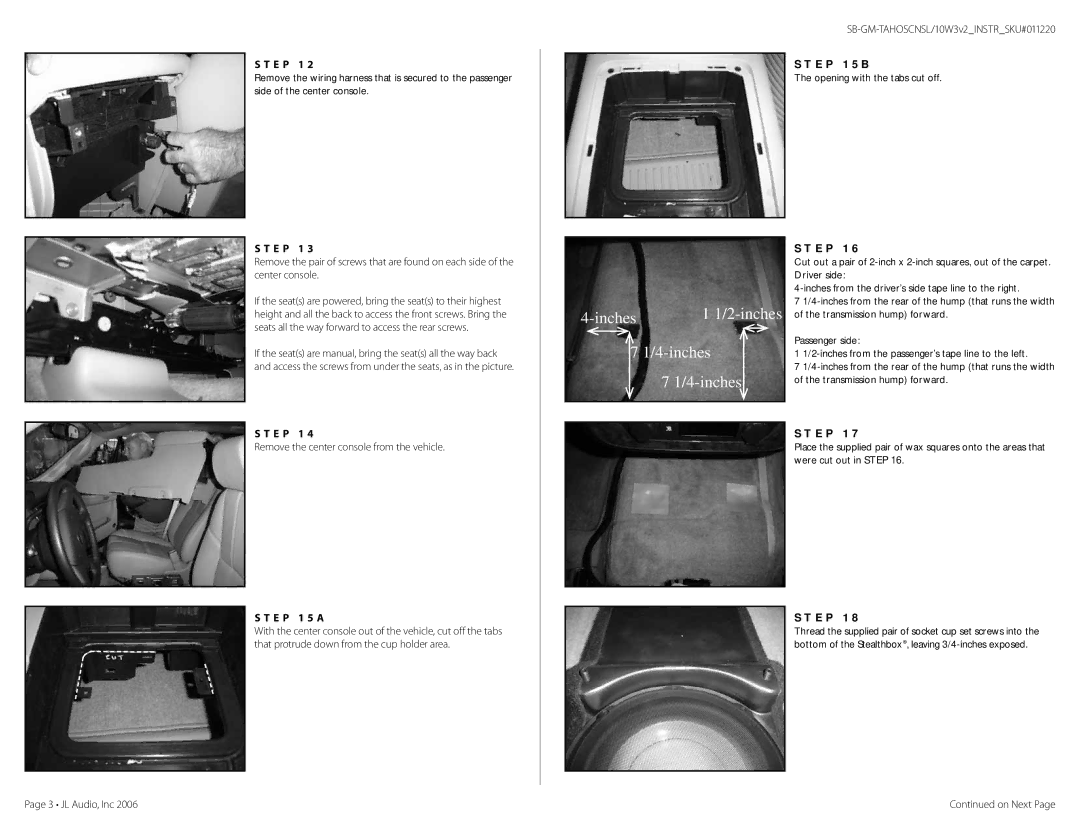
7 1/4-inches
7
S T E P 1 5 B
The opening with the tabs cut off.
S T E P 1 6
Cut out a pair of
7
Passenger side:
1
7
S T E P 1 4
Remove the center console from the vehicle.
S T E P 1 5 A
With the center console out of the vehicle, cut off the tabs that protrude down from the cup holder area.
S T E P 1 7
Place the supplied pair of wax squares onto the areas that were cut out in STEP 16.
S T E P 1 8
Thread the supplied pair of socket cup set screws into the bottom of the Stealthbox®, leaving
Page 3 • JL Audio, Inc 2006 | Continued on Next Page |