Common Operations | Continued |
| |
|
|
|
|
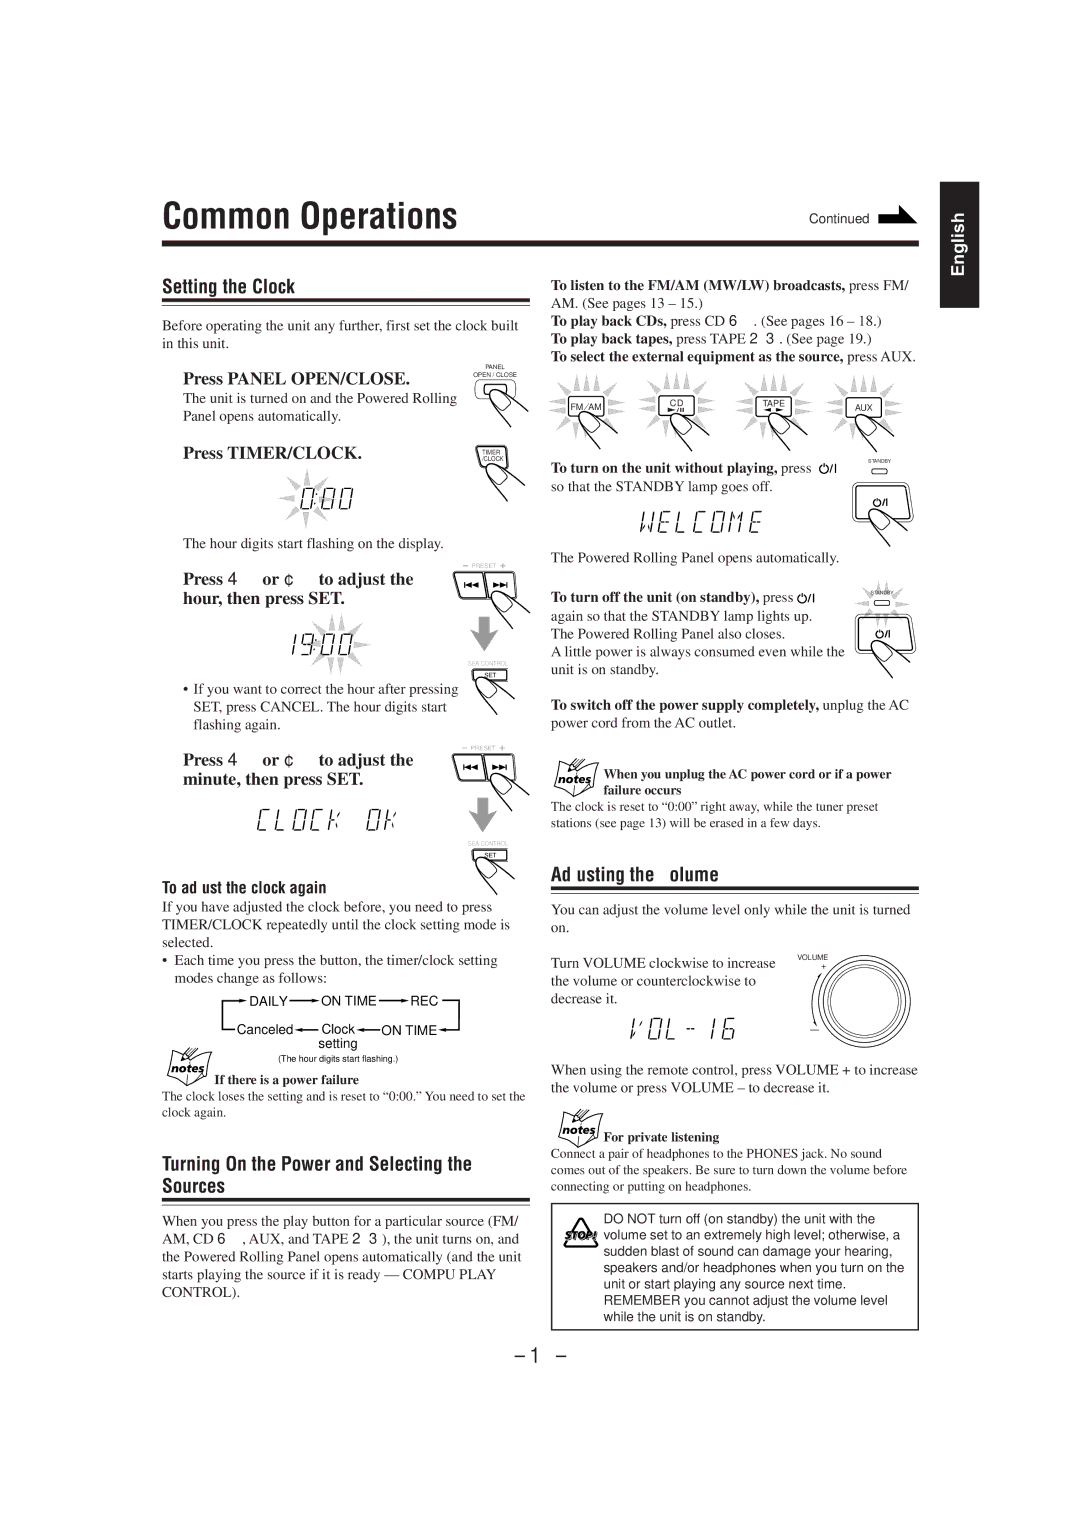
Setting the Clock | To listen to the FM/AM (MW/LW) broadcasts, press FM/ |
| AM. (See pages 13 – 15.) |
| |
|
English
Before operating the unit any further, first set the clock built in this unit.
1 | Press PANEL OPEN/CLOSE. | PANEL |
OPEN / CLOSE | ||
| ||
| The unit is turned on and the Powered Rolling |
|
| Panel opens automatically. |
|
2 | Press TIMER/CLOCK. | TIMER |
/CLOCK |
To play back CDs, press CD 6. (See pages 16 – 18.) To play back tapes, press TAPE 23. (See page 19.)
To select the external equipment as the source, press AUX.
FM/ AM | CD | TAPE | AUX |
|
|
The hour digits start flashing on the display.
PRESET
3 Press 4or ¢to adjust the hour, then press SET.
SEA CONTROL
SET
To turn on the unit without playing, press ![]()
so that the STANDBY lamp goes off.
The Powered Rolling Panel opens automatically.
To turn off the unit (on standby), press ![]() again so that the STANDBY lamp lights up. The Powered Rolling Panel also closes.
again so that the STANDBY lamp lights up. The Powered Rolling Panel also closes.
A little power is always consumed even while the unit is on standby.
STANDBY
STANDBY
•If you want to correct the hour after pressing SET, press CANCEL. The hour digits start flashing again.
PRESET
4 Press 4or ¢to adjust the minute, then press SET.
SEA CONTROL
SET
To switch off the power supply completely, unplug the AC
power cord from the AC outlet.
When you unplug the AC power cord or if a power failure occurs
The clock is reset to “0:00” right away, while the tuner preset stations (see page 13) will be erased in a few days.
To adjust the clock again
If you have adjusted the clock before, you need to press TIMER/CLOCK repeatedly until the clock setting mode is selected.
•Each time you press the button, the timer/clock setting modes change as follows:
![]() DAILY
DAILY ![]() ON TIME
ON TIME ![]() REC
REC
Canceled![]() Clock
Clock![]() ON TIME
ON TIME![]() setting
setting
(The hour digits start flashing.)
If there is a power failure
The clock loses the setting and is reset to “0:00.” You need to set the clock again.
Turning On the Power and Selecting the Sources
When you press the play button for a particular source (FM/ AM, CD 6, AUX, and TAPE 23), the unit turns on, and the Powered Rolling Panel opens automatically (and the unit starts playing the source if it is ready — COMPU PLAY CONTROL).
Adjusting the Volume
You can adjust the volume level only while the unit is turned on.
Turn VOLUME clockwise to increase | VOLUME |
+ | |
the volume or counterclockwise to |
|
decrease it. |
|
| – |
When using the remote control, press VOLUME + to increase the volume or press VOLUME – to decrease it.
For private listening
Connect a pair of headphones to the PHONES jack. No sound comes out of the speakers. Be sure to turn down the volume before connecting or putting on headphones.
DO NOT turn off (on standby) the unit with the ![]()
![]()
![]() volume set to an extremely high level; otherwise, a sudden blast of sound can damage your hearing, speakers and/or headphones when you turn on the unit or start playing any source next time. REMEMBER you cannot adjust the volume level while the unit is on standby.
volume set to an extremely high level; otherwise, a sudden blast of sound can damage your hearing, speakers and/or headphones when you turn on the unit or start playing any source next time. REMEMBER you cannot adjust the volume level while the unit is on standby.
– 10 –