Animation

You can give stationary scenes or objects an illusion of movement. This function allows you to shoot a series of pictures, each slightly different, of the same object for a brief period of time.

NOTE:

Before performing the following steps, make sure that:

The Power Switch is set to “PRO.”.

The camcorder is in the Record-Standby mode.

The recording mode is set to “SP”.

1 ACCESS MENU SCREEN

Press MENU.

2 SET RECORDING TIME

Rotate the Select Dial to move the highlight bar to “NEXT” in Menu Screen 1 and press it to display Menu Screen 2. Then, move the highlight bar to “REC TIME” and press it. The REC TIME Menu appears. Rotate the Select Dial to move the highlight bar to the desired time, then press it. The Menu Screen reappears with the highlight bar on “RETURN”. Press the Select Dial again to close the Menu Screen.

3 START RECORDING

Press the Recording Start/Stop Button after focusing on the subject. The recording stops automatically after the selected period of time.

4 ASSEMBLE SERIES OF PICTURES Repeat step 3 for the desired number of pictures.

5 RELEASE ANIMATION MODE

Set “REC TIME” in the Menu screen to “OFF”.

NOTES:

For best results, make sure the camcorder is secured when shooting in Animation or Time- Lapse mode.

Fade- or wipe-in/out cannot be performed during Animation or Time-Lapse shooting.

Before performing other operations following Animation or Time-Lapse recording, make sure the Animation or Time-Lapse mode is deactivated.

Self-Timer, Animation and Time-Lapse are canceled when the power is shut off or when the cassette is ejected.

EN35

Time-Lapse

You can record sequentially at preset time spans. Leaving the camcorder aimed at a specific subject, you can record subtle changes over an extended period of time.

NOTE:

Before performing the following steps, make sure that:

The Power Switch is set to “PRO.”.

The camcorder is in the Record-Standby mode.

The recording mode is set to “SP”.


ACCESS MENU SCREEN


1 Press MENU.


SET INTERVAL BETWEEN


RECORDING


highlight bar to “INT. TIME” and press it. The

2 RECORDINGS


Rotate the Select Dial to move the highlight bar


to “NEXT” in Menu Screen 1 and press it to


display Menu Screen 2. Then, move the


INT. TIME Menu appears. Rotate the Select Dial


to move the highlight bar to the desired time,


then press it. The Menu Screen reappears.


SET RECORDING TIME


3 Rotate the Select Dial to move the highlight bar


to “REC TIME”, then press it. The REC TIME


Menu appears. Rotate the Select Dial to move


the highlight bar to the desired time, then press


it. The Menu Screen reappears with the


highlight bar on “RETURN”. Press the Select


Dial again to close the Menu Screen.


START TIME-LAPSE RECORDING


4 Press the Recording Start/Stop Button. Recording


and intervals alternate automatically.


RELEASE TIME-LAPSE MODE


5 To release when “


” is displayed, set


“REC TIME” and “INT. TIME” in the Menu Screen to “OFF”. To release when

” and “” are not displayed, press the Recording Start/Stop Button to display

”, then set “REC TIME” and “INT. TIME” in the Menu Screen to “OFF”.

Page 35
Image 35
JVC GR-AX640 manual Animation, Time-Lapse

GR-AX640 specifications

The JVC GR-AX640 is a compact and versatile camcorder that was particularly popular during the transition era from analog to digital video recording. Launched in the mid-1990s, this model combines user-friendly features with a range of advanced technologies for its time, making it a preferred choice for amateur videographers and families alike.

One of the standout features of the GR-AX640 is its lightweight and portable design, making it easy to carry for on-the-go recording. With its built-in 16x optical zoom lens, users can capture distant subjects with clarity, while the 700x digital zoom provides additional magnification for close-ups. This camcorder offers impressive image stabilization technology, which minimizes the shake and blur that can occur during handheld operation, ensuring smooth and stable footage even in dynamic situations.

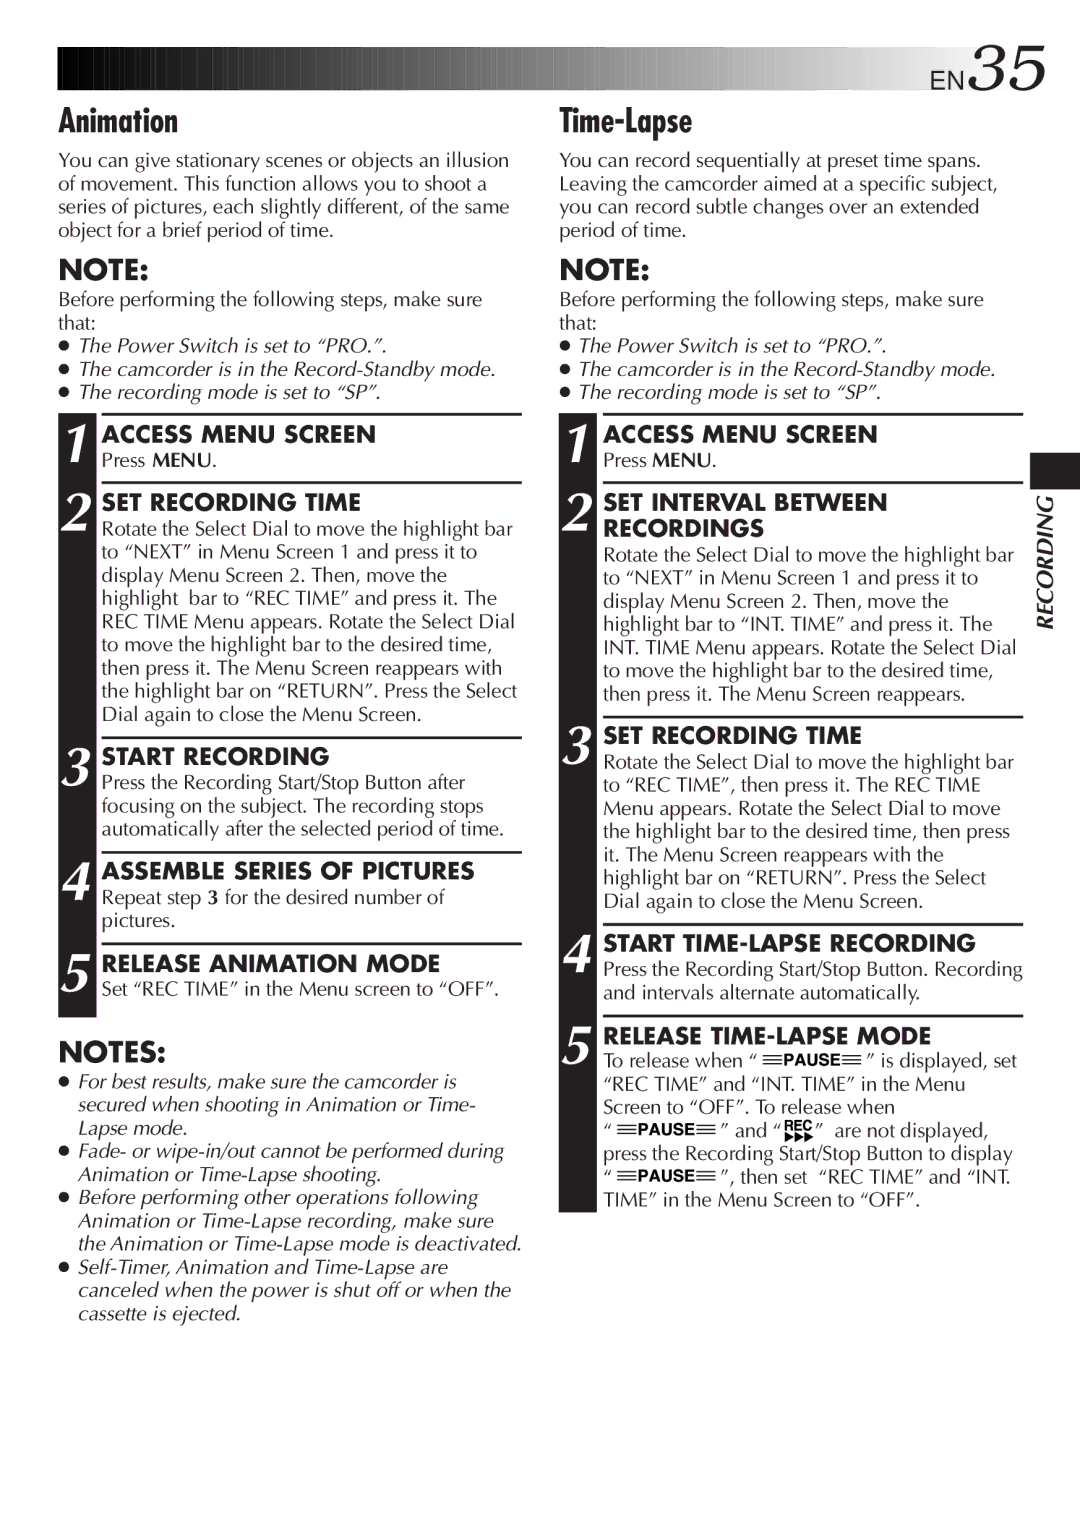
The camcorder is equipped with a 3-inch LCD screen, allowing users to easily frame their shots and navigate the settings. This feature enhances the ease of use, particularly for those unfamiliar with camcorder controls. Additionally, the GR-AX640 provides a range of recording options, including both SP and LP modes, allowing users to maximize tape usage with extended recording times.

In terms of audio, the GR-AX640 features a built-in microphone that captures clear sound, and there is an option for an external microphone input, providing flexibility for users who require enhanced audio quality. The camcorder also includes a variety of effects and transition features, which add creative flair to recordings, catering to those looking to produce more polished videos.

Another notable characteristic of the GR-AX640 is its compatibility with VHS-C tapes, making it easy to integrate into existing collections of home videos. It also offers an array of connectivity options, including an AV output for easy playback on a television and a battery life that is commendable for extended shooting sessions.

In summary, the JVC GR-AX640 is a well-rounded camcorder that effectively meets the needs of everyday users with its combination of portability, advanced features, and ease of use. Although it may be considered vintage in the current digital age, it remains a memorable device for many who captured their cherished moments during its heyday.