36![]()
![]()
![]()
![]()
![]()
![]()
![]()
![]()
![]()
![]()
![]()
![]()
![]()
![]()
![]()
![]()
![]()
![]()
![]()
![]()
![]()
![]()
![]()
![]()
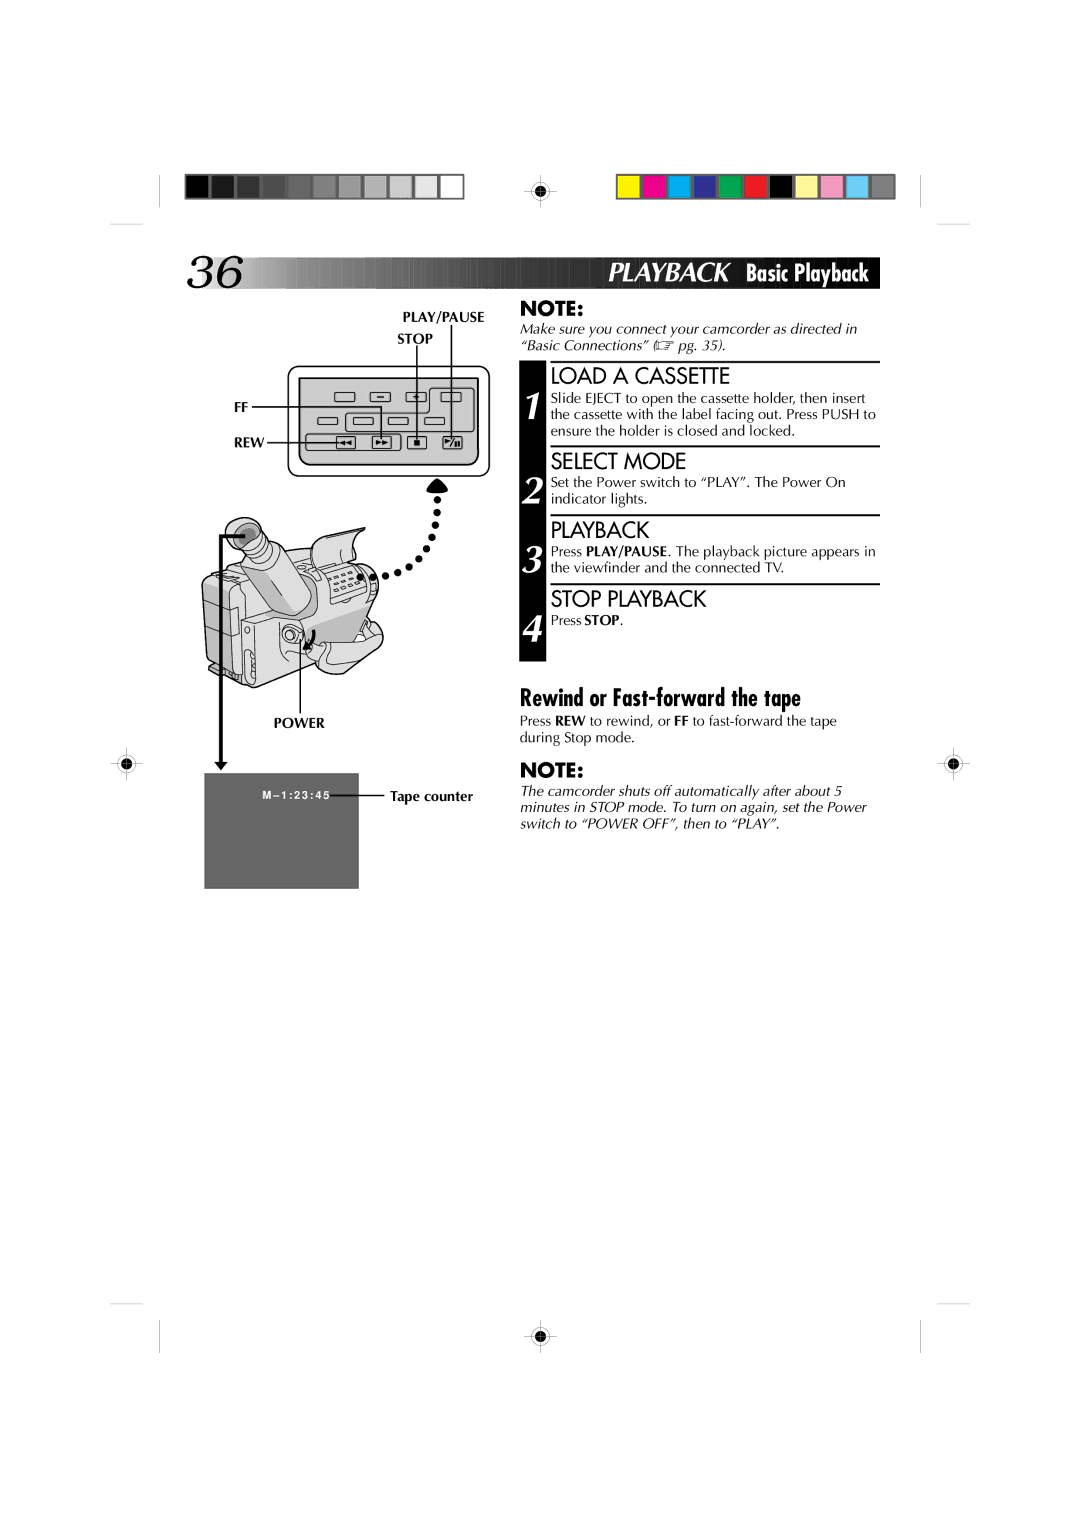
PLAY/PAUSE
STOP
FF
REW
POWER
M – 1 : 2 3 : 4 5 |
|
| Tape counter |
|
| ||
|
|
|
|


 PLAYBA
 CK
CK
 Basic
Basic Playback
NOTE:
Make sure you connect your camcorder as directed in “Basic Connections” (☞ pg. 35).
LOAD A CASSETTE
1 Slide EJECT to open the cassette holder, then insert the cassette with the label facing out. Press PUSH to ensure the holder is closed and locked.
SELECT MODE
2 Set the Power switch to “PLAY”. The Power On indicator lights.
PLAYBACK
3 Press PLAY/PAUSE. The playback picture appears in the viewfinder and the connected TV.
STOP PLAYBACK
4 Press STOP.
Rewind or Fast-forward the tape
Press REW to rewind, or FF to
NOTE:
The camcorder shuts off automatically after about 5 minutes in STOP mode. To turn on again, set the Power switch to “POWER OFF”, then to “PLAY”.