GR-D252 specifications
The JVC GR-D252 is a compact digital camcorder designed to deliver impressive video quality and user-friendly operation. This model is part of JVC's esteemed range of digital camcorders, making it an excellent choice for both novice videographers and those seeking an affordable yet feature-rich device.One of the standout features of the GR-D252 is its 680,000-pixel progressive scan CCD sensor. This technology enhances the clarity and detail of recorded images, ensuring crisp visuals whether you are filming in a well-lit environment or capturing memories in low-light situations. The camcorder also supports JPEG still image capture, allowing users to take high-quality still shots directly from their video recordings.
The GR-D252 boasts a 35x optical zoom lens paired with a digital zoom that extends up to 800x. This combination allows users to capture subjects both up close and at a distance, perfect for wildlife enthusiasts or sports events. The high zoom capabilities, coupled with advanced image stabilization, help to eliminate shake, resulting in smooth, steady footage even when zooming in on moving subjects.
Another key aspect of the GR-D252 is its 2.5-inch LCD screen, which provides clear playback and easy menu navigation. The user interface is straightforward, allowing users to access various functions effortlessly. Furthermore, the LCD screen can be rotated, making it convenient for self-recording or adjusting angles during shooting.
In terms of connectivity, the GR-D252 features multiple output options, including USB and AV output, enabling easy transfer of videos and photos to computers and TVs. This allows seamless sharing and editing of content, further enhancing the camcorder’s versatility in a digital age.
The GR-D252 supports MiniDV tapes, which provide a reliable medium for storing video footage. This format is known for maintaining high video quality over time, ensuring that your cherished memories remain intact and visually striking for years to come.
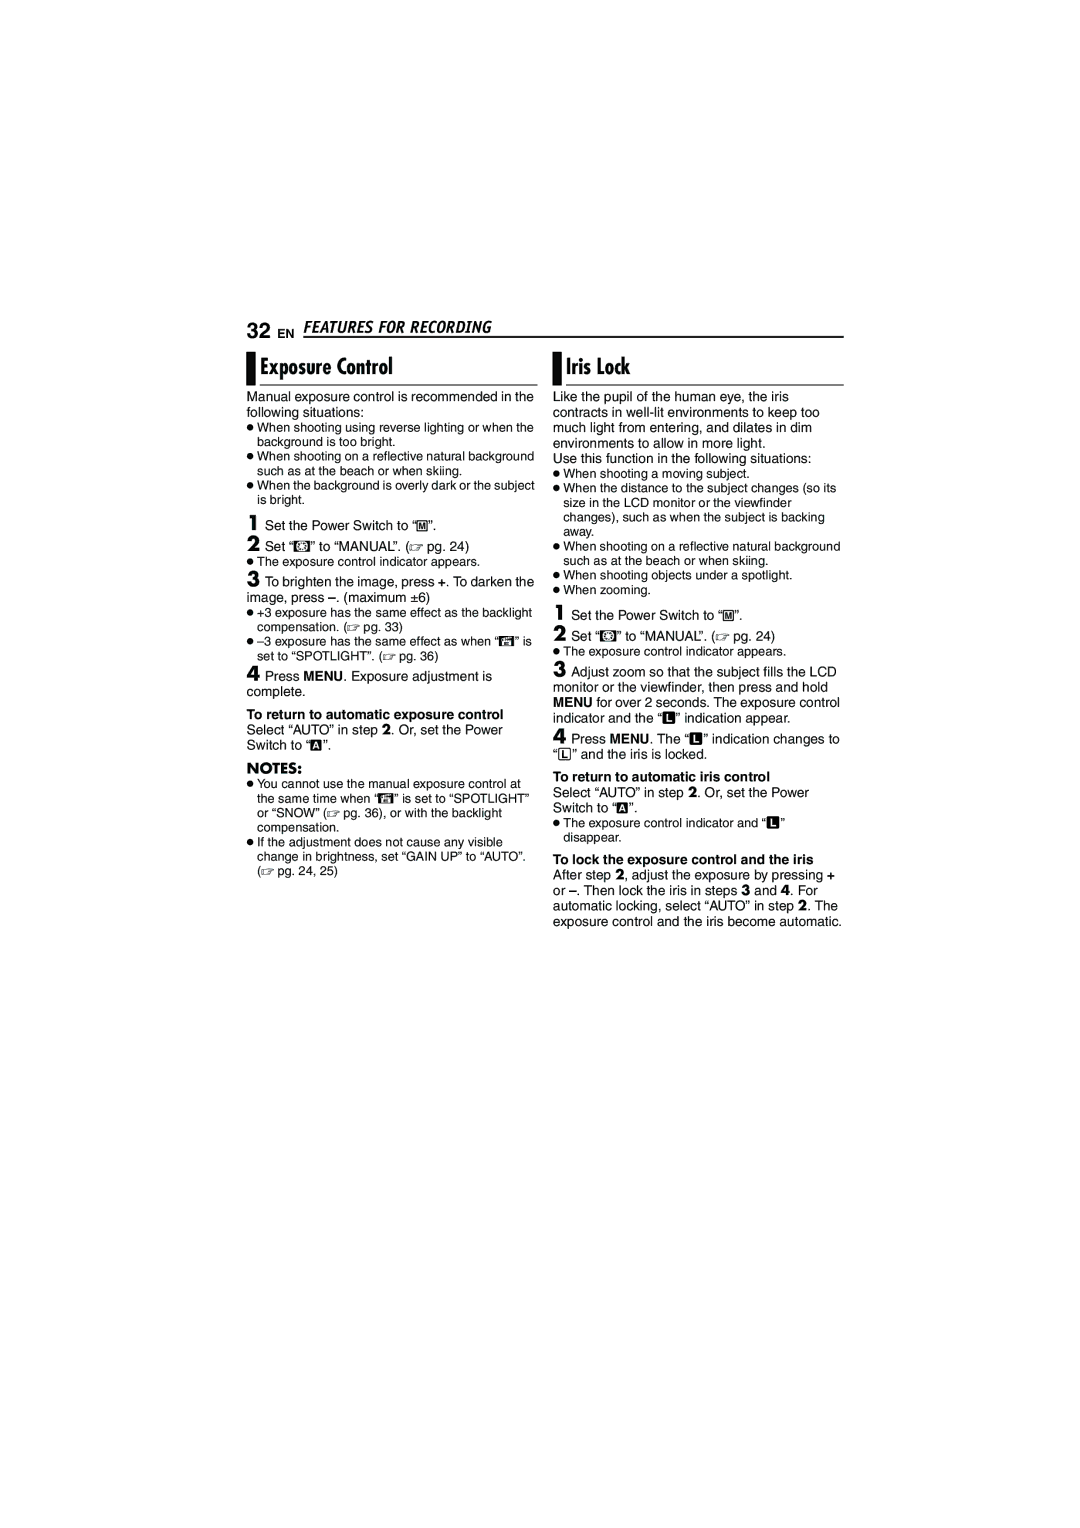
Moreover, the camcorder incorporates various scene modes and manual controls, enabling users to tailor their shooting experience based on specific situations. Whether capturing a bright landscape or a dimly lit birthday party, the GR-D252 adapts to deliver the best possible results.
In conclusion, the JVC GR-D252 combines advanced technology with practical features, making it a desirable option for those looking to document their experiences with quality and ease. Its balance of performance, portability, and user-friendly design makes it a valuable tool for aspiring filmmakers and casual users alike.
