NOTES:

Be careful not to cover the camera sensor; built-in here is the sensor necessary for shooting.

If 5 minutes elapse in the Record-Standby mode, power shuts off automatically to conserve energy and protect the heads. To turn the camcorder on again, push back and pull out the viewfinder again. As long as you don’t take out the tape you were using or play it back, you can continue from where you left off with no noticeable break on the recorded video.

When a blank portion is left between recorded scenes on the tape, the time code is interrupted and errors may occur when editing the tape.

Continue recording from where you stop so there

are no gaps by following “Recording from the middle of a tape” (pg. 20).

Record-Standby means that a tape is loaded and the camcorder is ready to record.

During recording, sound is not heard from the speaker. If you want to hear the sound, connect optional headphones to the headphones jack. The sound volume at this point is the same as the level it was adjusted during playback.

To make the indications disappear, press and hold the IND.ON/OFF button for more than approx. 1 second. However, it is impossible to remove the

tape running indicator “ 444” and warning indications and so on (pg. 79).

When the battery remaining power indicator

appears as , that means the battery power is close to nil. When the battery power is exhausted, power turns off automatically.

EN19

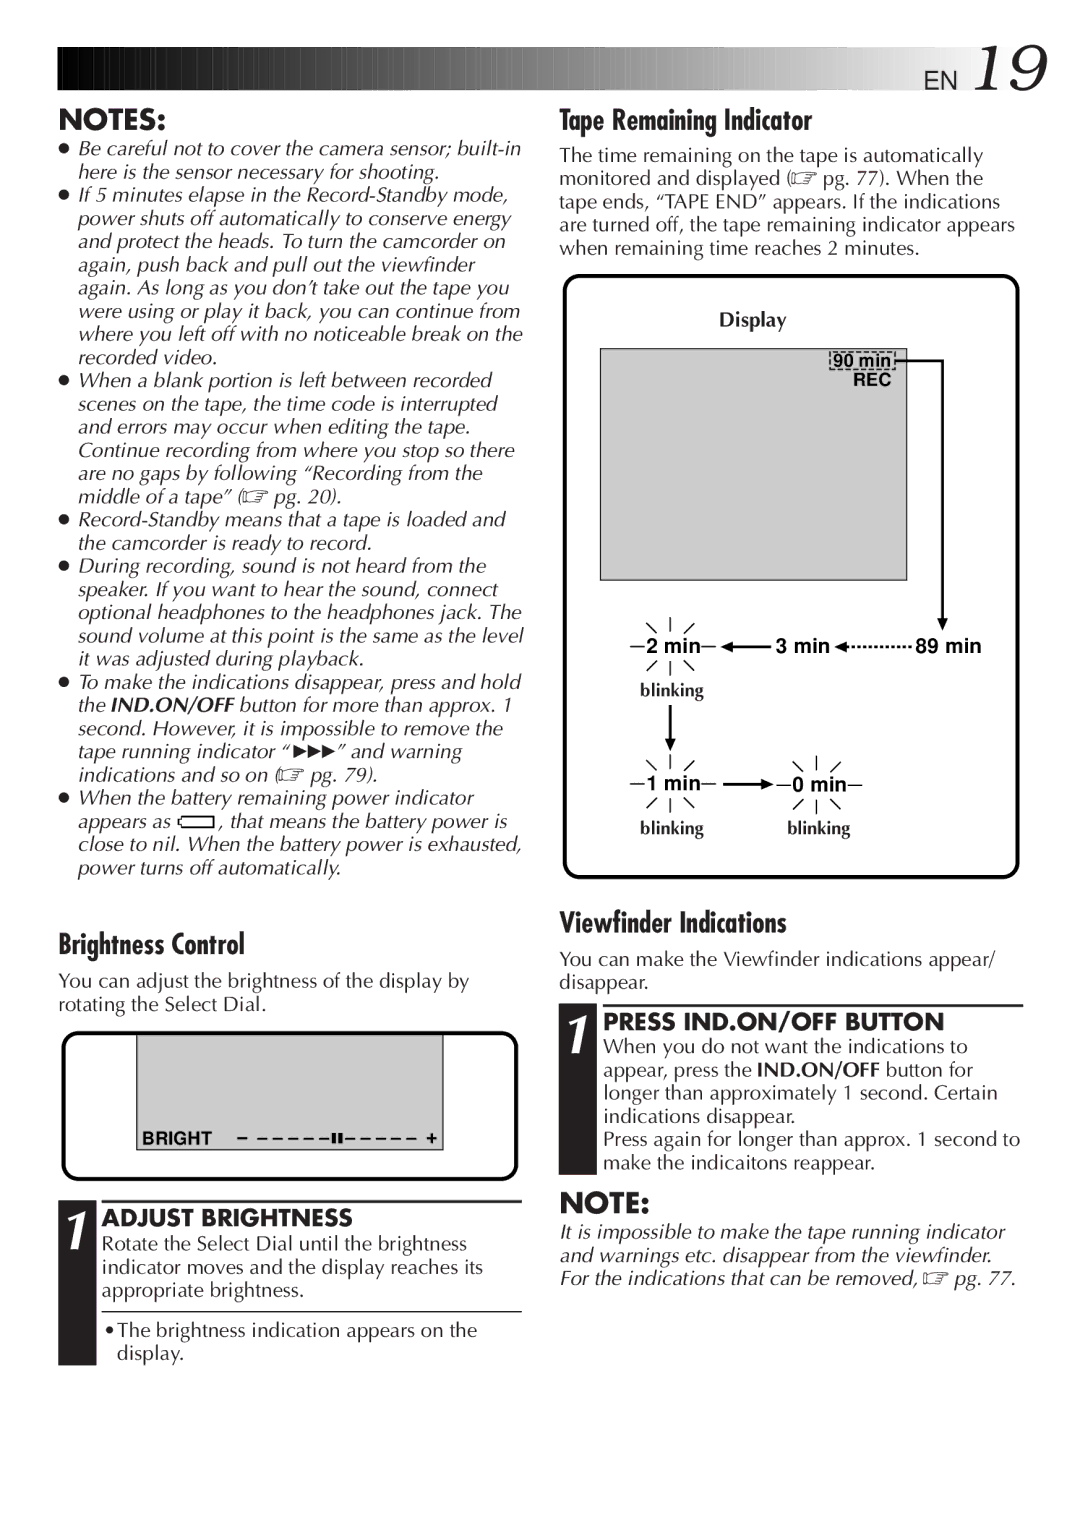
Tape Remaining Indicator

The time remaining on the tape is automatically monitored and displayed (pg. 77). When the tape ends, “TAPE END” appears. If the indications are turned off, the tape remaining indicator appears when remaining time reaches 2 minutes.

Display

90 min

REC

2 min 3 min 89 min

blinking

1 min


0 min


blinking blinking

Brightness Control

You can adjust the brightness of the display by rotating the Select Dial.

BRIGHT – – – – 6 – – – –

1 ADJUST BRIGHTNESS

Rotate the Select Dial until the brightness indicator moves and the display reaches its appropriate brightness.

•The brightness indication appears on the display.

Viewfinder Indications

You can make the Viewfinder indications appear/ disappear.

1 PRESS IND.ON/OFF BUTTON When you do not want the indications to appear, press the IND.ON/OFF button for longer than approximately 1 second. Certain indications disappear.

Press again for longer than approx. 1 second to make the indicaitons reappear.

NOTE:

It is impossible to make the tape running indicator and warnings etc. disappear from the viewfinder. For the indications that can be removed, pg. 77.

Page 19
Image 19
JVC GR-DV33 manual Tape Remaining Indicator, Brightness Control, Viewfinder Indications, Adjust Brightness

GR-DV33 specifications

The JVC GR-DV33 is a compact and versatile MiniDV camcorder that was designed with both amateur and semi-professional videographers in mind. Known for its unique blend of compact design and quality features, the GR-DV33 was a popular choice in the early 2000s, catering to users who sought portability without compromising on technology.

At the heart of the GR-DV33 is its 1/6-inch CCD sensor, delivering sharp and vibrant video quality with an impressive resolution. This camcorder supports a maximum recording resolution of 720x480, which, while modest by today's standards, was significant at the time for producing clear images and faithful colors in various lighting conditions.

One of the standout features of the JVC GR-DV33 is its advanced digital image stabilization technology. This technology minimizes the effects of shaky hands, ensuring smoother video playback, which is especially beneficial for outdoor and action shots. Users appreciated how this feature helped create more professionally looking videos without the need for bulky stabilizing equipment.

The GR-DV33 also incorporates a 20x optical zoom lens, which allows users to capture distant subjects with remarkable clarity. Coupled with a 100x digital zoom option, the camcorder enables users to explore creative angles and shots, from wide landscapes to close-up details. The built-in autofocus system further enhances usability, ensuring sharp focus on subjects even during dynamic shooting situations.

In terms of connectivity, the JVC GR-DV33 is equipped with various output options including USB and FireWire ports. This allows for easy transfer of footage to computers for editing or sharing online, making it a great option for budding filmmakers. Moreover, the camcorder features an LCD screen that can be flipped and turned to allow for flexible shooting angles, alongside an electronic viewfinder for traditional framing.

Another notable characteristic is the camcorder's low-light performance, enhanced by its NightAlive mode, which enables users to record in dim conditions while maintaining a usable level of quality. This feature is particularly appealing to users looking to capture events in poorly lit environments.

The JVC GR-DV33, while no longer cutting-edge, remains a testament to the era of MiniDV camcorders and is fondly remembered for its reliable performance and ease of use. Whether documenting family events, trips, or personal projects, this camcorder provides a solid foundation for capturing lasting memories with a straightforward and user-friendly design.