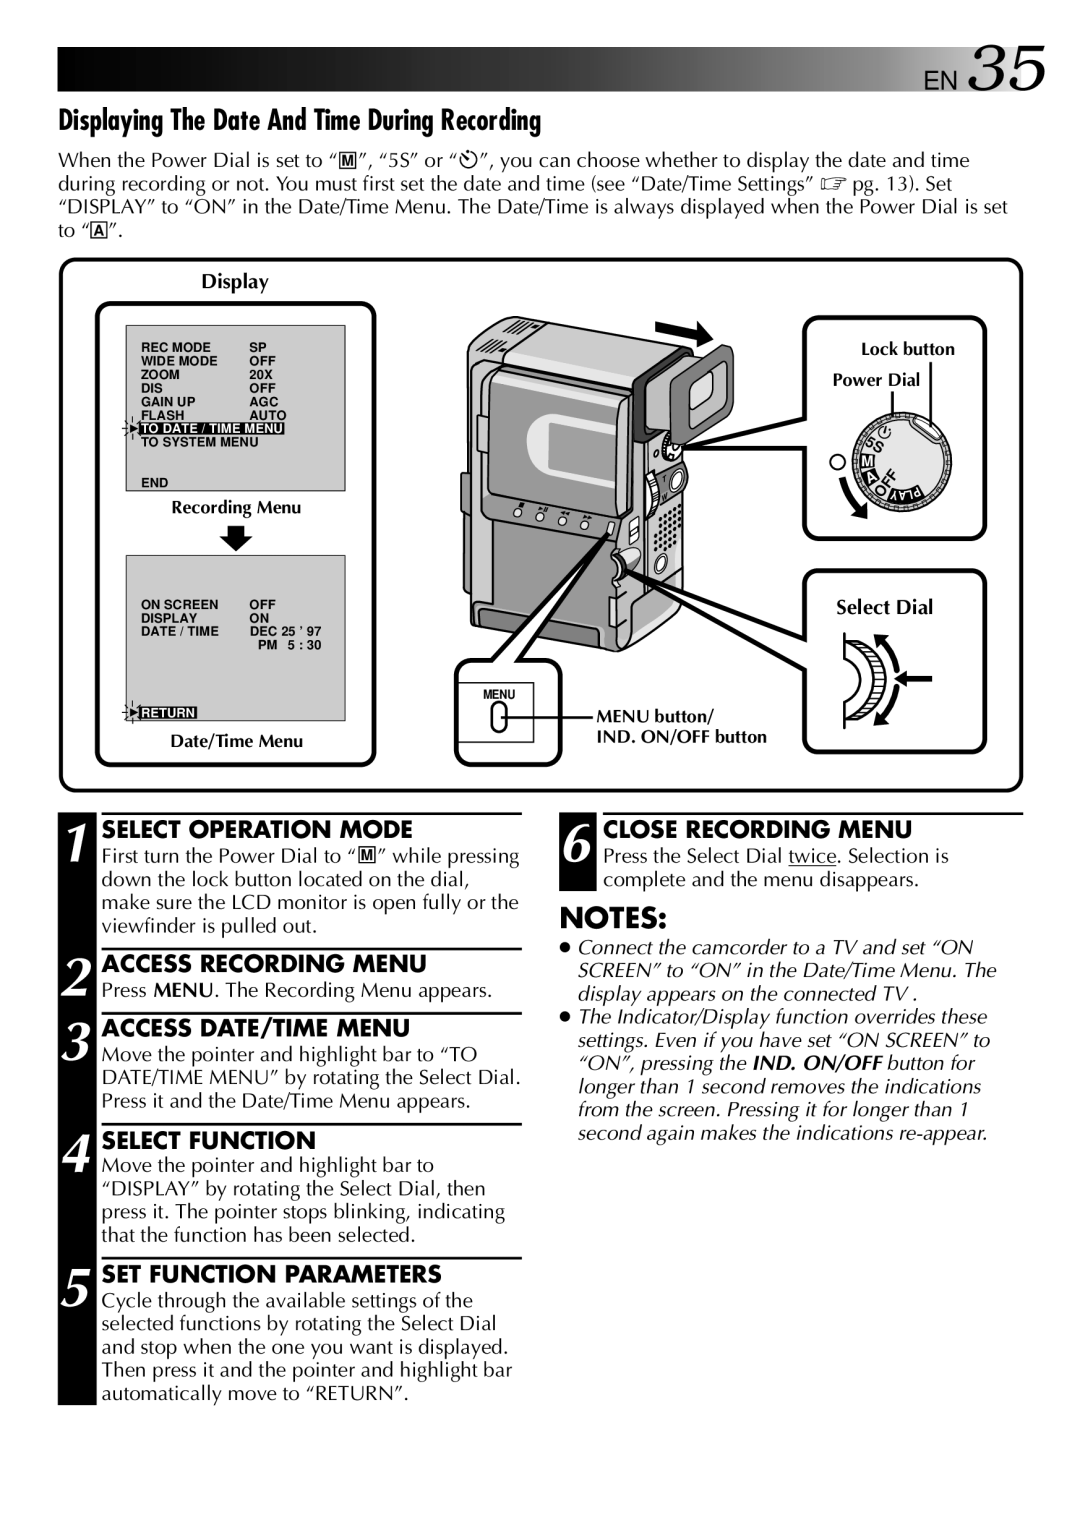
GR-DVX specifications
The JVC GR-DVX is a compact and versatile MiniDV camcorder that gained popularity in the early 2000s for its combination of high-quality video capture, user-friendly interface, and innovative features. This camcorder is a testament to JVC's commitment to advancing imaging technology while providing value to both amateur videographers and seasoned professionals.One of the standout features of the JVC GR-DVX is its 680,000-pixel CCD sensor, which offers superior image quality. This sensor allows users to capture clear and vibrant images, whether shooting in bright daylight or low-light conditions. The MiniDV format enables the camcorder to record high-resolution video, producing sharp images with natural colors and excellent detail.
The GR-DVX also boasts a powerful 16x optical zoom lens, providing videographers with the ability to capture subjects at a distance without sacrificing image quality. This is complemented by a 100x digital zoom option, allowing further flexibility in storytelling. The lens features a wide f-stop ranging from f/1.6 to f/3.1, enabling better performance in varying lighting conditions.
With an eye towards ease of use, the camcorder includes a 3.5-inch vari-angle LCD screen that facilitates various shooting angles and compositions. This versatile screen allows users to easily frame their shots, while the intuitive menu system simplifies navigation through settings. Additionally, the built-in image stabilization technology helps reduce blurriness caused by hand movements, ensuring that recordings are smooth and stable.
The JVC GR-DVX comes equipped with various connectivity options, including FireWire (IEEE 1394) for fast digital transfer of video to a computer or editing suite. This feature enhances the editing workflow, allowing users to seamlessly transition from recording to post-production.
Furthermore, the camcorder supports a variety of shooting modes, including night mode and various manual settings, which give users the control to tailor their filming experience. It also offers built-in digital effects and transitions to enhance creativity in video projects.
In summary, the JVC GR-DVX is a well-rounded camcorder that combines effective imaging technology, versatile shooting capabilities, and user-friendly features. Its robust design, high-quality imaging, and comprehensive connectivity options make it a valuable tool for anyone looking to capture impactful video content.

